






3D-PRINTED LIGHTING
Turn a meaningful photograph into a softly illuminated relief with white PLA, a transparent diffuser, and a compact low-voltage LED strip.
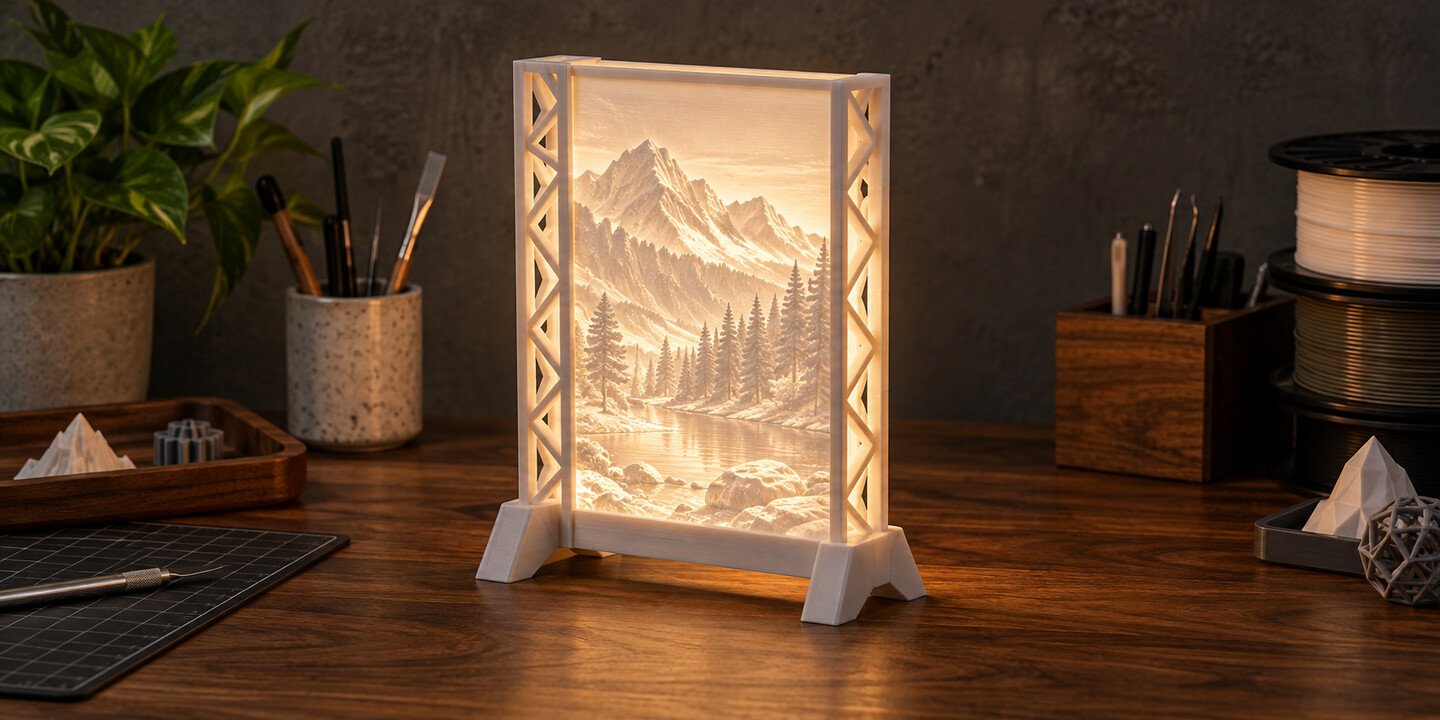
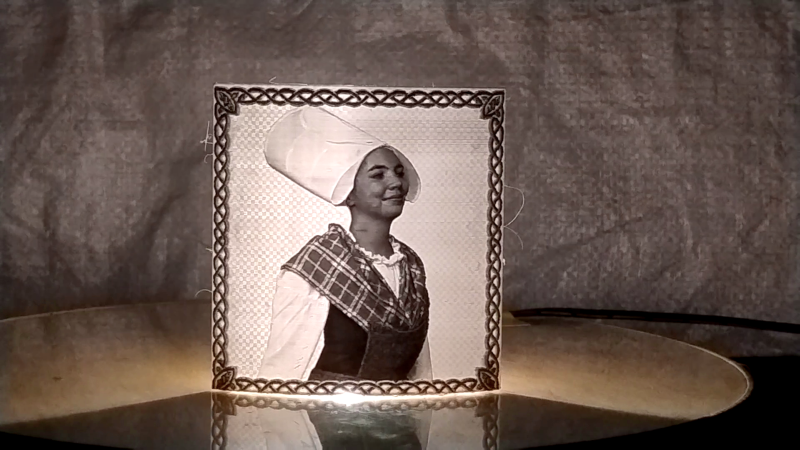
A lithophane can look almost abstract until light passes through it. Thin areas glow while thicker areas hold the shadows, allowing a photograph to emerge from a textured printed panel.
This compact lamp pairs that panel with a clear printed holder and diffuser. The source project used a portrait in traditional Breton dress; the same approach can begin with any photograph whose subject remains clear in grayscale.
What You’ll Need
- A photograph with a simple background
- White PLA for the lithophane
- Transparent PETG or PLA for the holder
- A 90 × 9 mm, 12 V LED strip or a fitted equivalent
- A regulated supply matched to the LED strip
- 3D printer and slicing software
- Photo editor and lithophane generator
- CAD software if resizing is required
- Insulated connectors or suitable soldering tools
- Compatible super glue and gel adhesive
Electrical and heat safety: Use a correctly rated, enclosed 12 V supply; disconnect power before wiring; insulate connections and add strain relief. Supervise the first test and stop if plastic or adhesive softens, smells, or becomes unusually warm. Never use an incandescent or halogen bulb. These are independent additions because the source provides no wiring or thermal guide.
1. Prepare the Photograph
Choose a photo that still reads clearly at thumbnail size. Crop closely or remove distracting background elements, then convert it to grayscale. Add modest contrast and lift deep shadows just enough to keep detail in faces, hair, and clothing; extreme edits can turn highlights blank or shadows nearly opaque.
2. Generate the Relief
Upload the edited image to a lithophane generator. The maker used ItsLitho for its additional controls and generated this panel with a minimum thickness of 0.6 mm and a maximum of 3 mm. Preview the relief before export because filament opacity and printer calibration affect the final contrast.
3. Print the Portrait
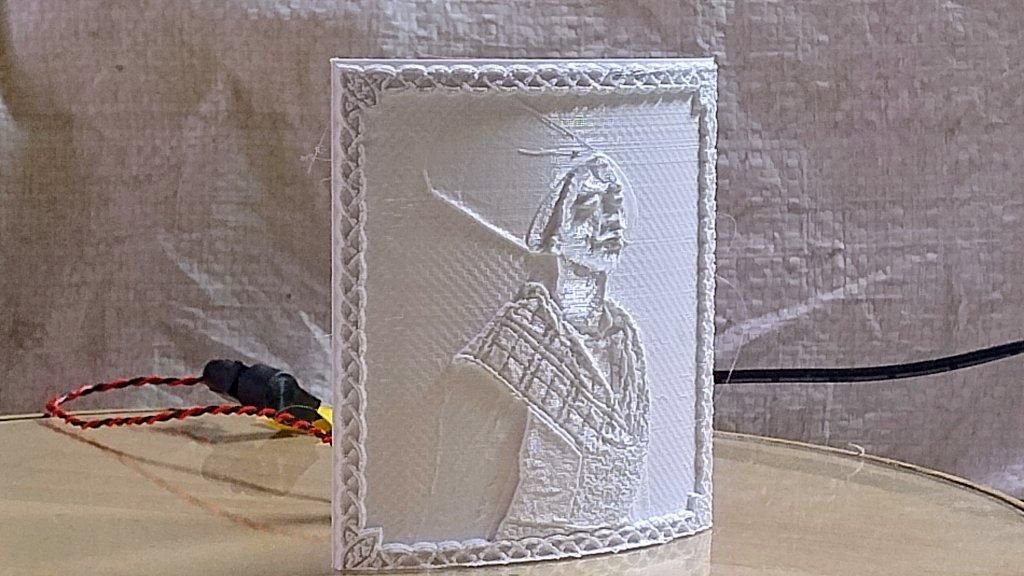
Once the photograph becomes a printable relief, fine layers and adhesion matter more than speed. The source used 0.12 mm layers, 100% infill, about a 10 mm brim, and roughly half its usual PLA speed.
It also entered 99 perimeters to make the thin part effectively solid. Because that setting is slicer-dependent, check the preview. The demonstrated print took about six hours on an Elegoo Neptune 2S.
4. Build the Diffuser and Holder
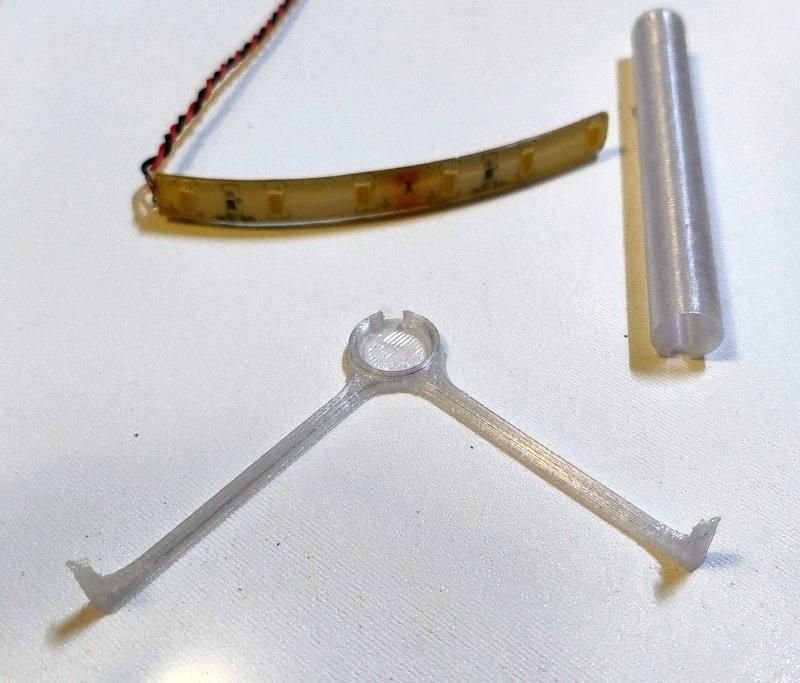
With the panel complete, the project shifts to controlled lighting. The source designed the transparent-PETG diffuser and three-legged holder in Fusion 360 around an existing 12 V strip. It provides two 3MF files, but their dimensions may need adapting.
Dry-fit the strip, tube, cable exit, and base. The source used a little super glue for the diffuser and gel adhesive behind the lithophane. Let both cure before powering the LEDs.
5. Reveal the Finished Image
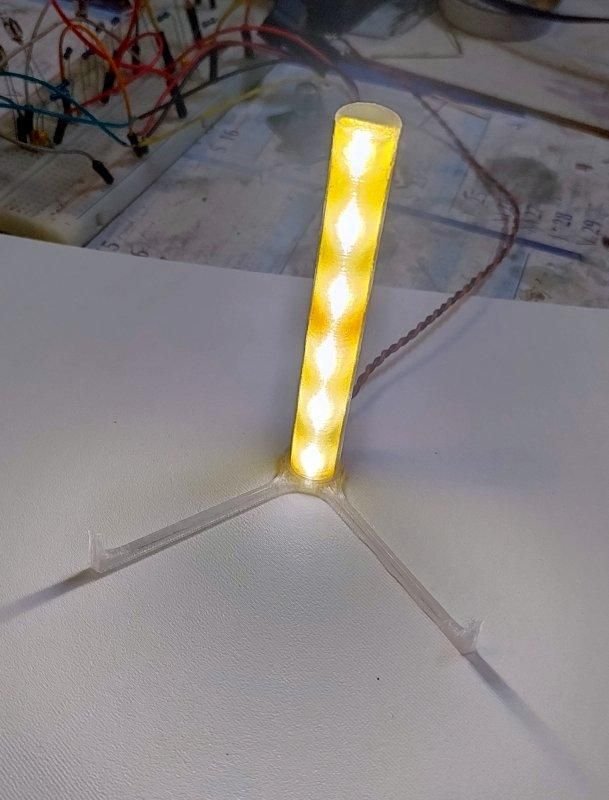
Dim the room and switch on the lamp. If one stripe is much brighter than the rest, adjust the diffuser spacing before committing to more adhesive. Minor print lines may remain visible in the image background, but the illuminated portrait can still read beautifully.
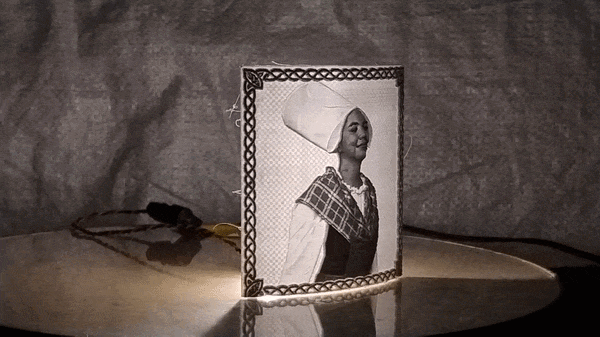
The pleasure of a lithophane lamp lies in its reveal: an unassuming printed surface becomes a dimensional photograph the moment the light comes on.