










GARDEN CRAFT
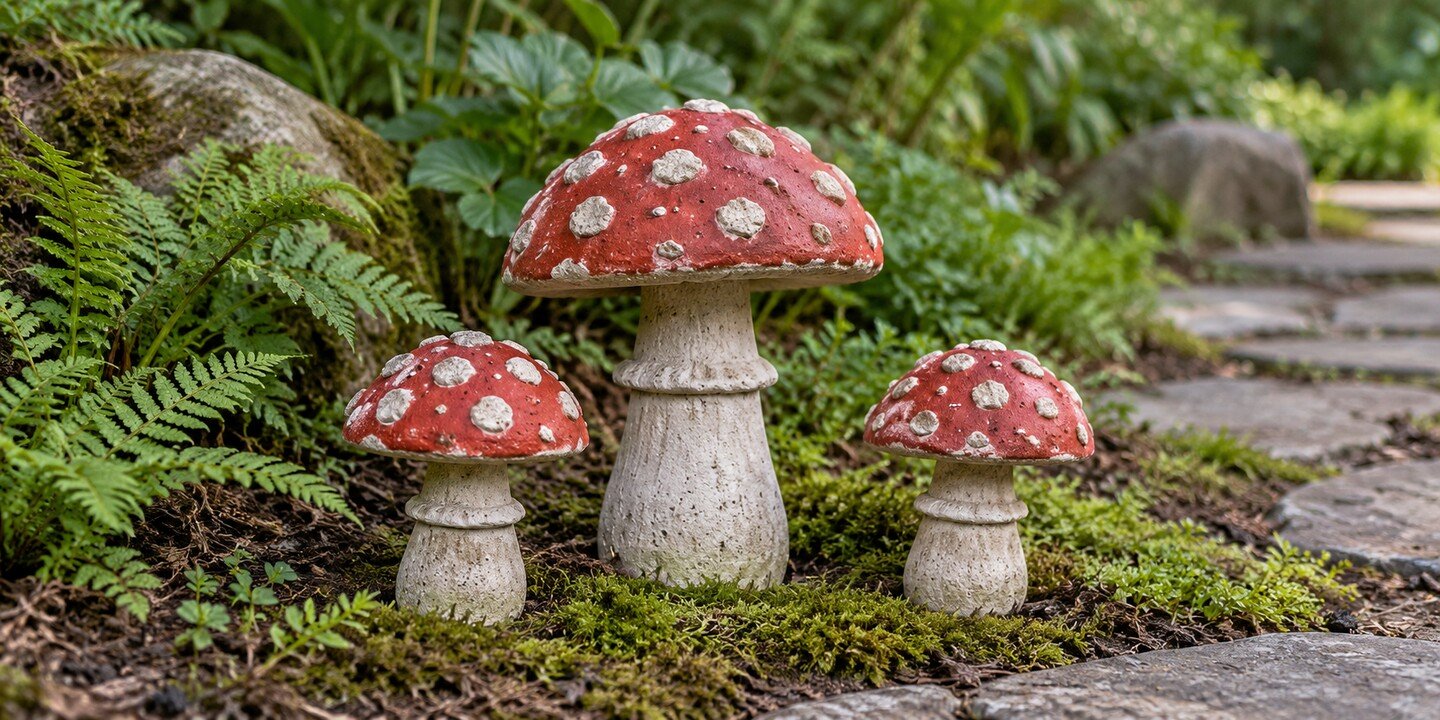
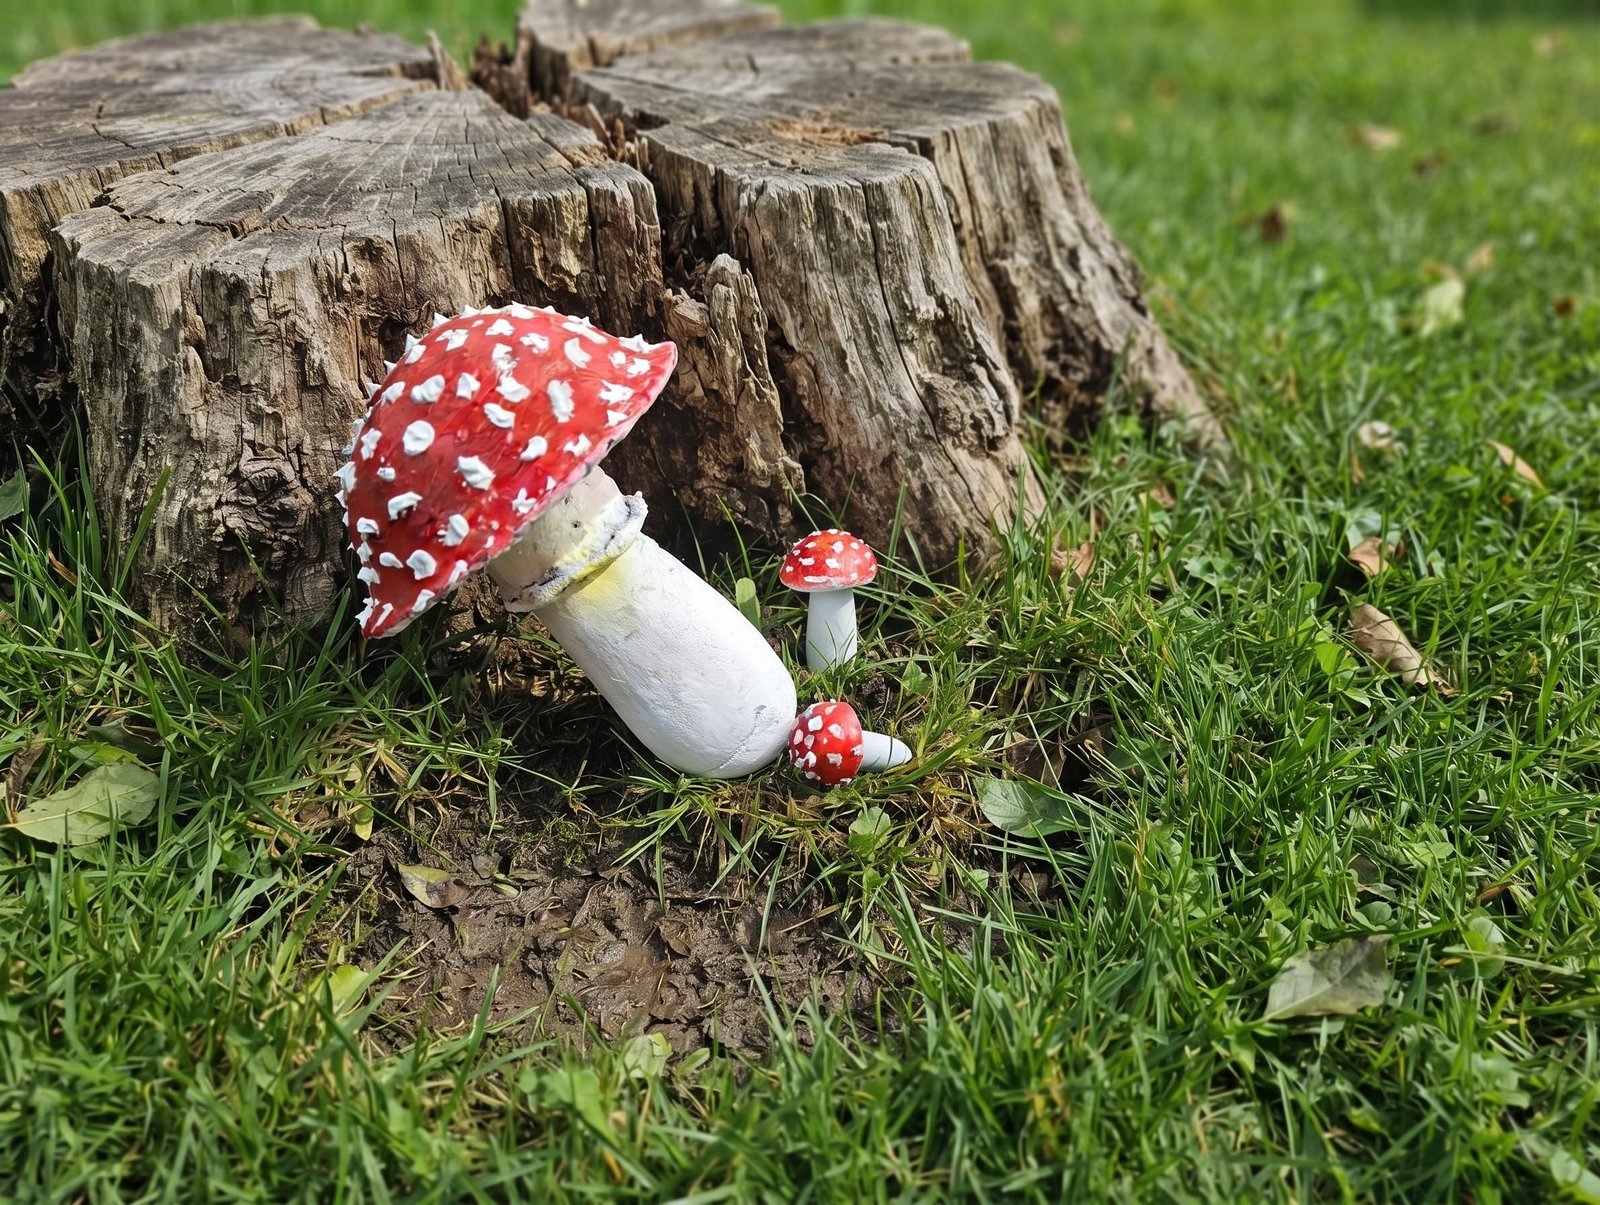
Socks, a shallow plate, and ping-pong balls become clever molds for a red-and-white cement mushroom trio with carved gills and raised scales.
Garden ornaments do not need to come from a specialty shop to feel full of character. A small amount of cement, several improvised molds, and patient shaping can produce a group of mushrooms that looks at home beside flowers, along a path, or beneath a leafy planter.
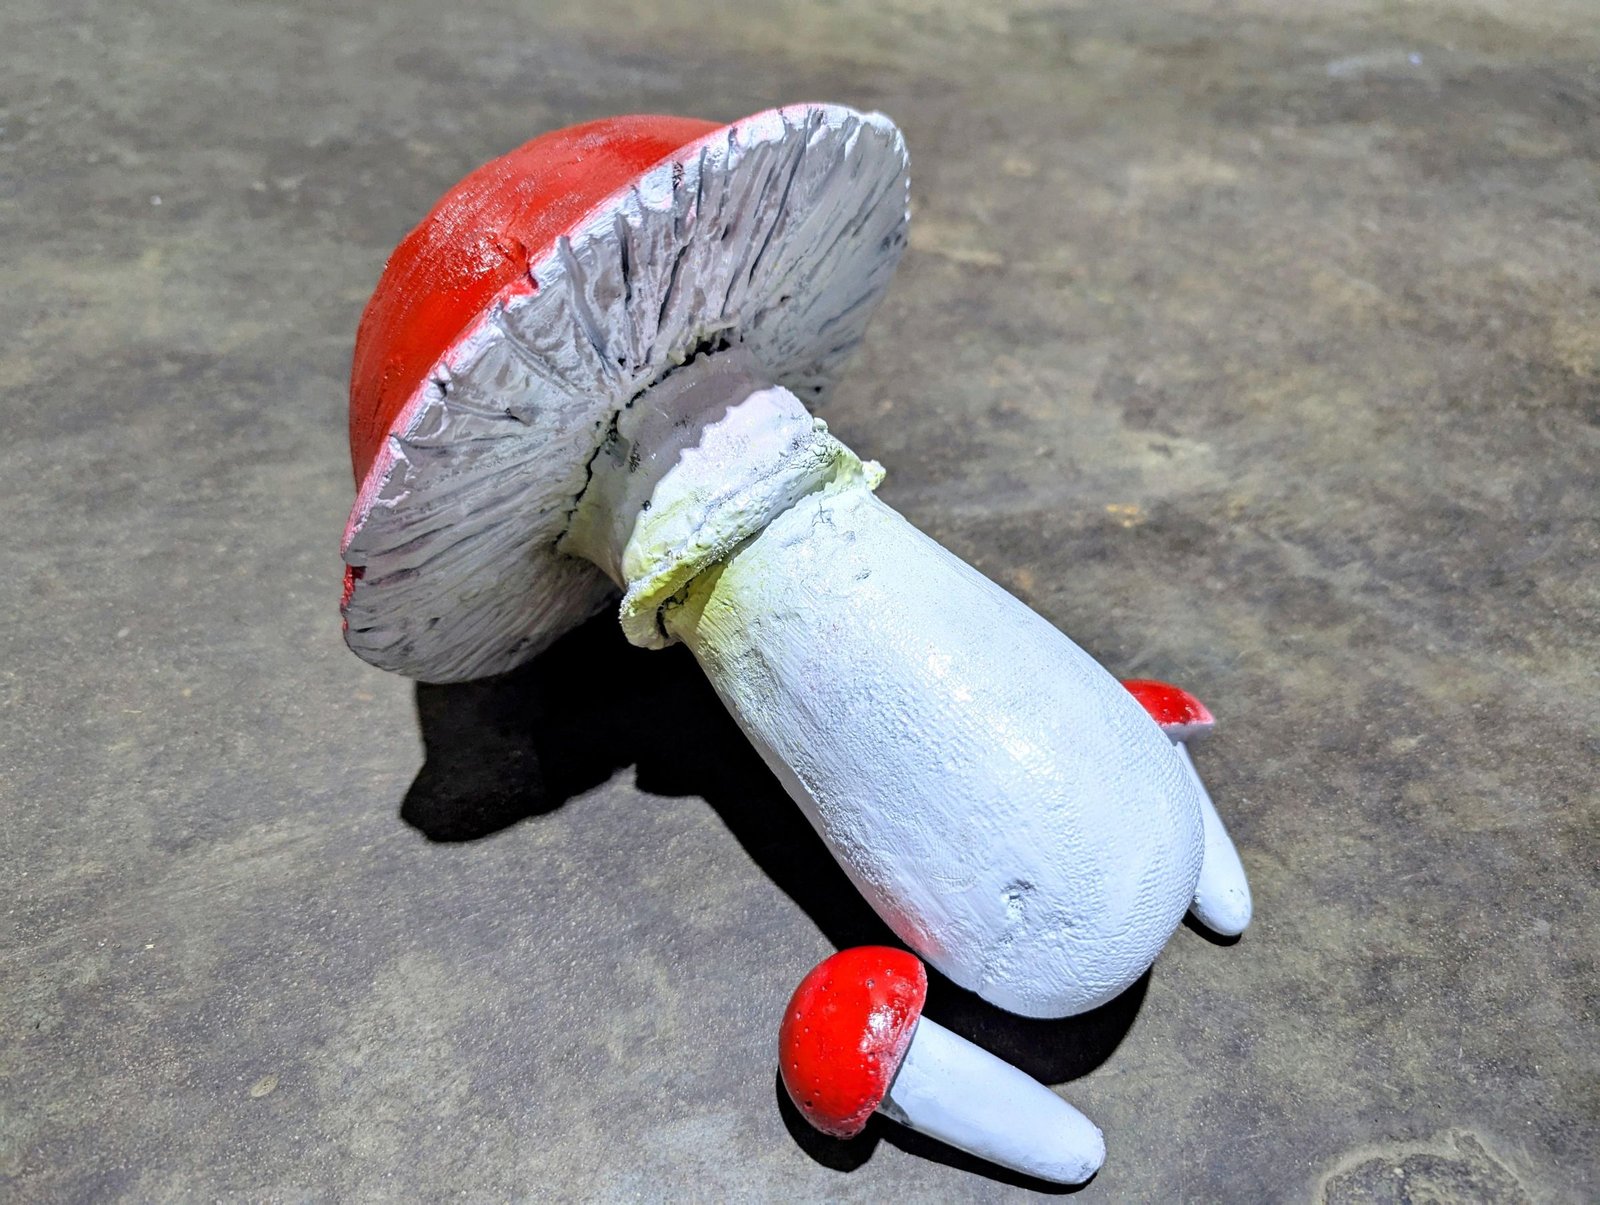
The appeal of this project is its resourcefulness. A sock creates the softly tapered main stem, a shallow plate gives the broad cap its shape, and a rubber-glove finger with a halved ping-pong ball forms each smaller companion. White stems, red caps, fine gills, and raised pale scales supply the final woodland illusion.
Materials and Tools
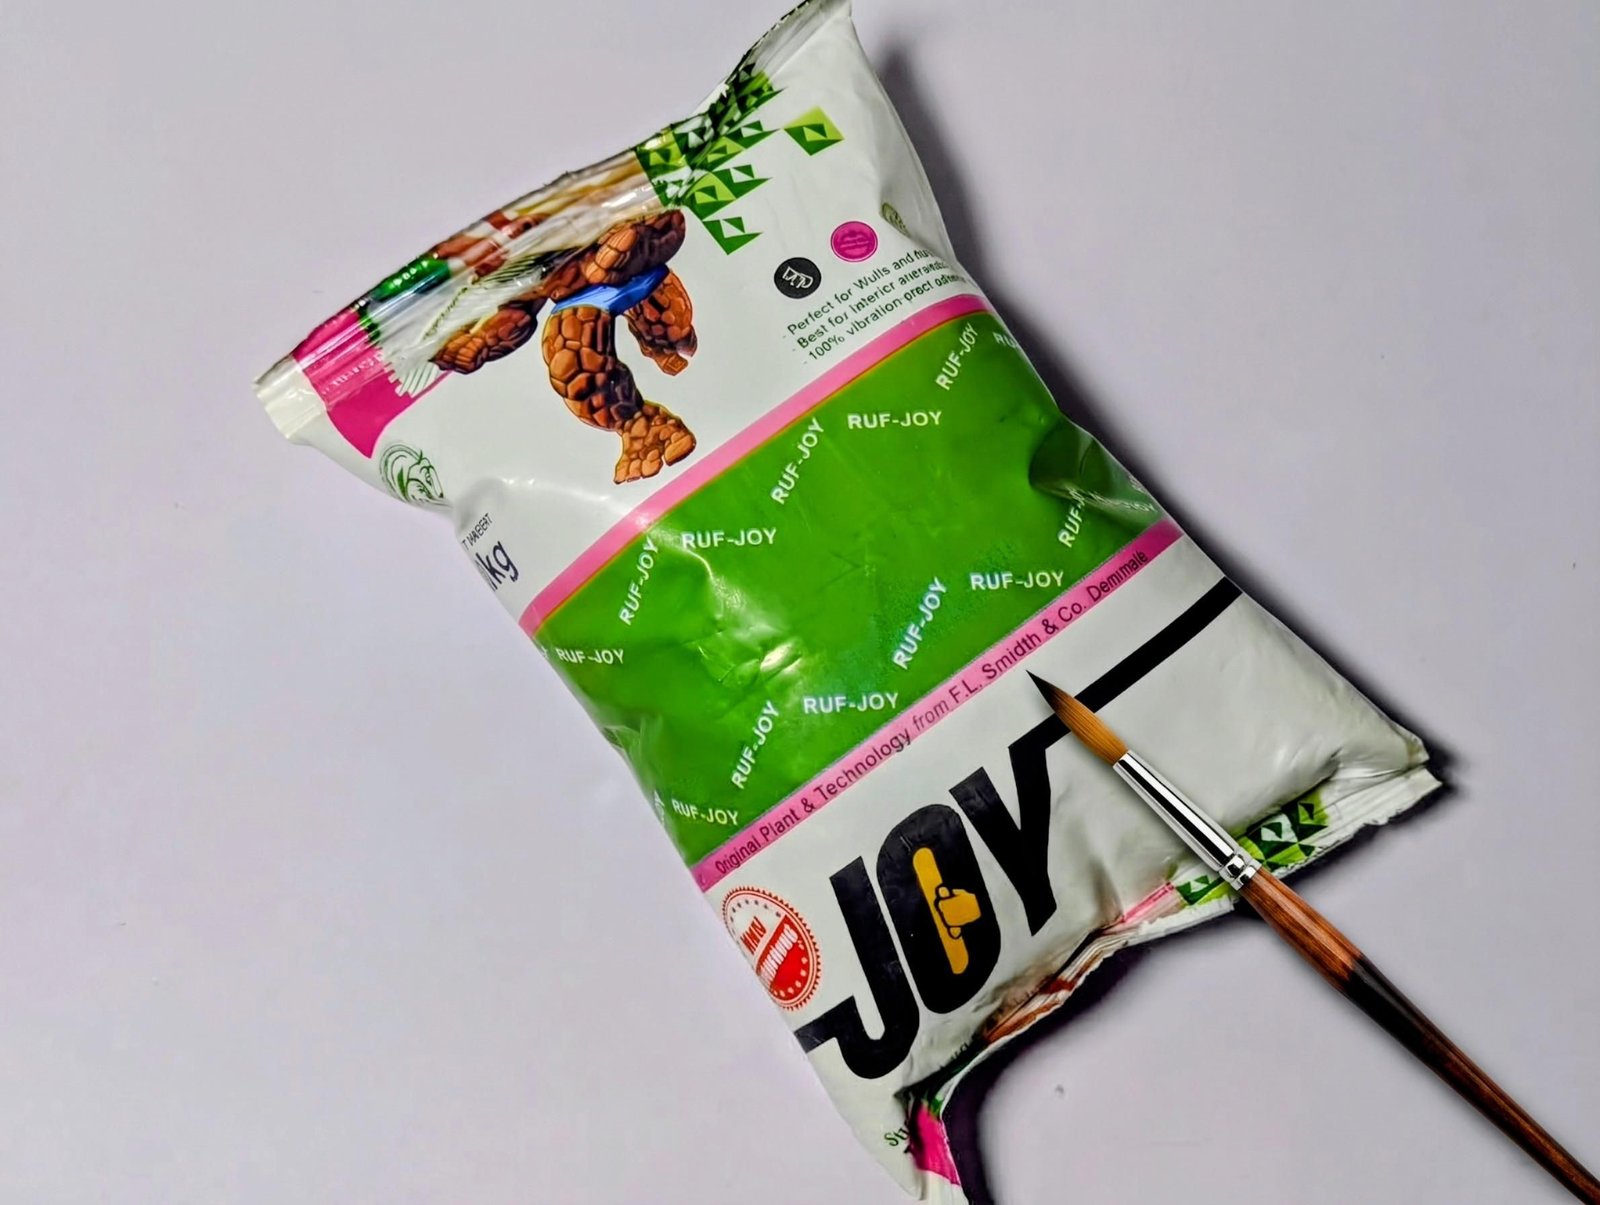
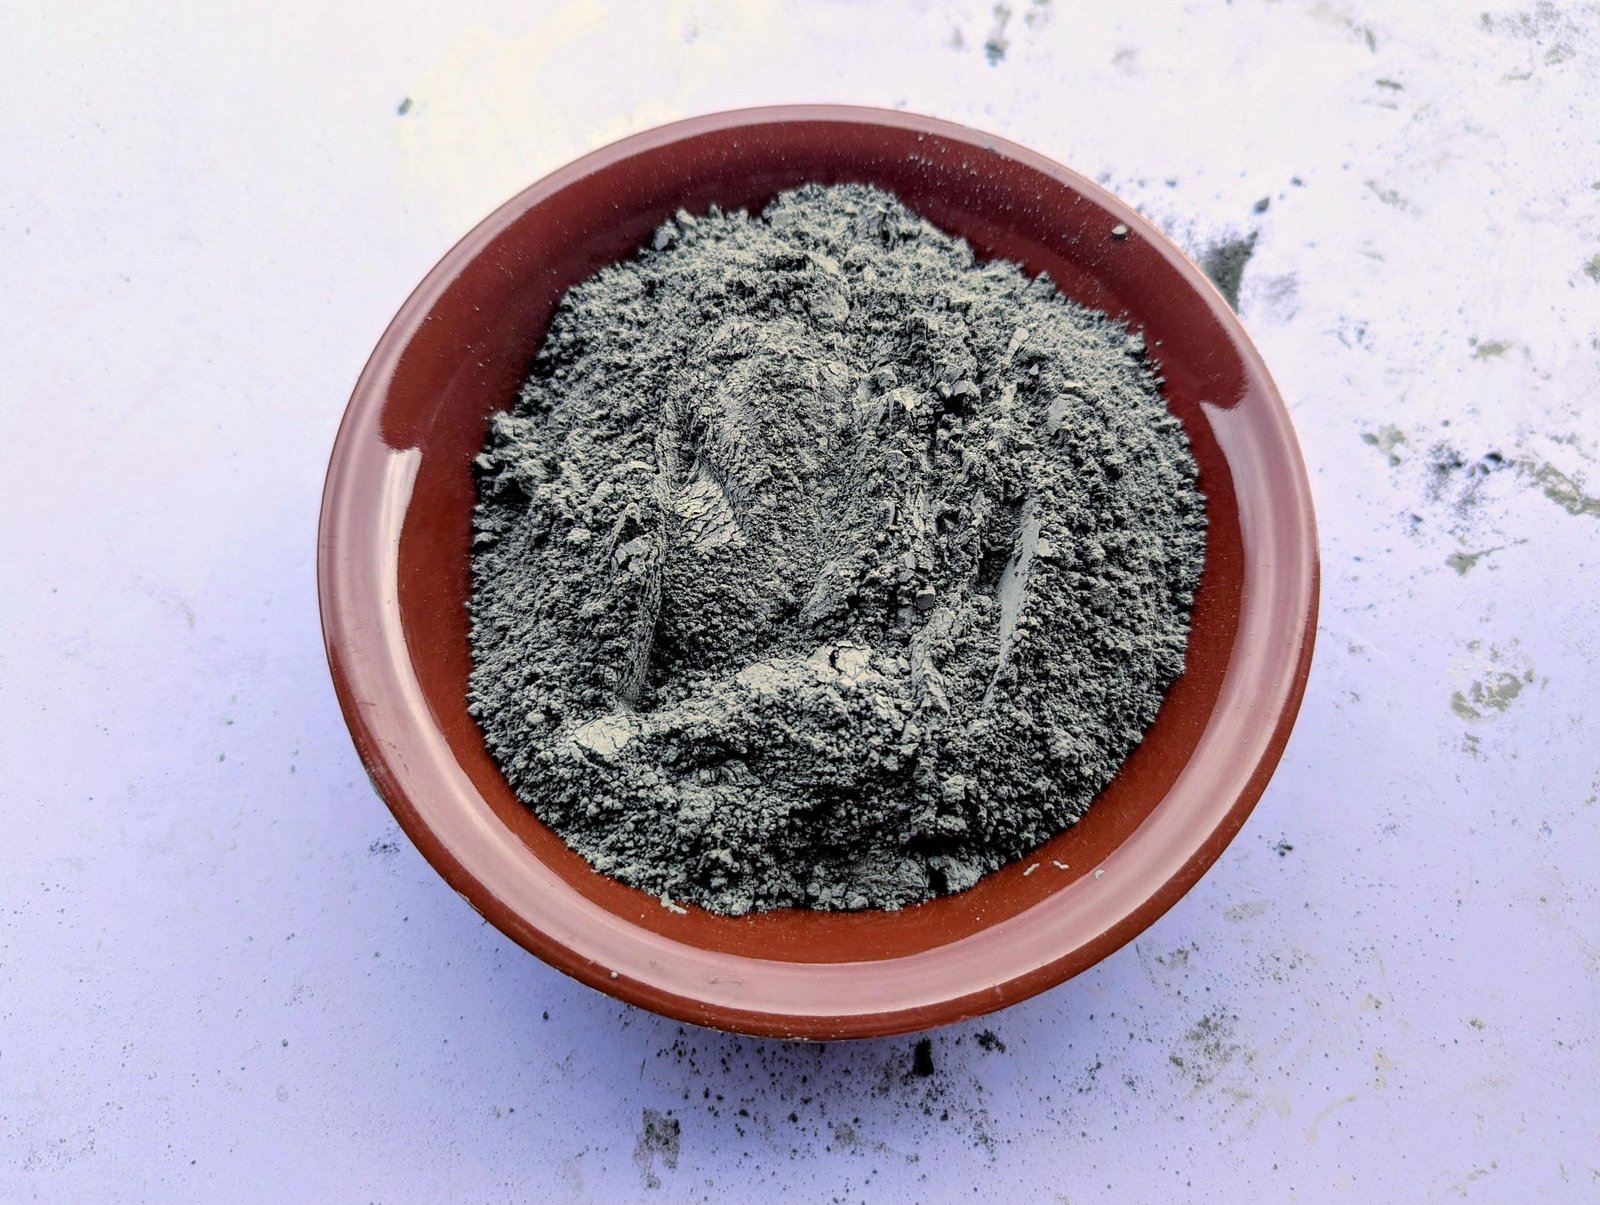
- Cement and clean water
- Small bucket or mixing container
- Hand trowel
- Work gloves
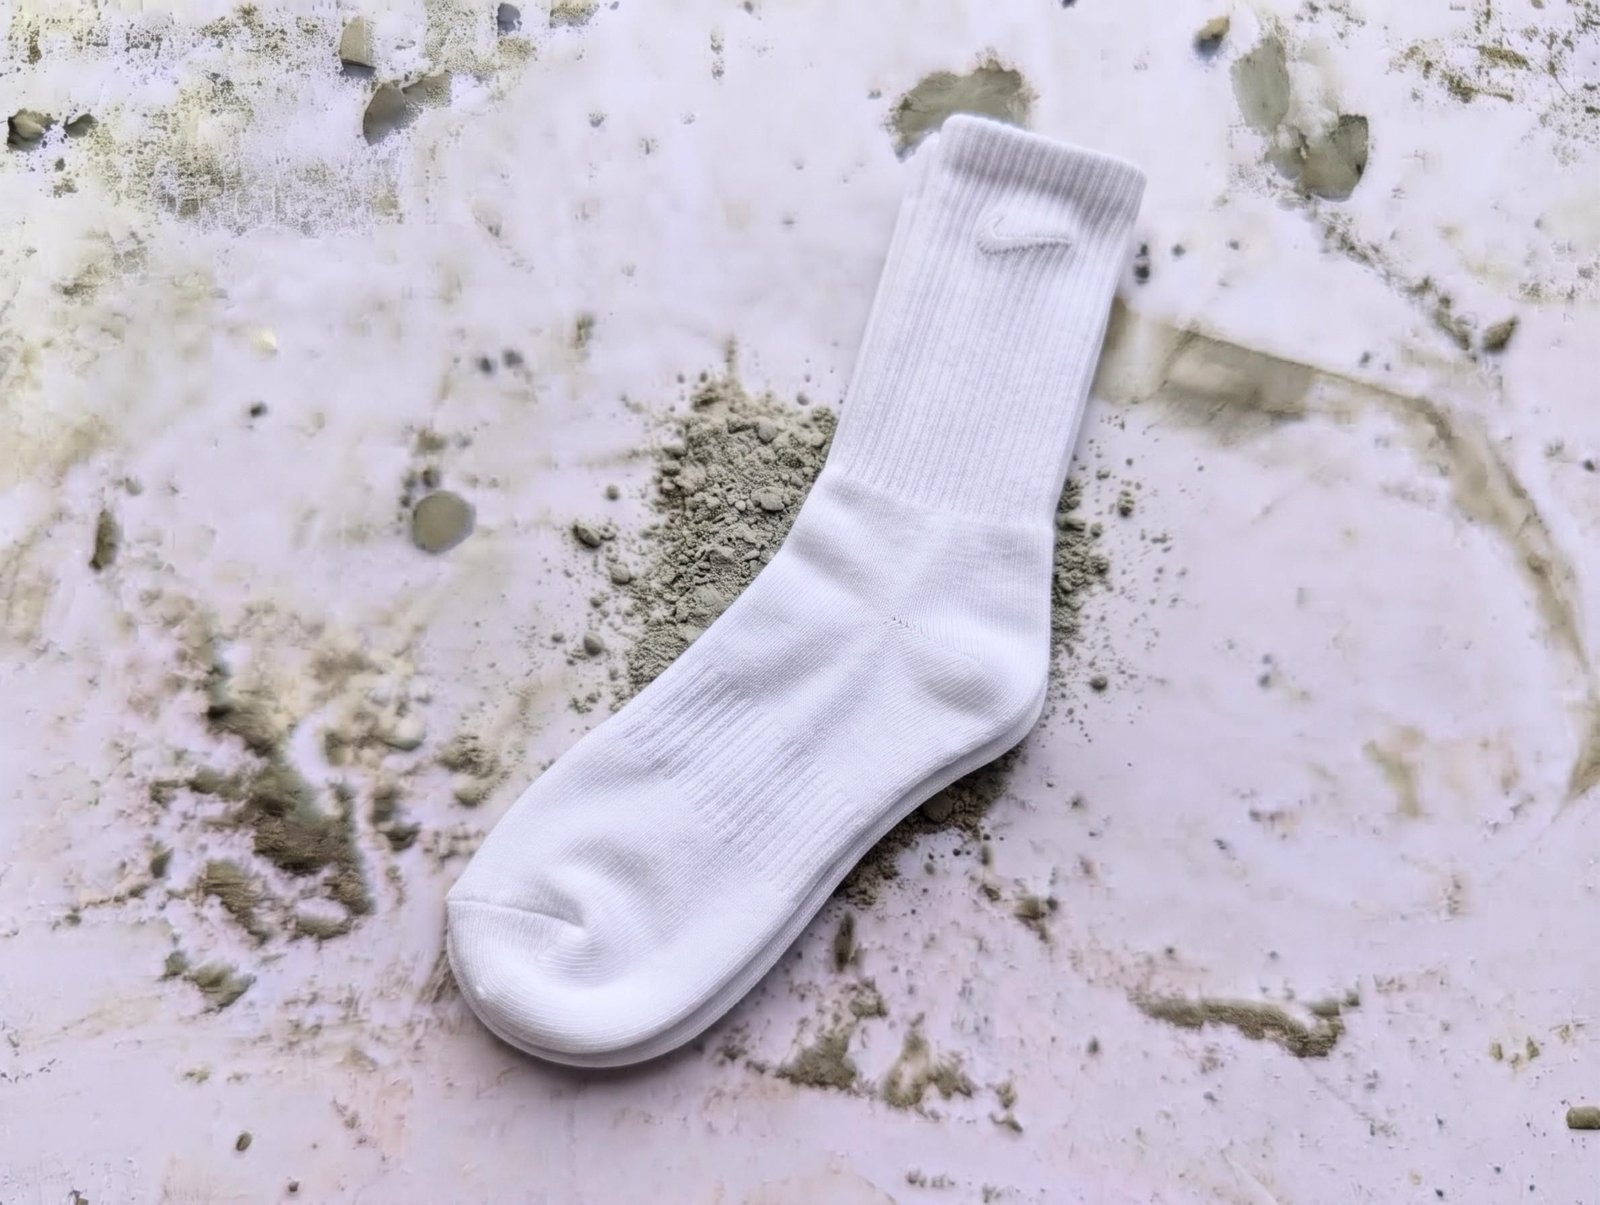
- Old socks
- Scissors
- Shallow plate
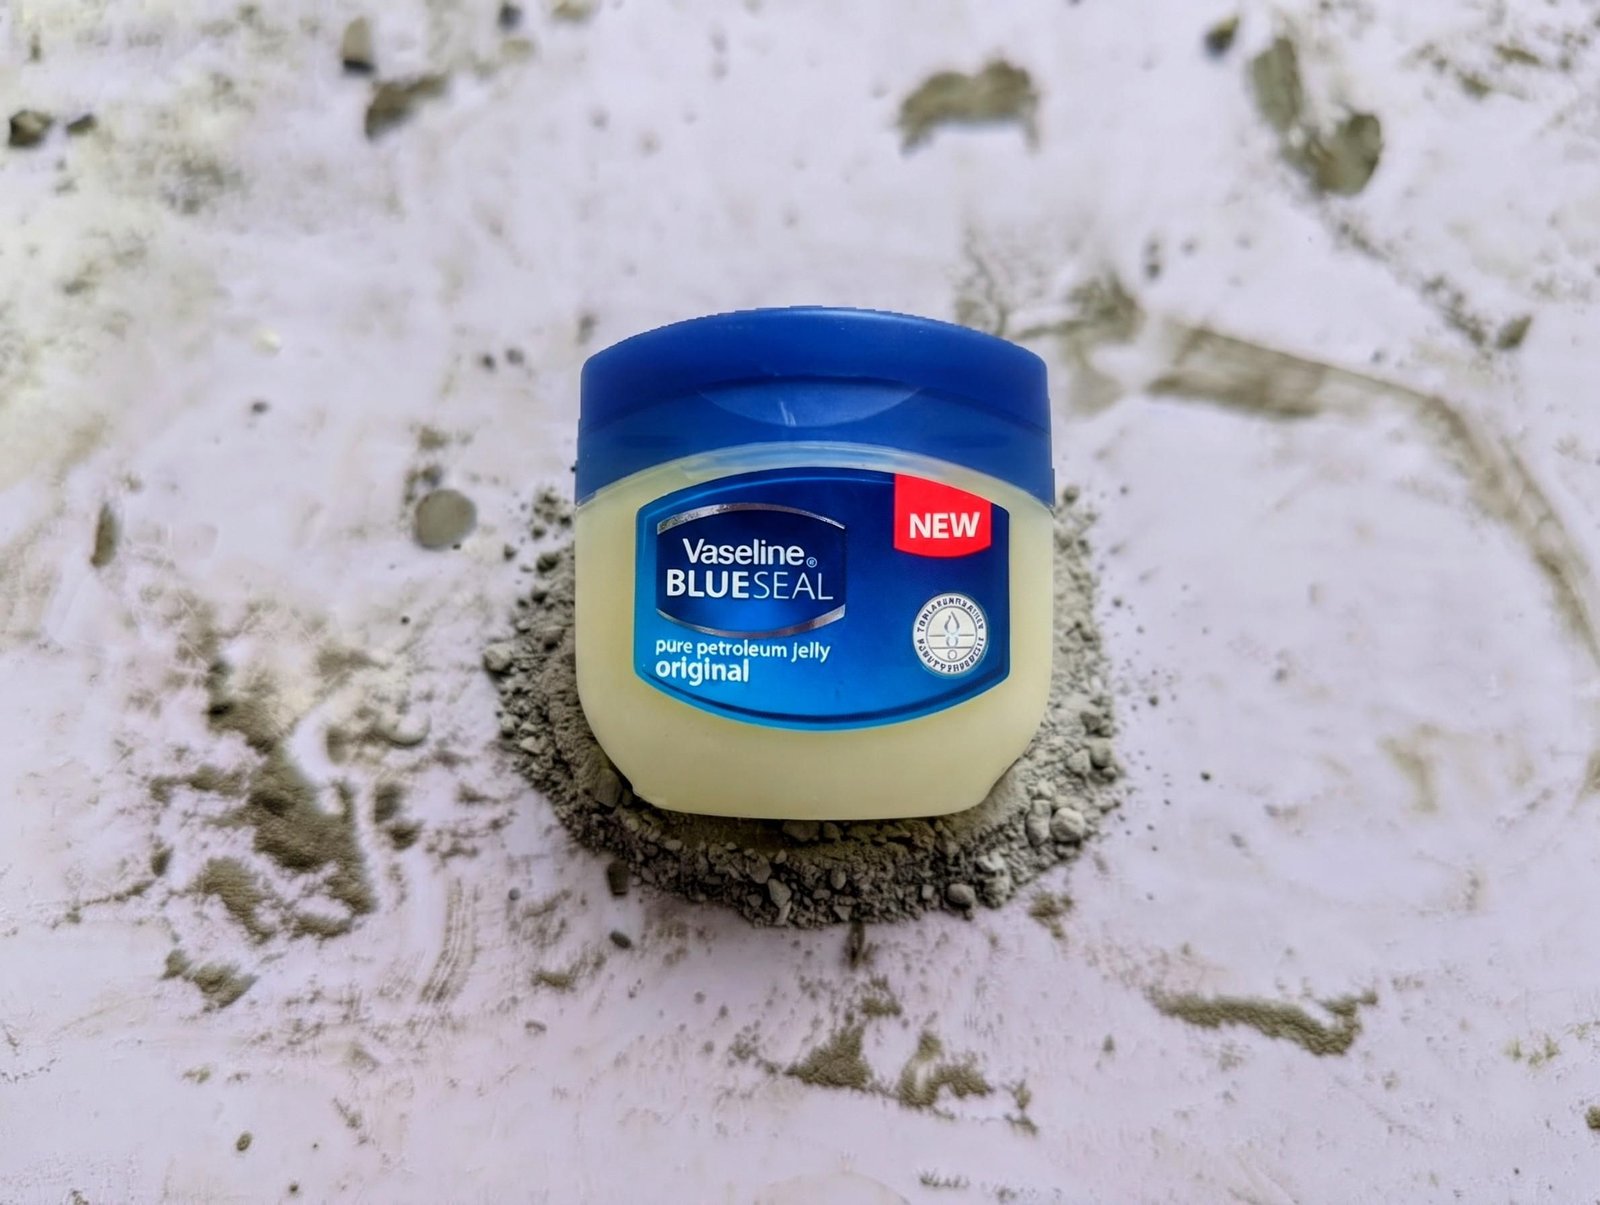
- Petroleum jelly
- Rubber glove
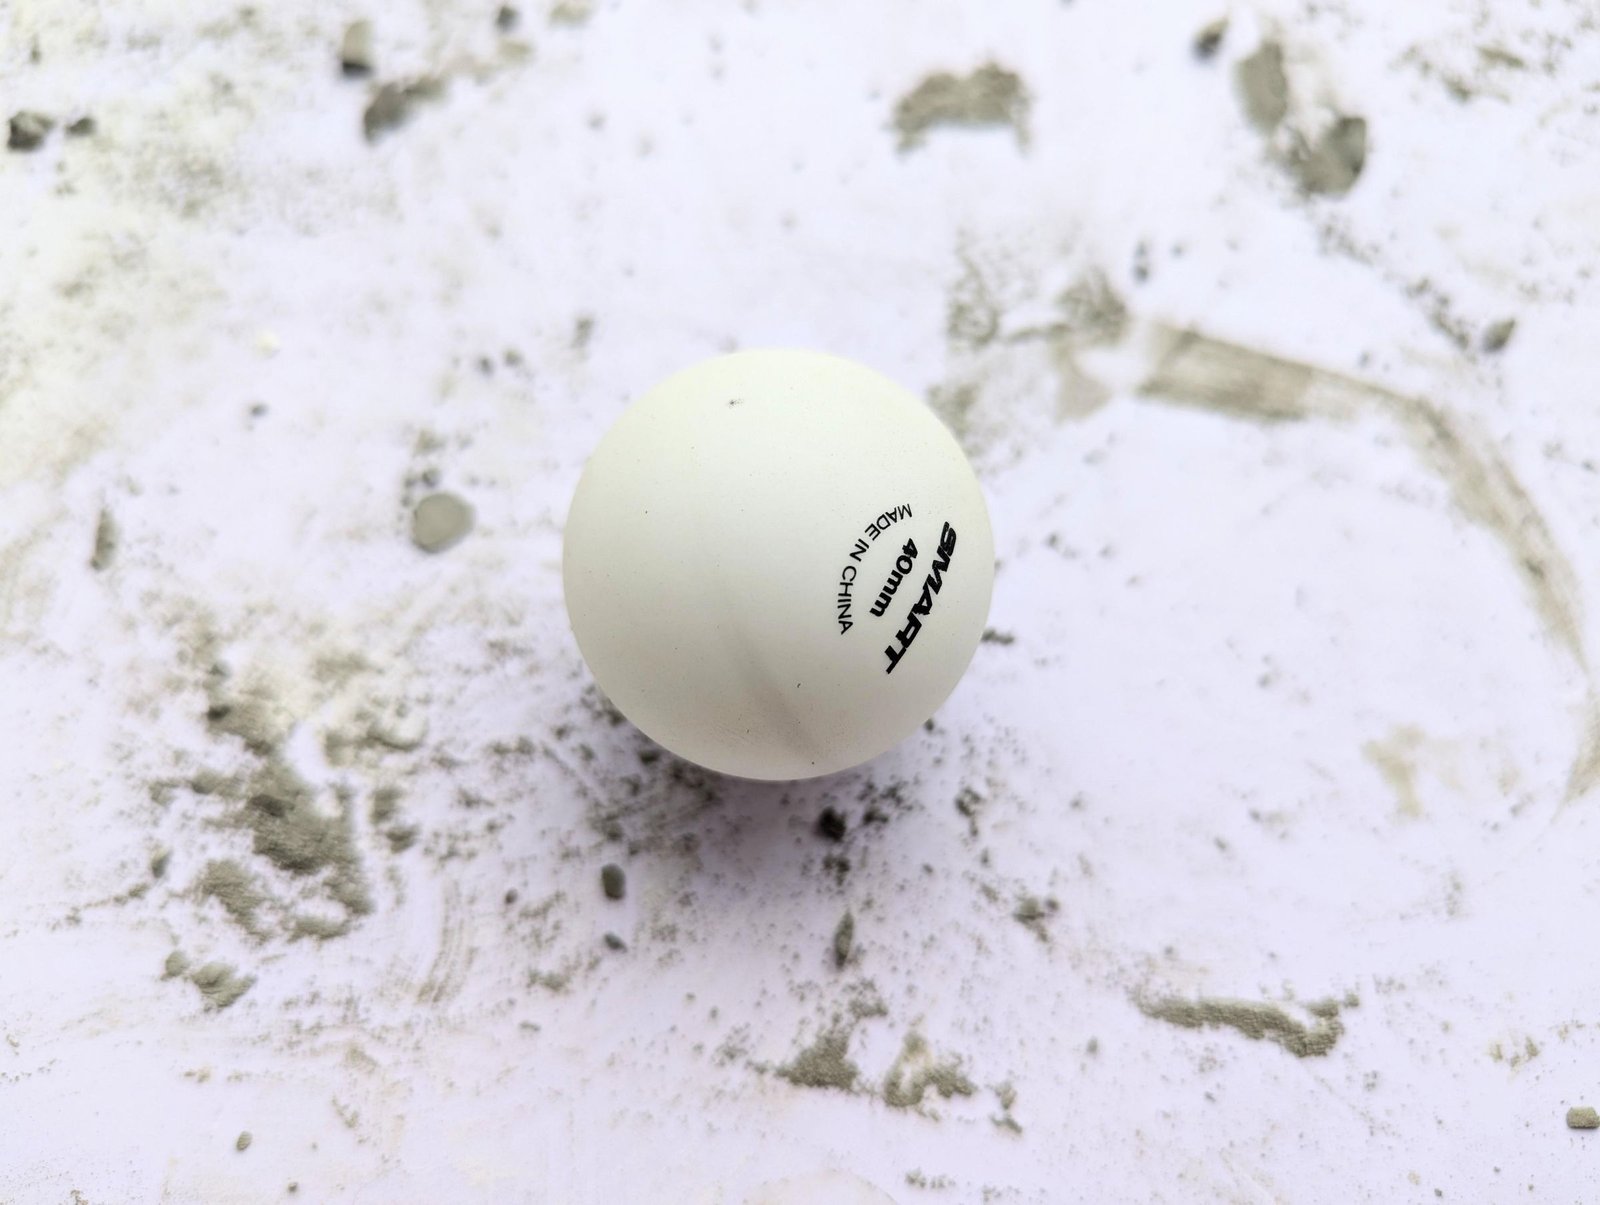
- Ping-pong ball
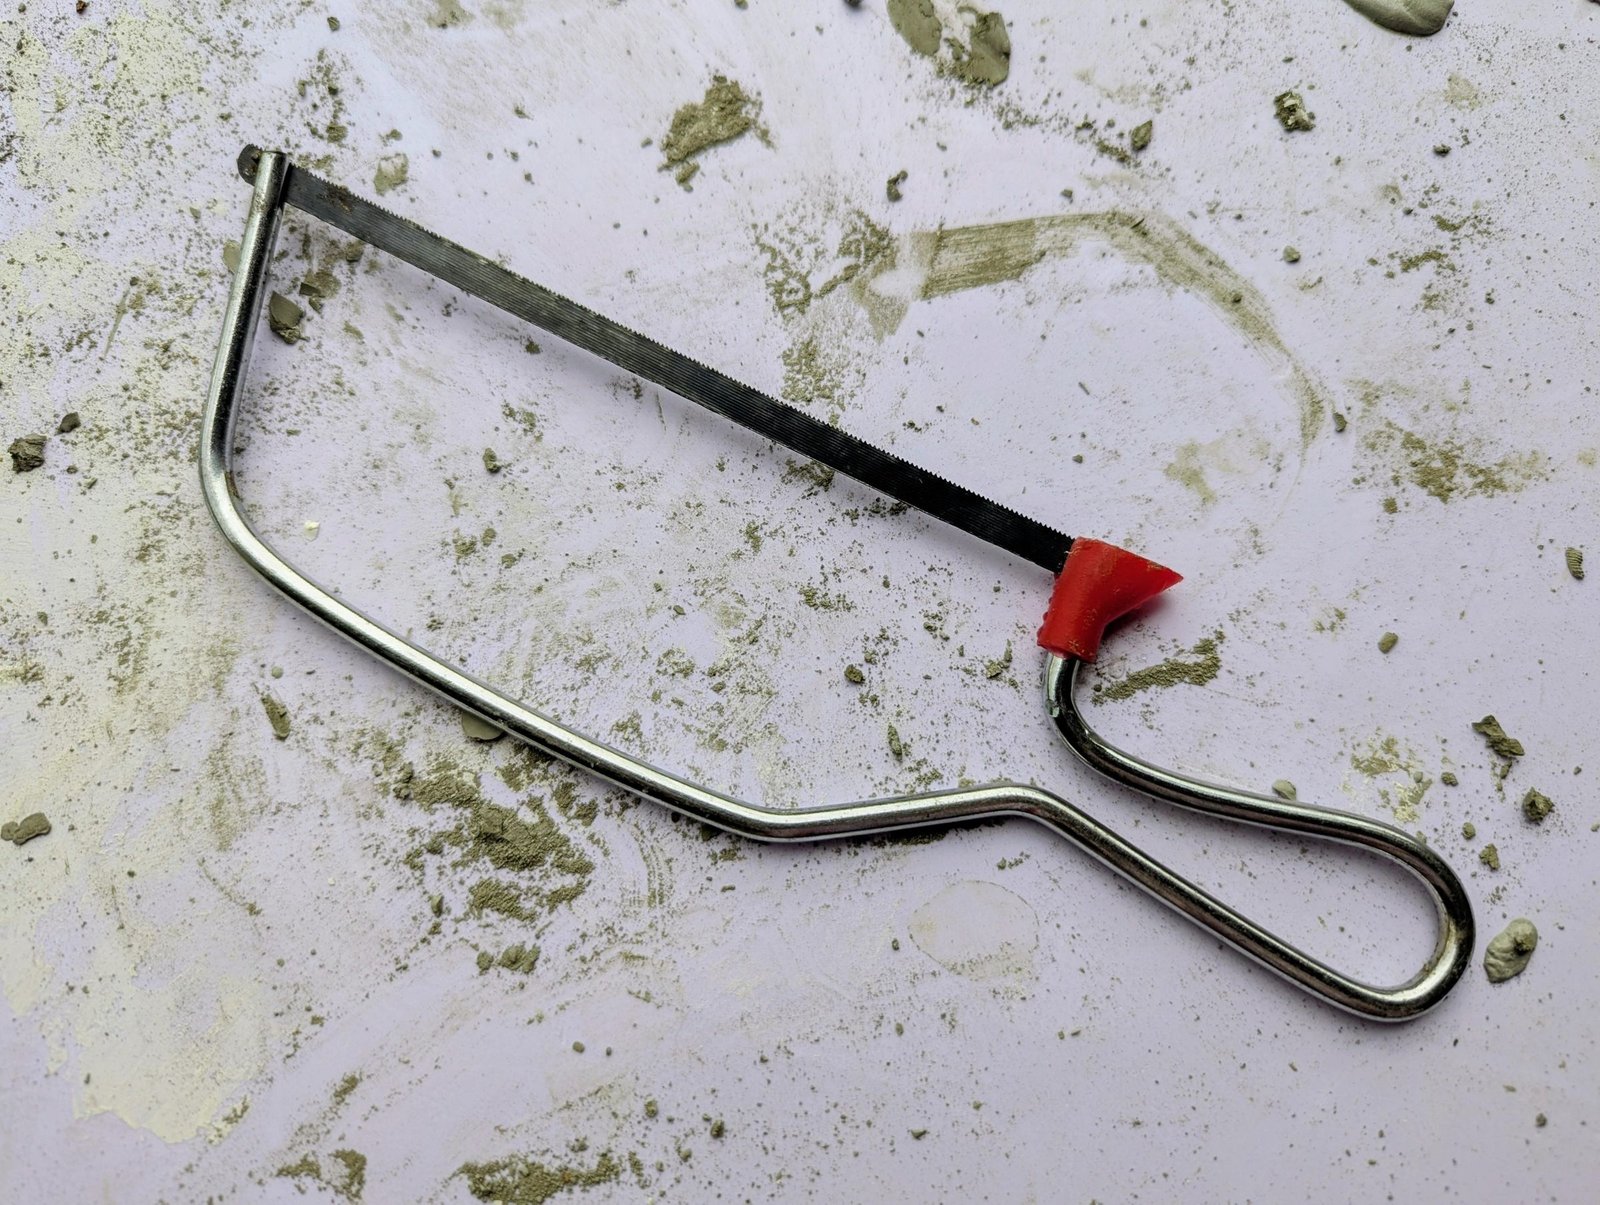
- Small hand saw
- Sandpaper
- White, red, and yellow paint
- White cement
- Fine paintbrush
- Eye and dust protection appropriate for the product
Safety first: Cement dust and wet cement can irritate skin, eyes, and lungs. Follow the product label, wear gloves and eye protection, use suitable particulate protection for dusty work, and mix or sand in a well-ventilated outdoor area. Secure the ping-pong ball before sawing and keep hands away from the blade.
Step 1: Cast a Naturally Shaped Stem
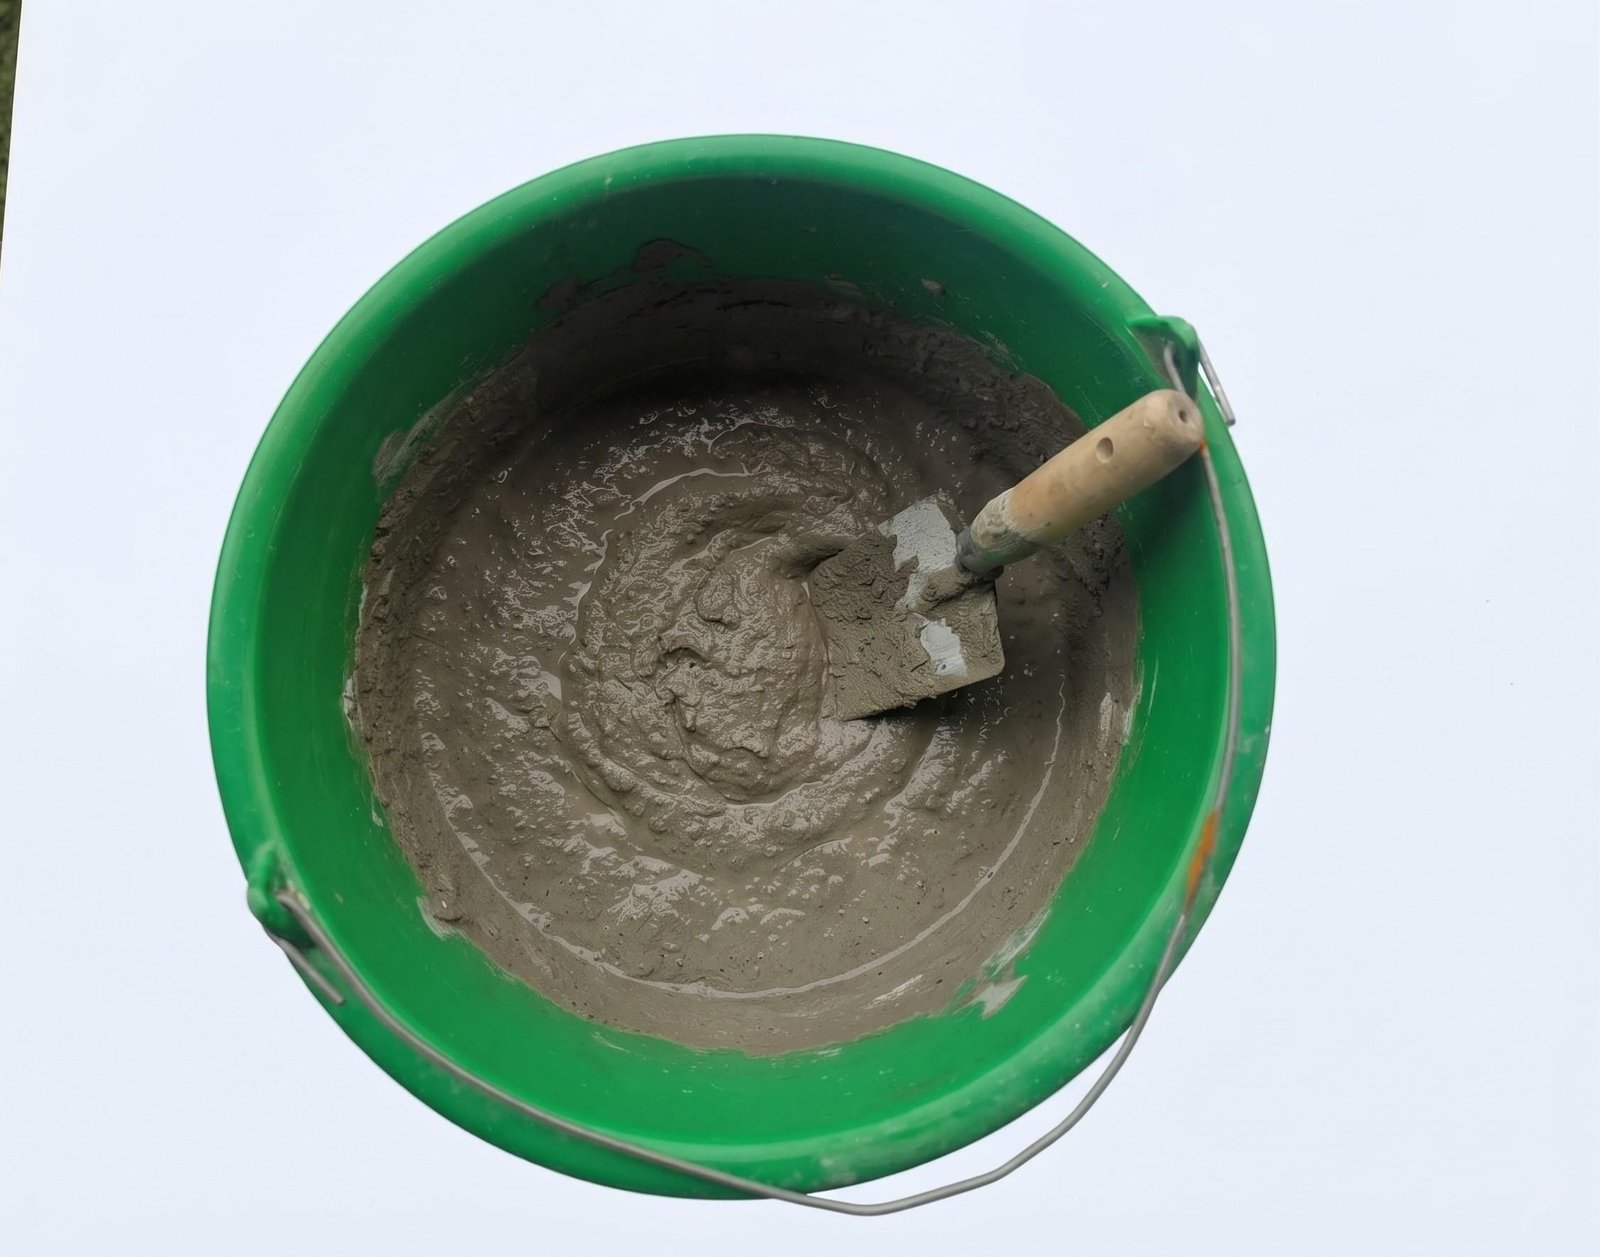
Begin with the largest mushroom because its stem establishes the scale of the set. Place dry cement in a small bucket, then add water gradually while stirring. The mixture should become a smooth, heavy paste that can settle into fabric without becoming so runny that it loses its shape. Scrape the bottom and sides so no dry pockets remain.
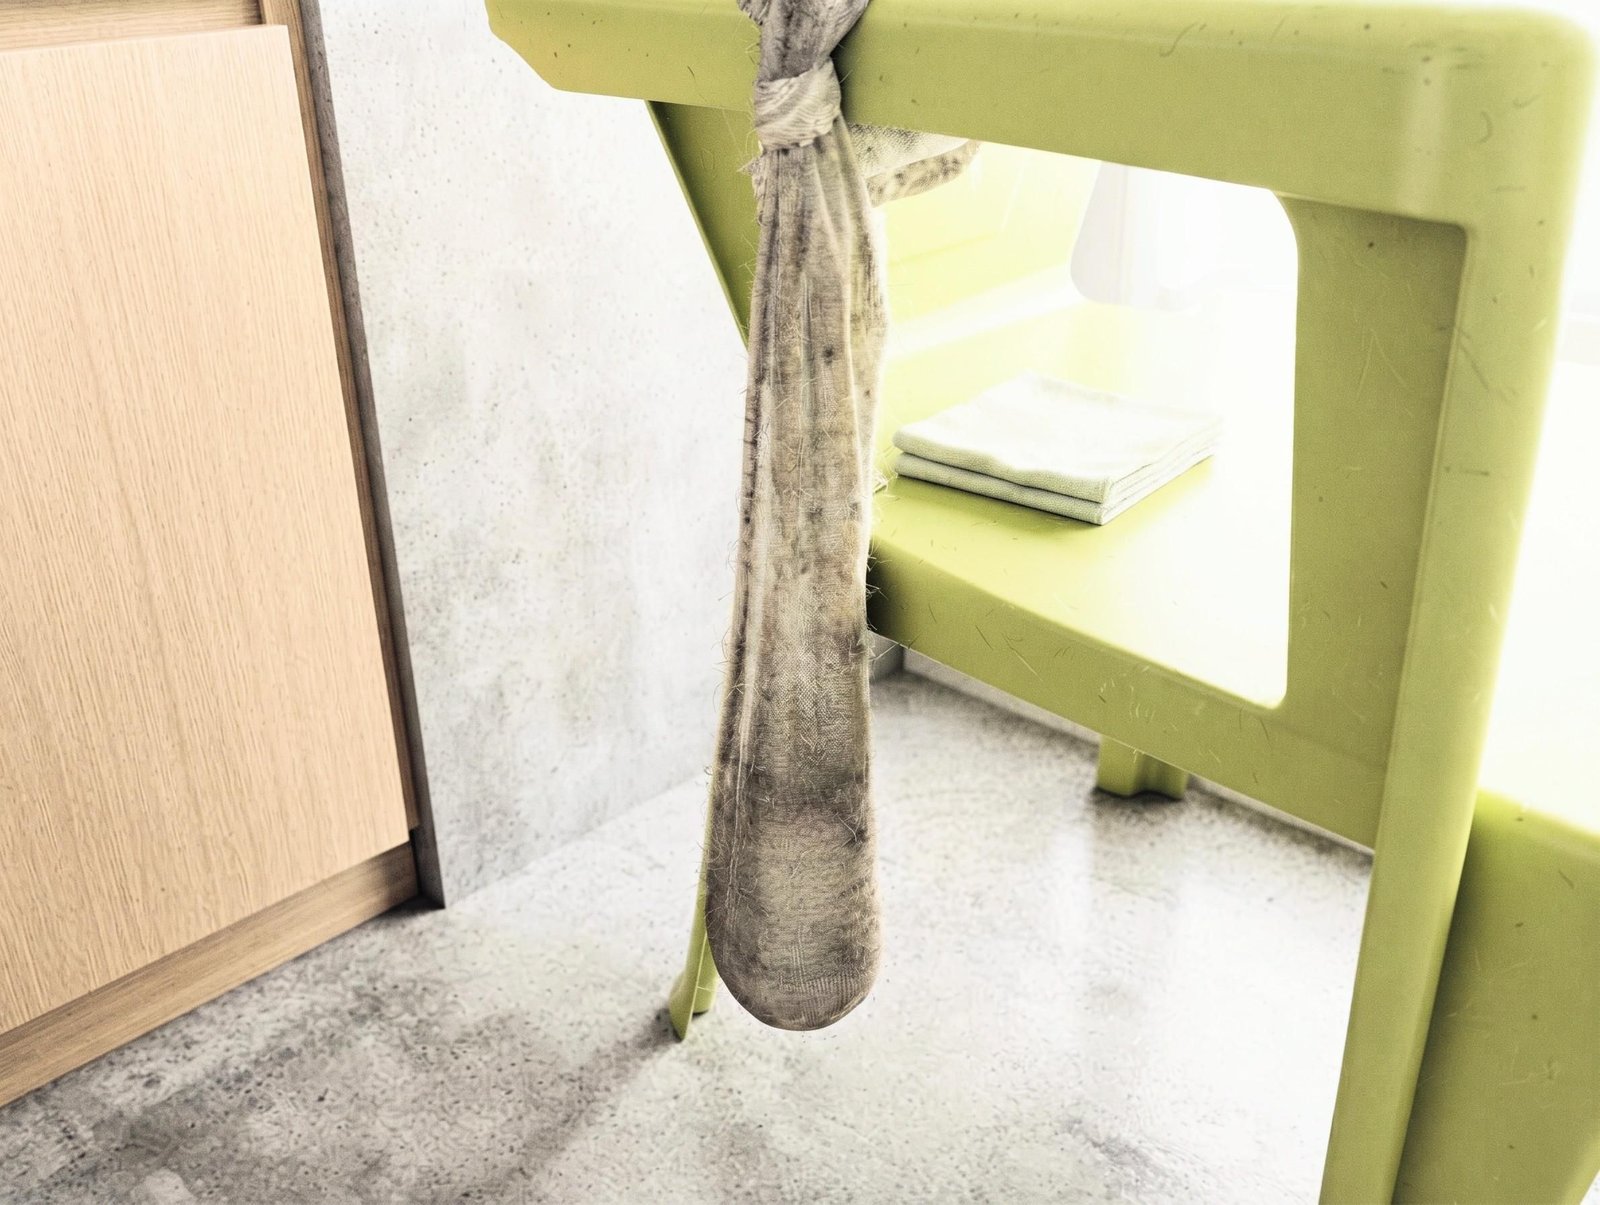
Pour the mixture into an old sock until it is about halfway full. Press gently through the fabric, widening the bottom into a stable base and tapering the form toward the top. A slight curve or unevenness is useful here; the goal is an organic stem rather than a perfect cylinder.
Tie the sock above the cement and suspend it from a chair arm so the soft cast cannot flatten against a work surface. Protect the floor beneath it, then leave the stem undisturbed for the curing period specified by the cement manufacturer.
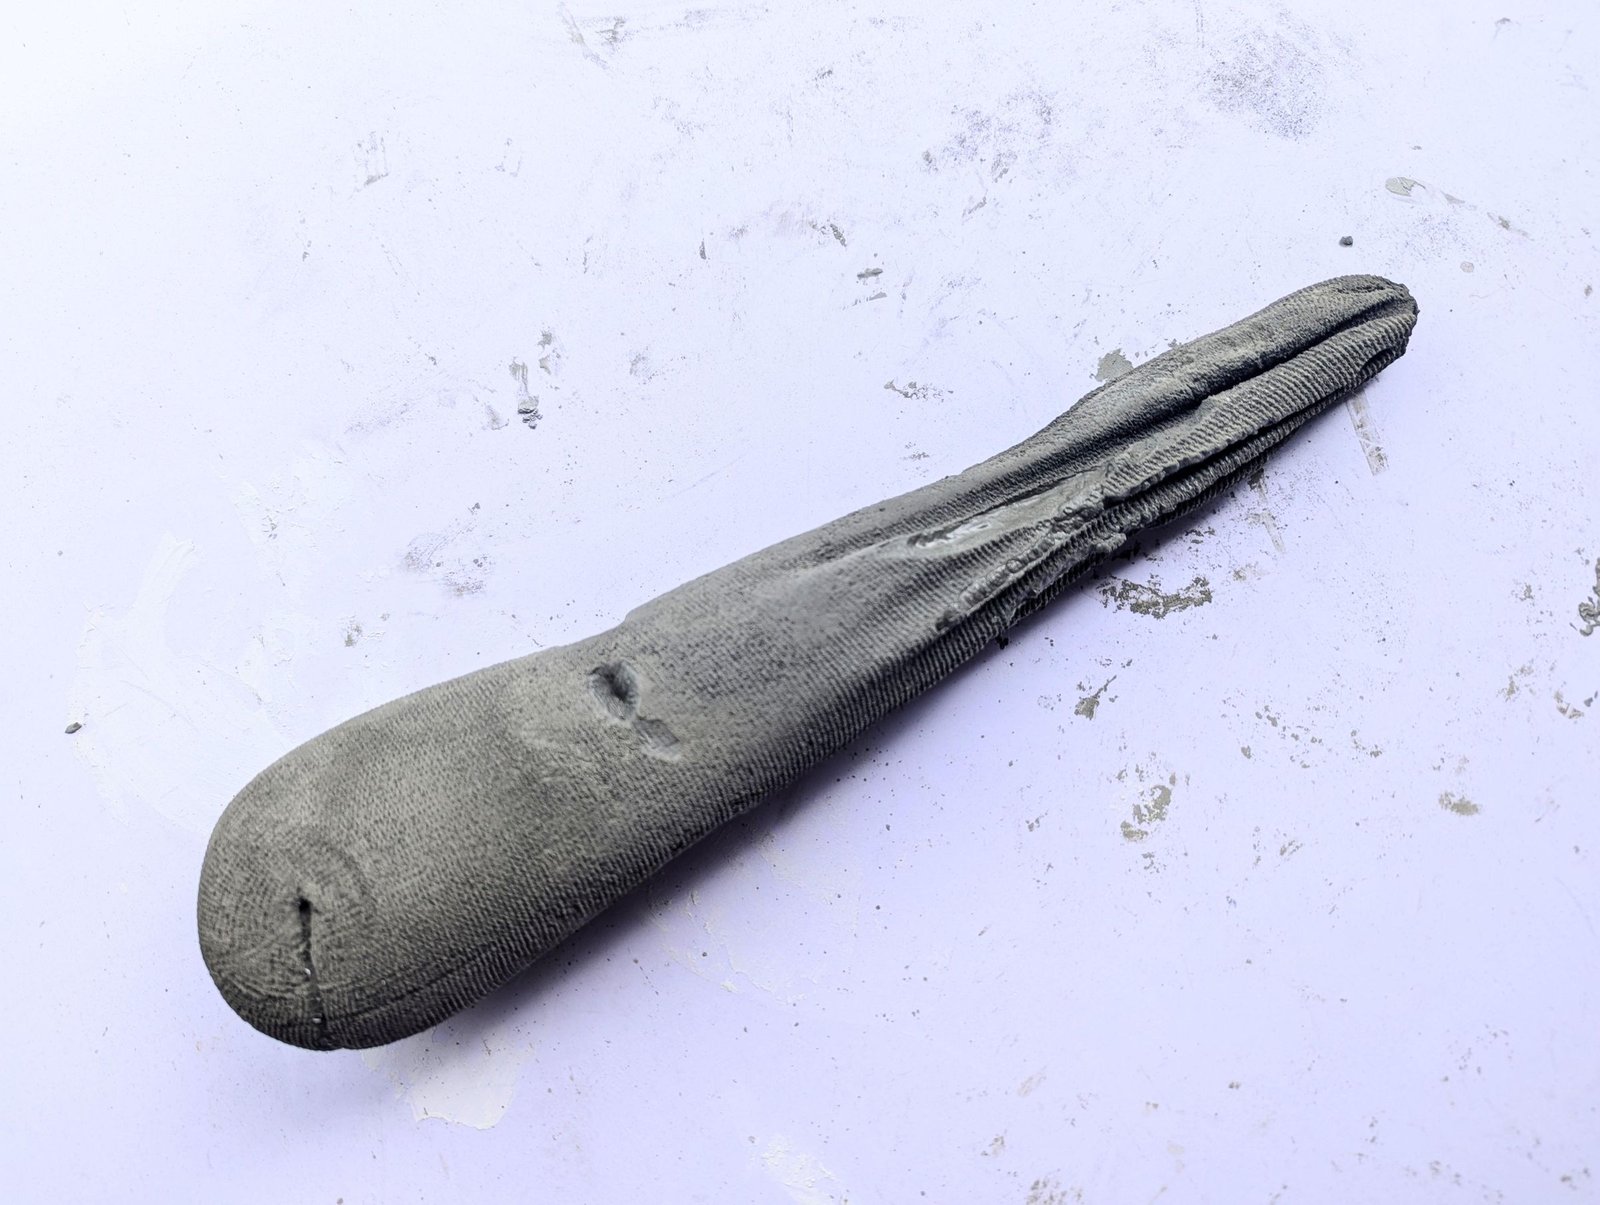
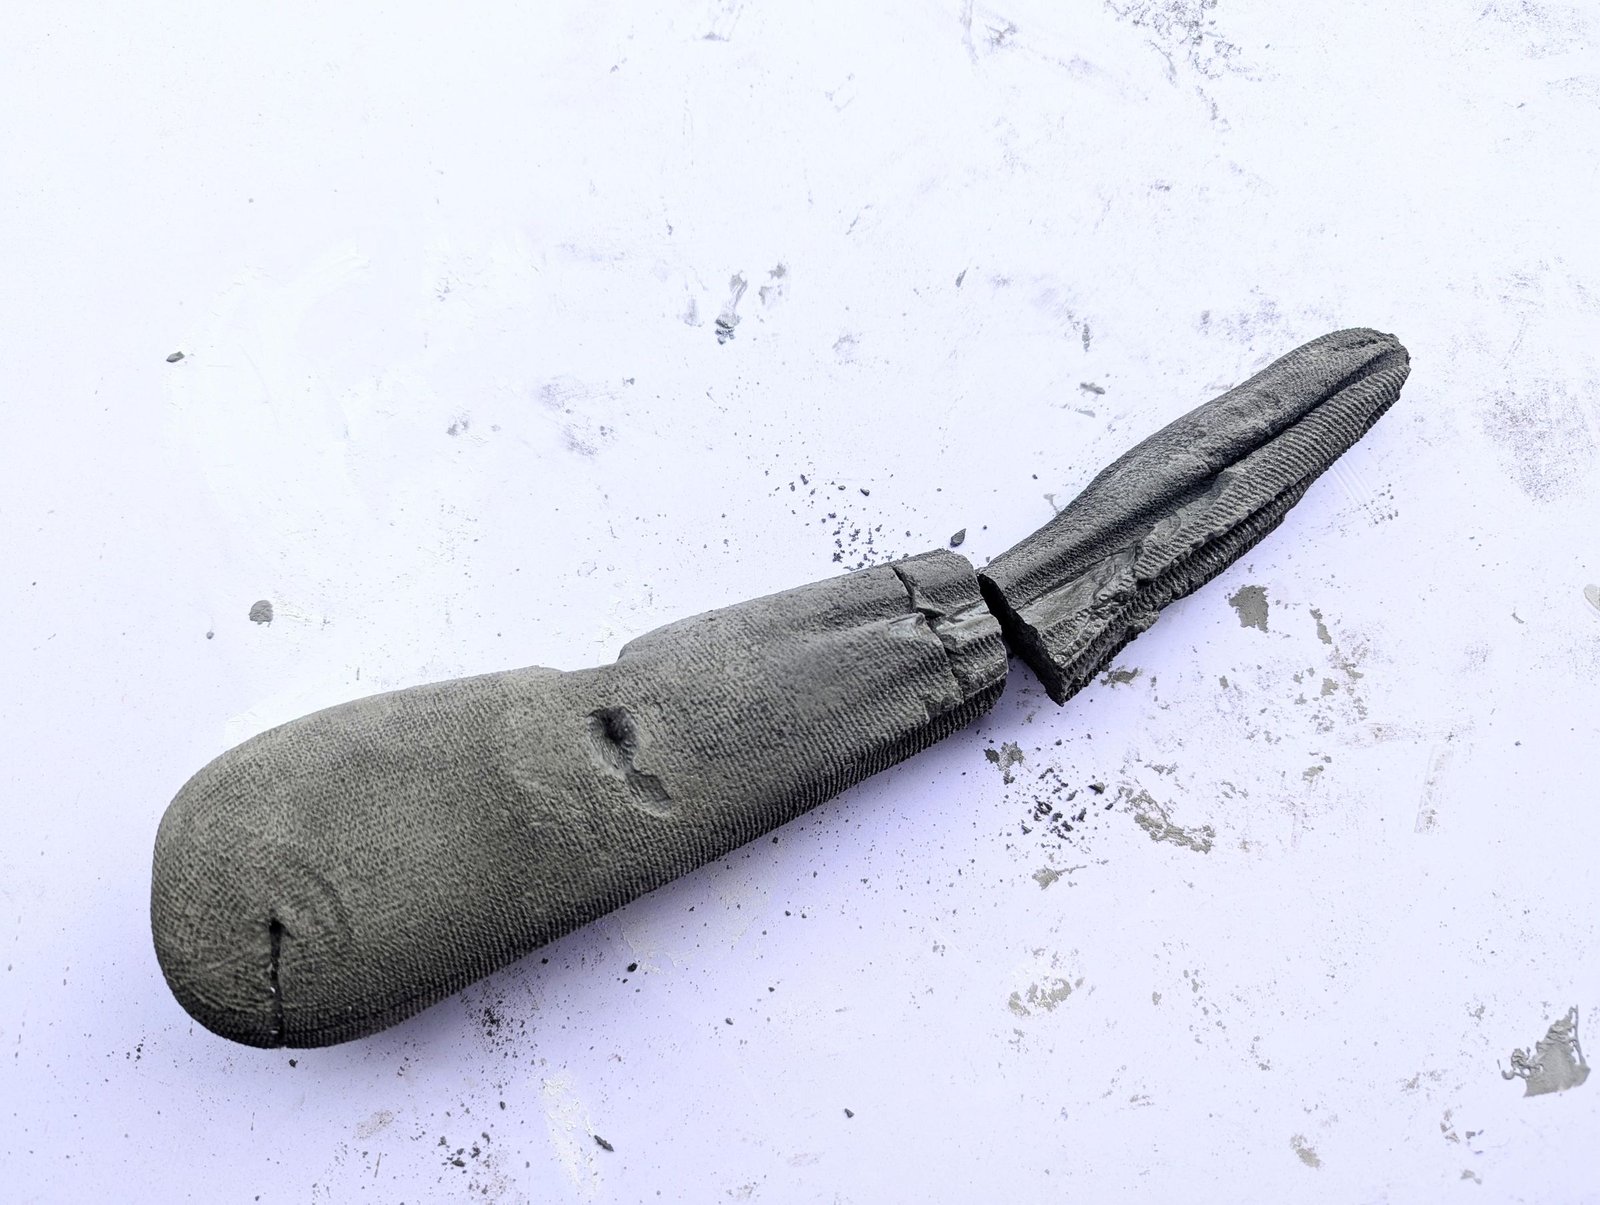
When the cast can hold its shape, cut and peel away the sock. The tied end may leave a thin projection. Snap or trim that excess away so the narrow tip is ready to be embedded in the cap.
Step 2: Form and Join the Main Cap
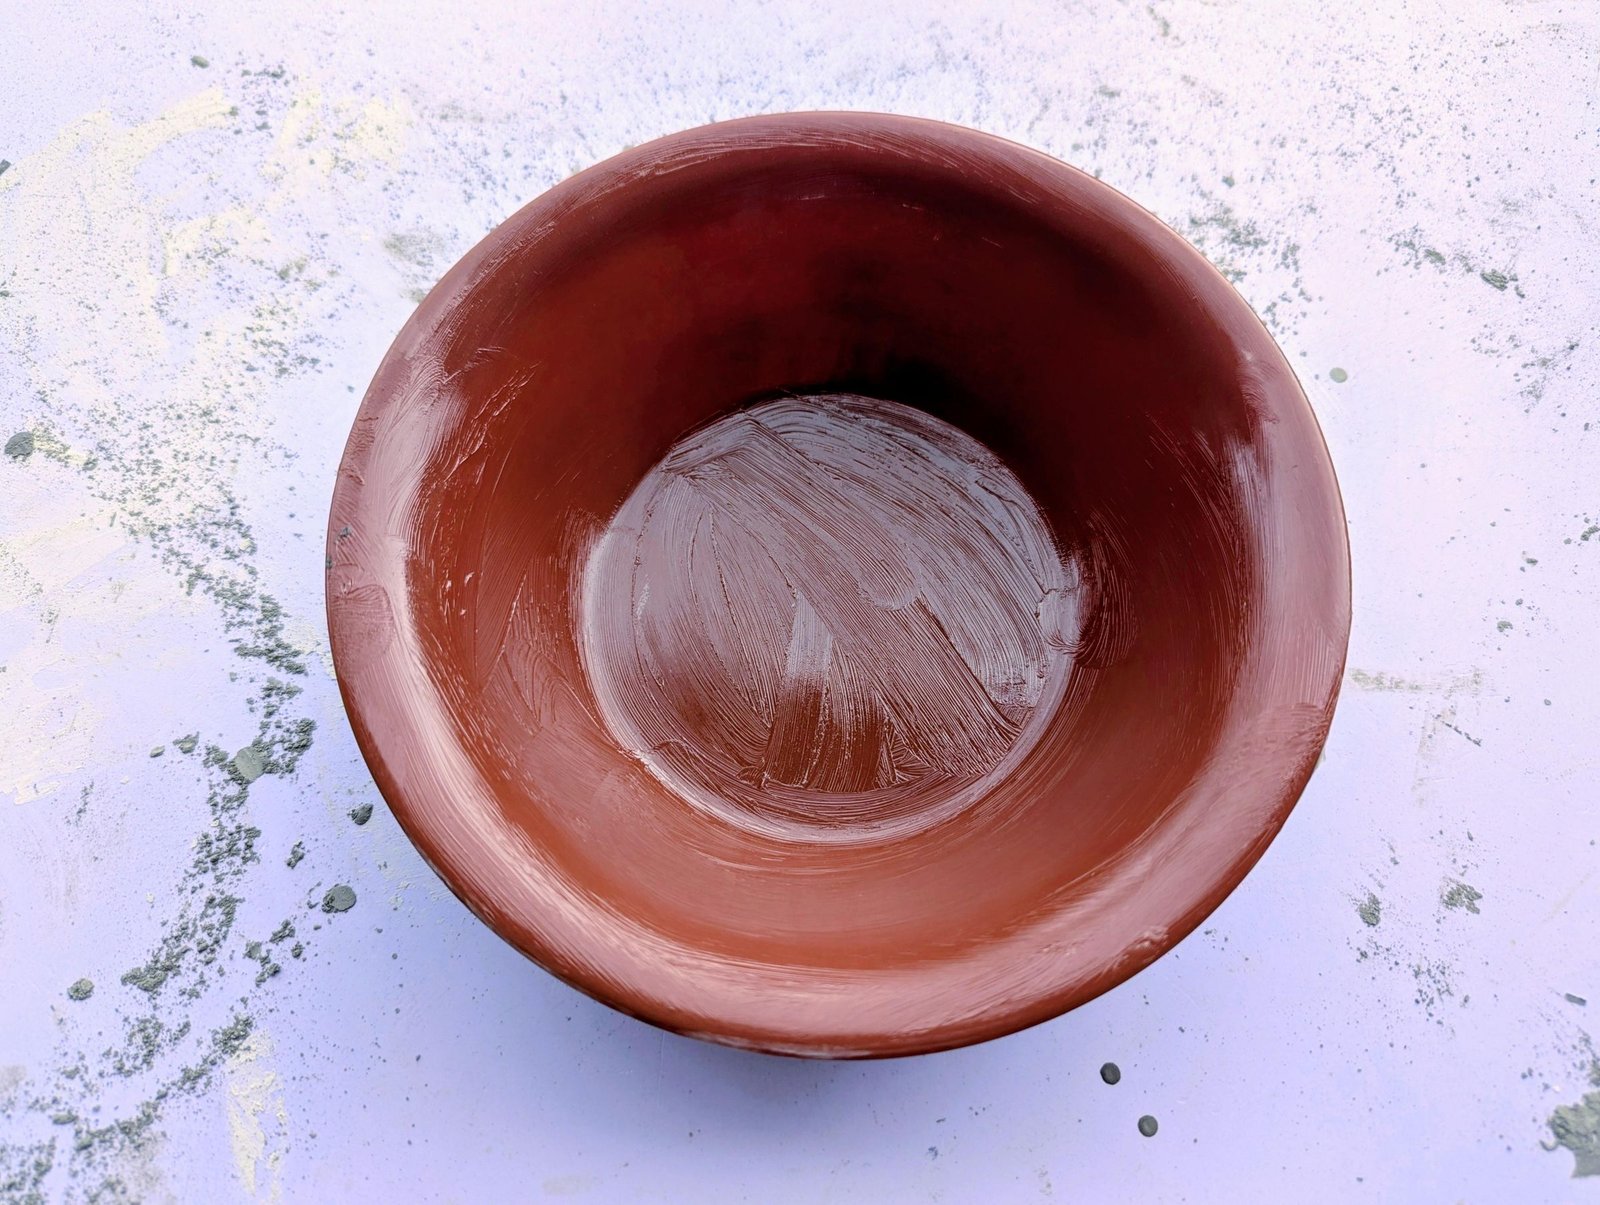
Choose a shallow plate whose curve resembles the underside of a broad mushroom cap. Coat the inside with a thin, even film of petroleum jelly, paying attention to the rim and any recessed areas. This release layer will help the cured cap lift away without sticking.
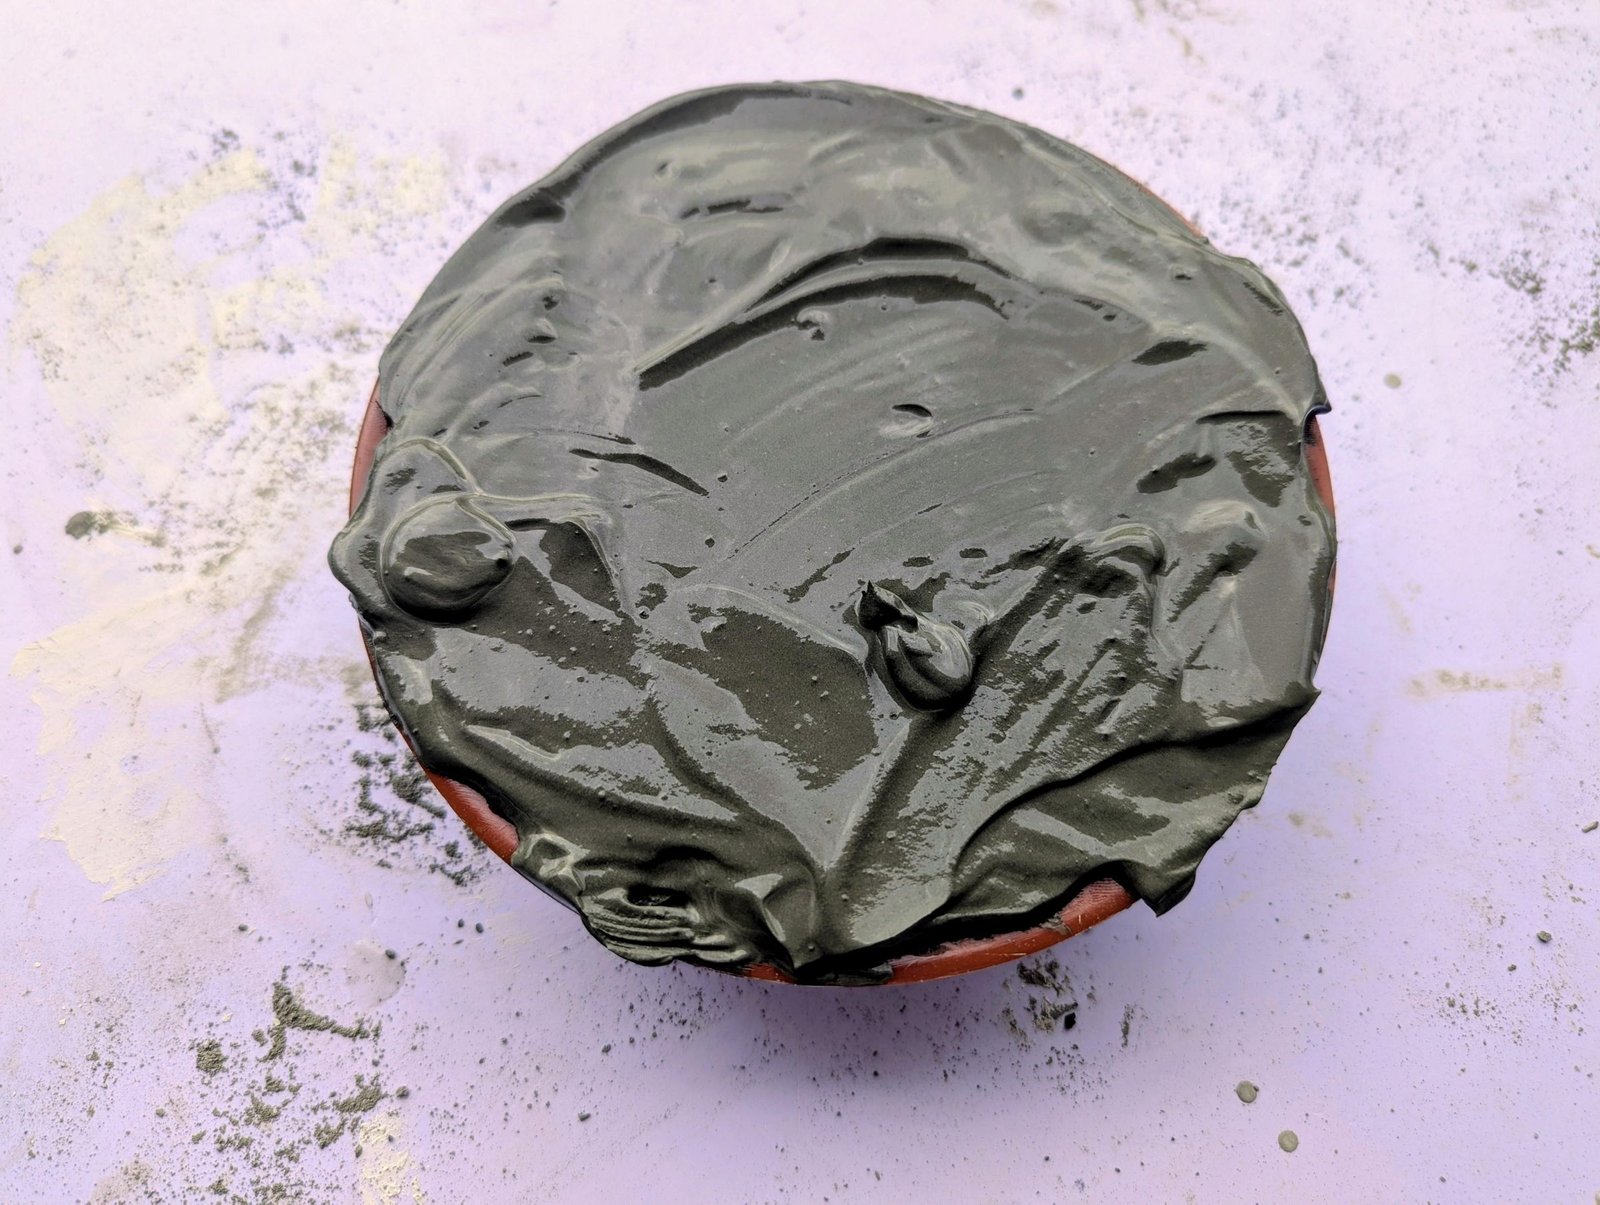
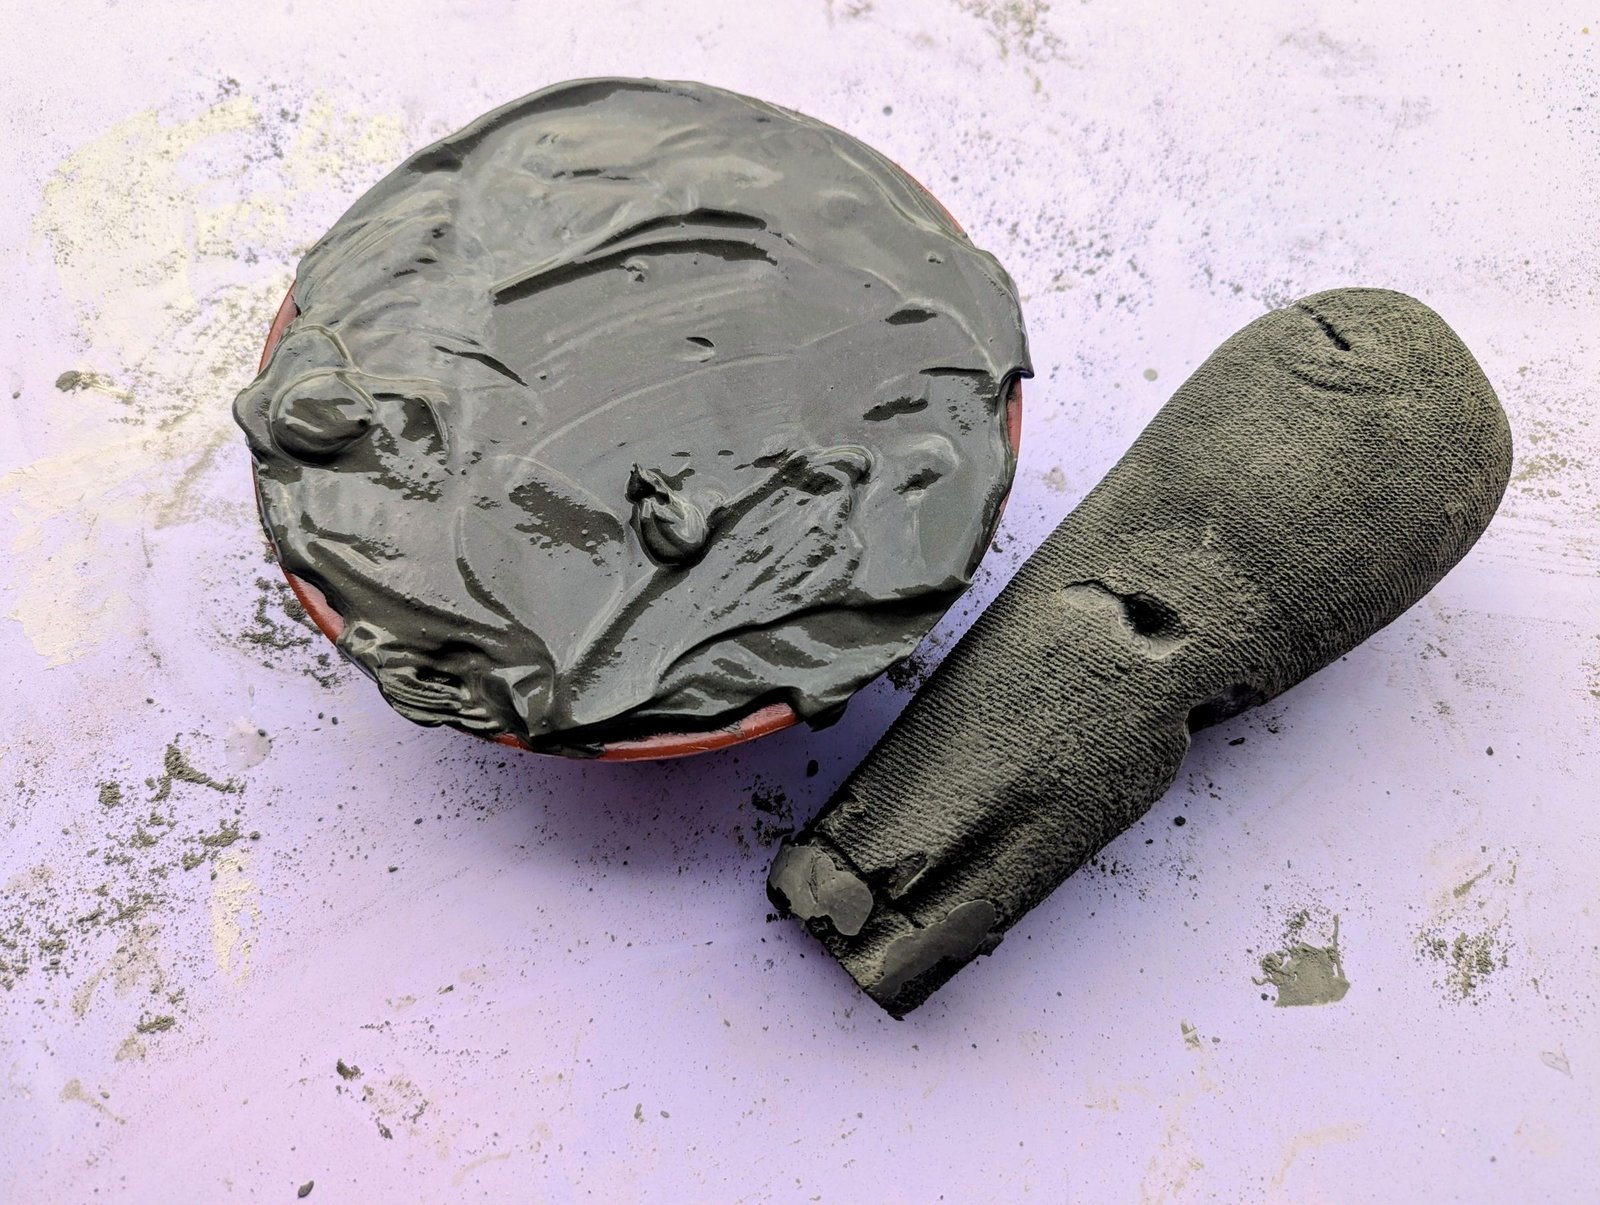
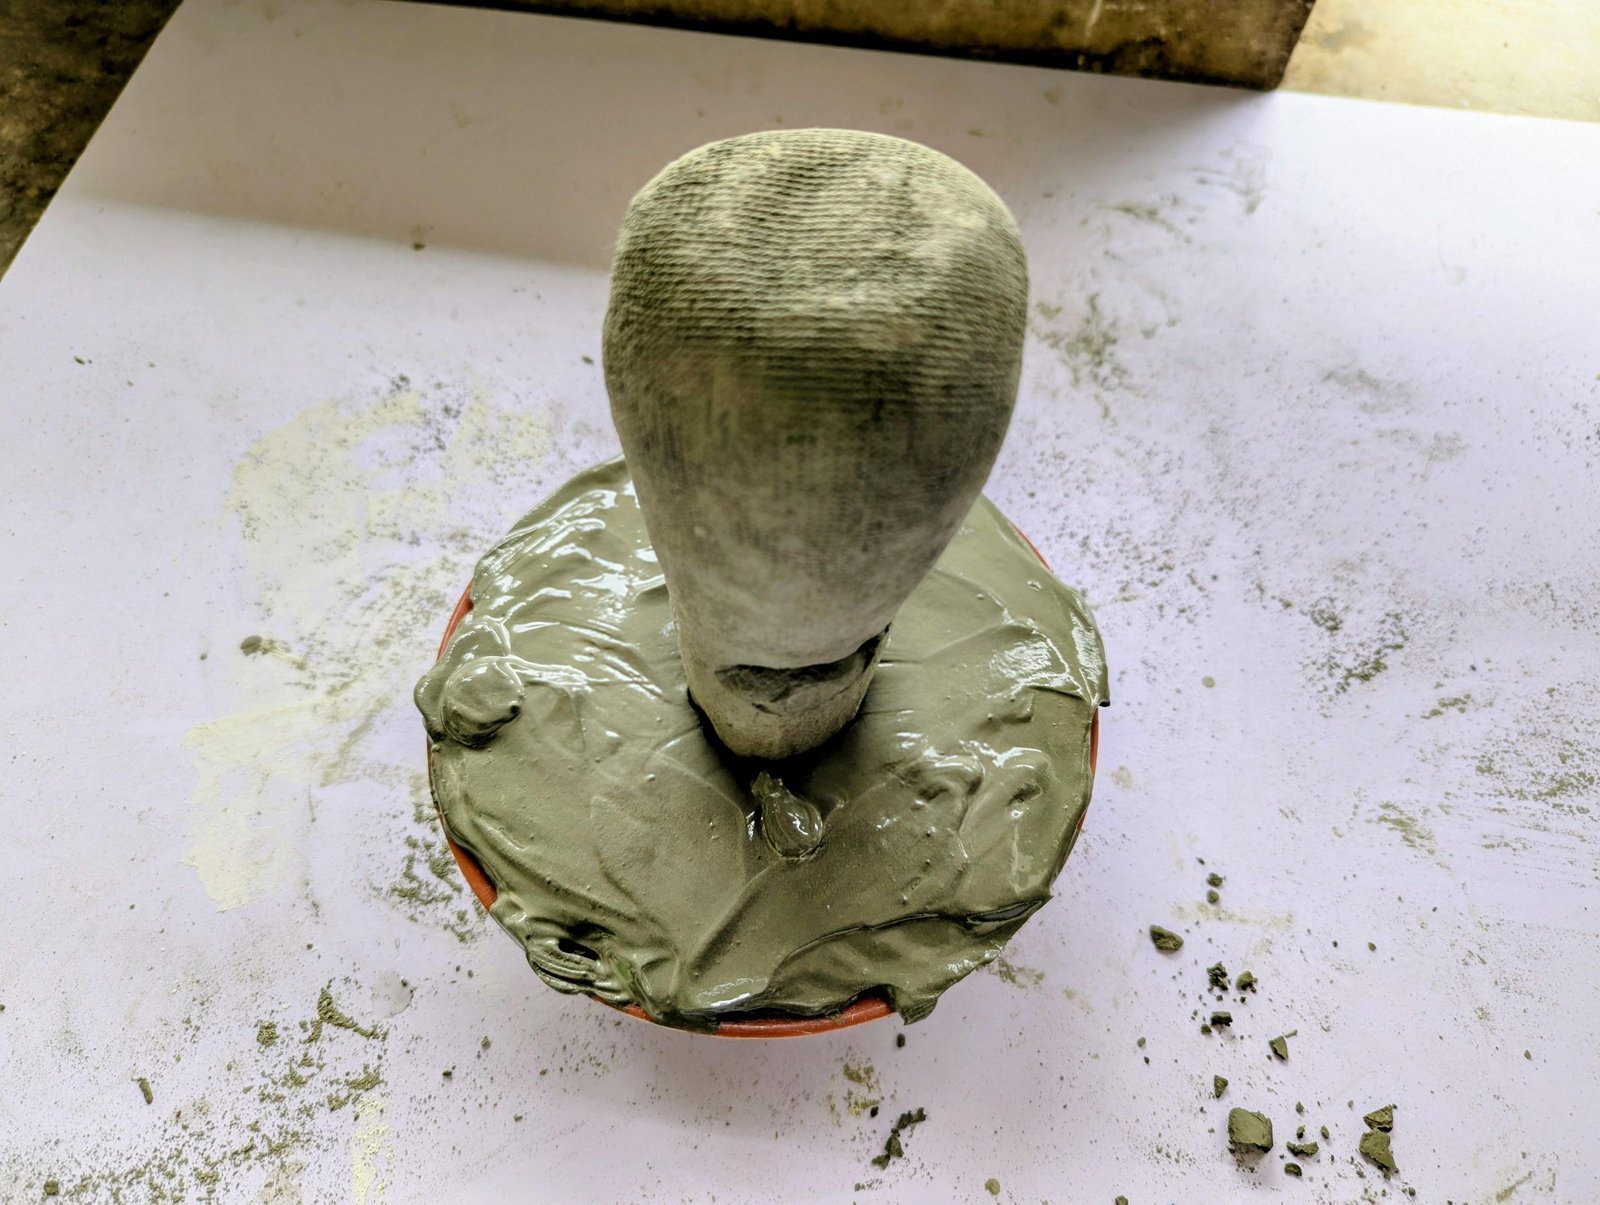
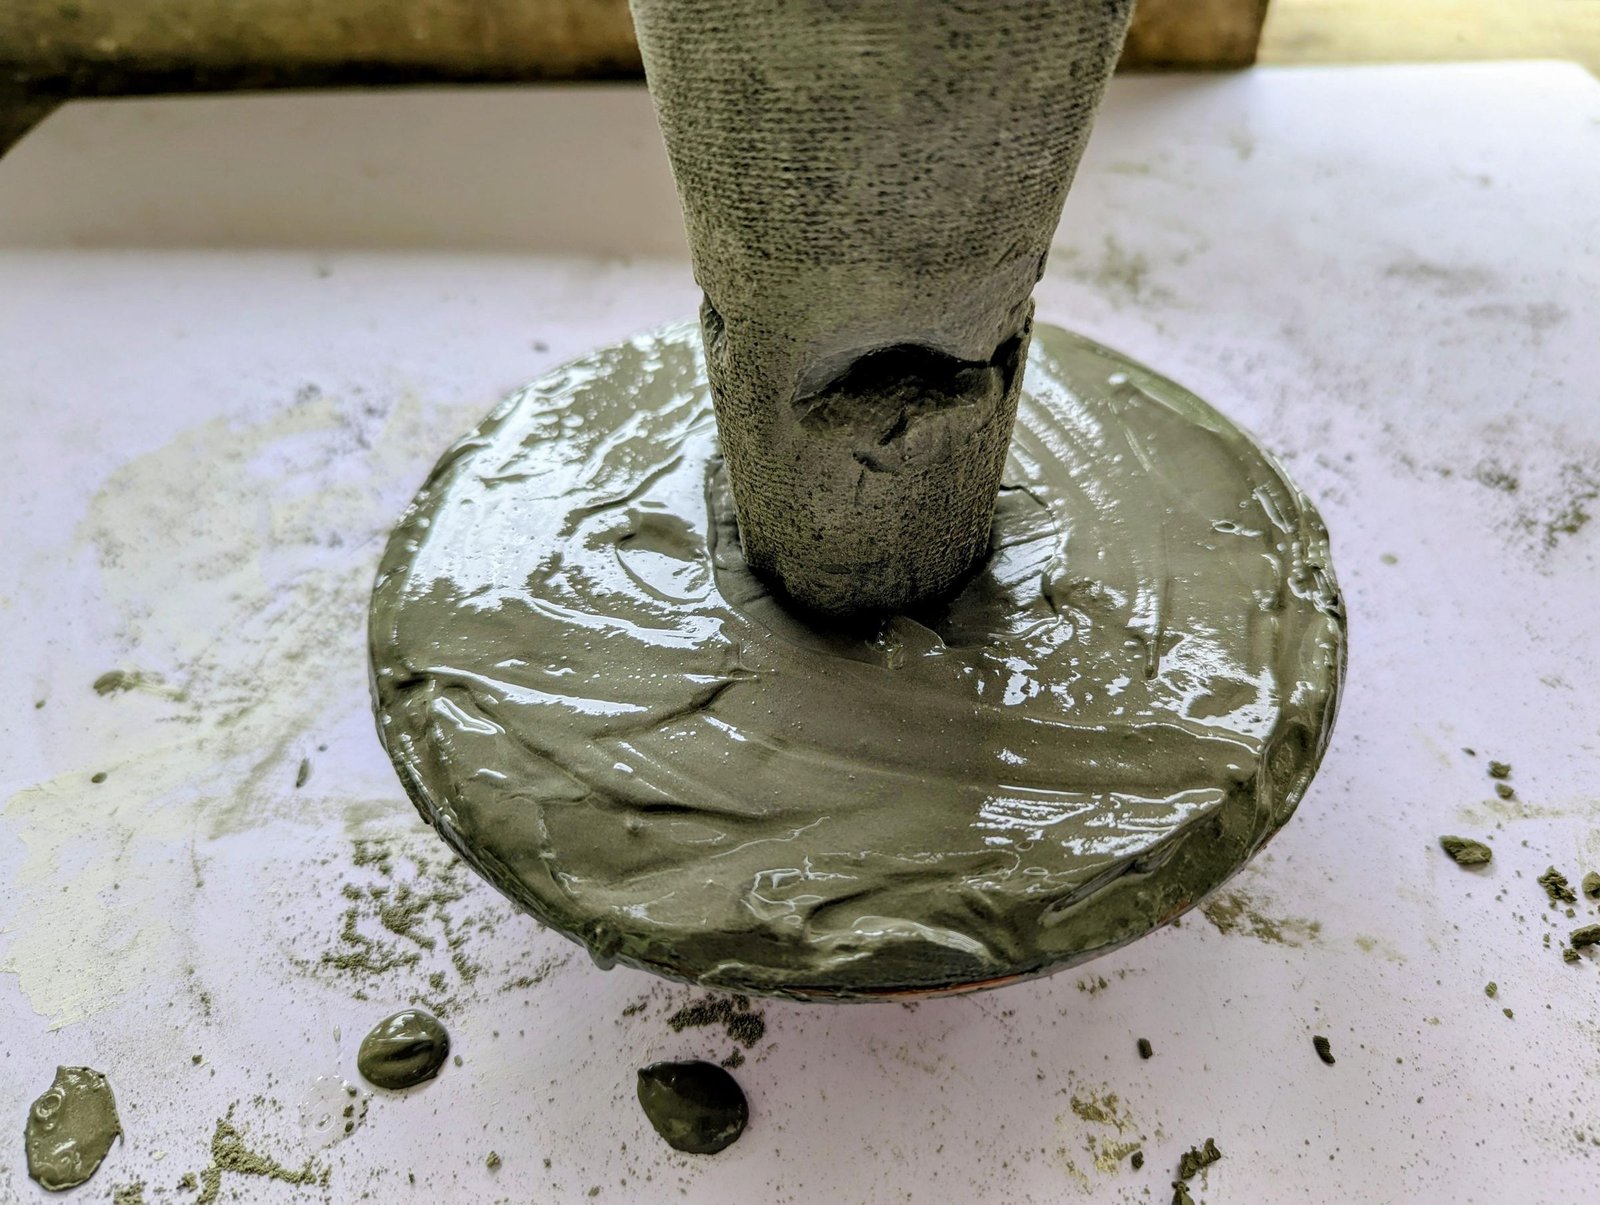
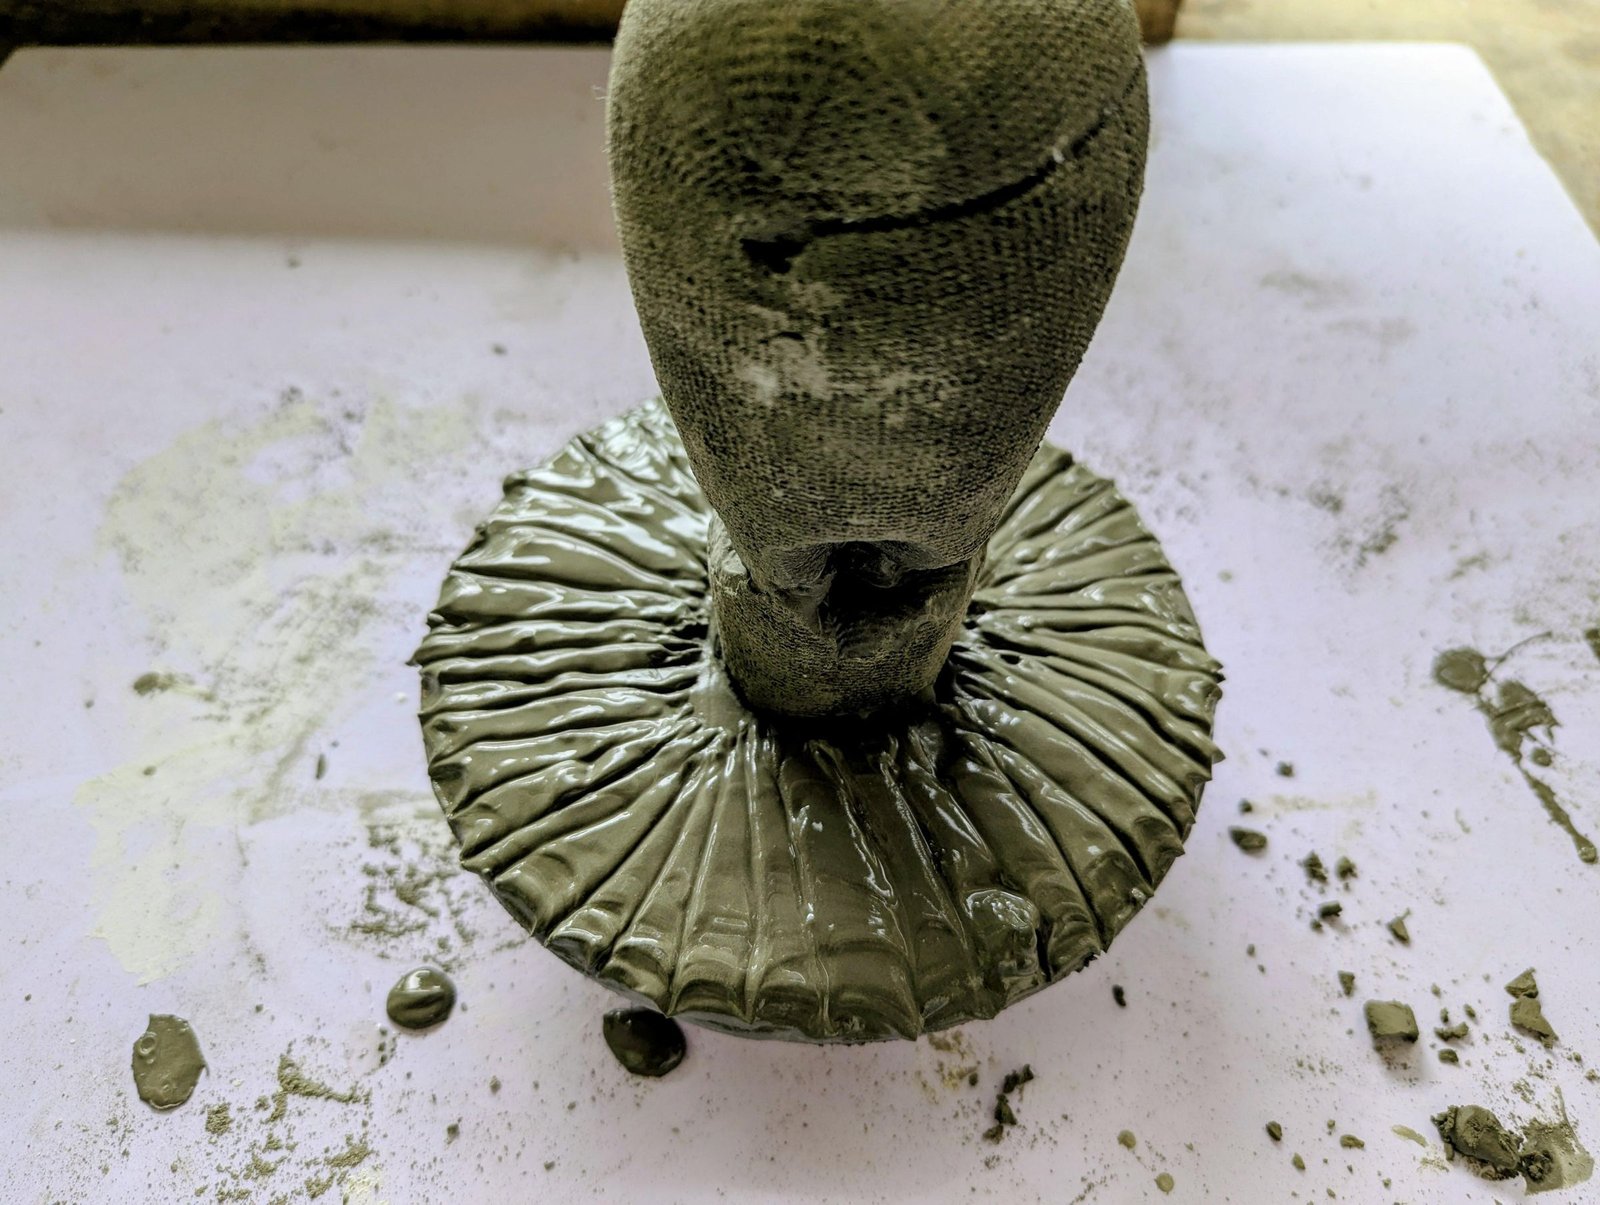
Prepare another smooth batch of cement and fill the plate close to its edge. While the mixture is still wet, place the narrow end of the cured stem into the center. Push it far enough to create a firm mechanical connection, but do not force it through to the plate.
View the stem from several angles and adjust it while the cement is still movable. Support it if necessary so it remains upright. The cap and stem will cure as one piece, so no separate adhesive is needed.
Step 3: Sculpt the Gills and Stem Ring
Once the cap and stem are joined, the work changes from simple casting to surface design. These small details make the gray structure read as a mushroom instead of an abstract cement form.
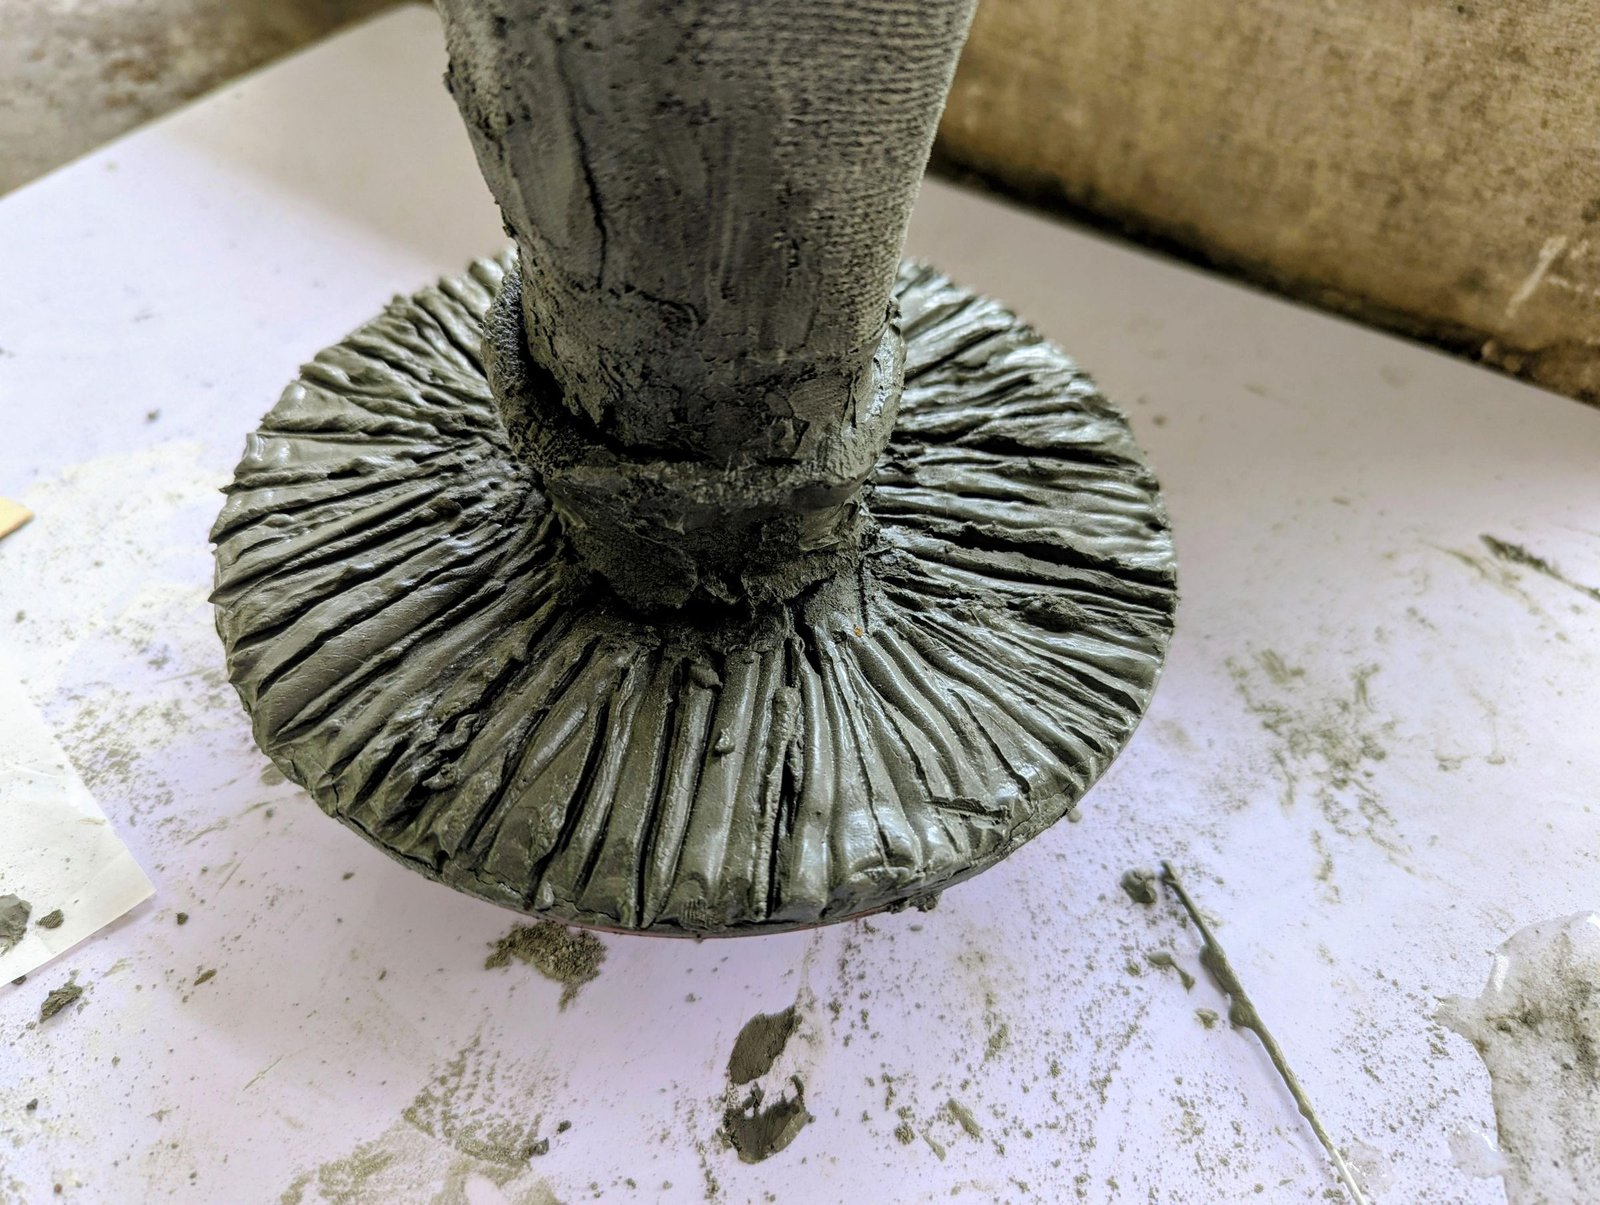
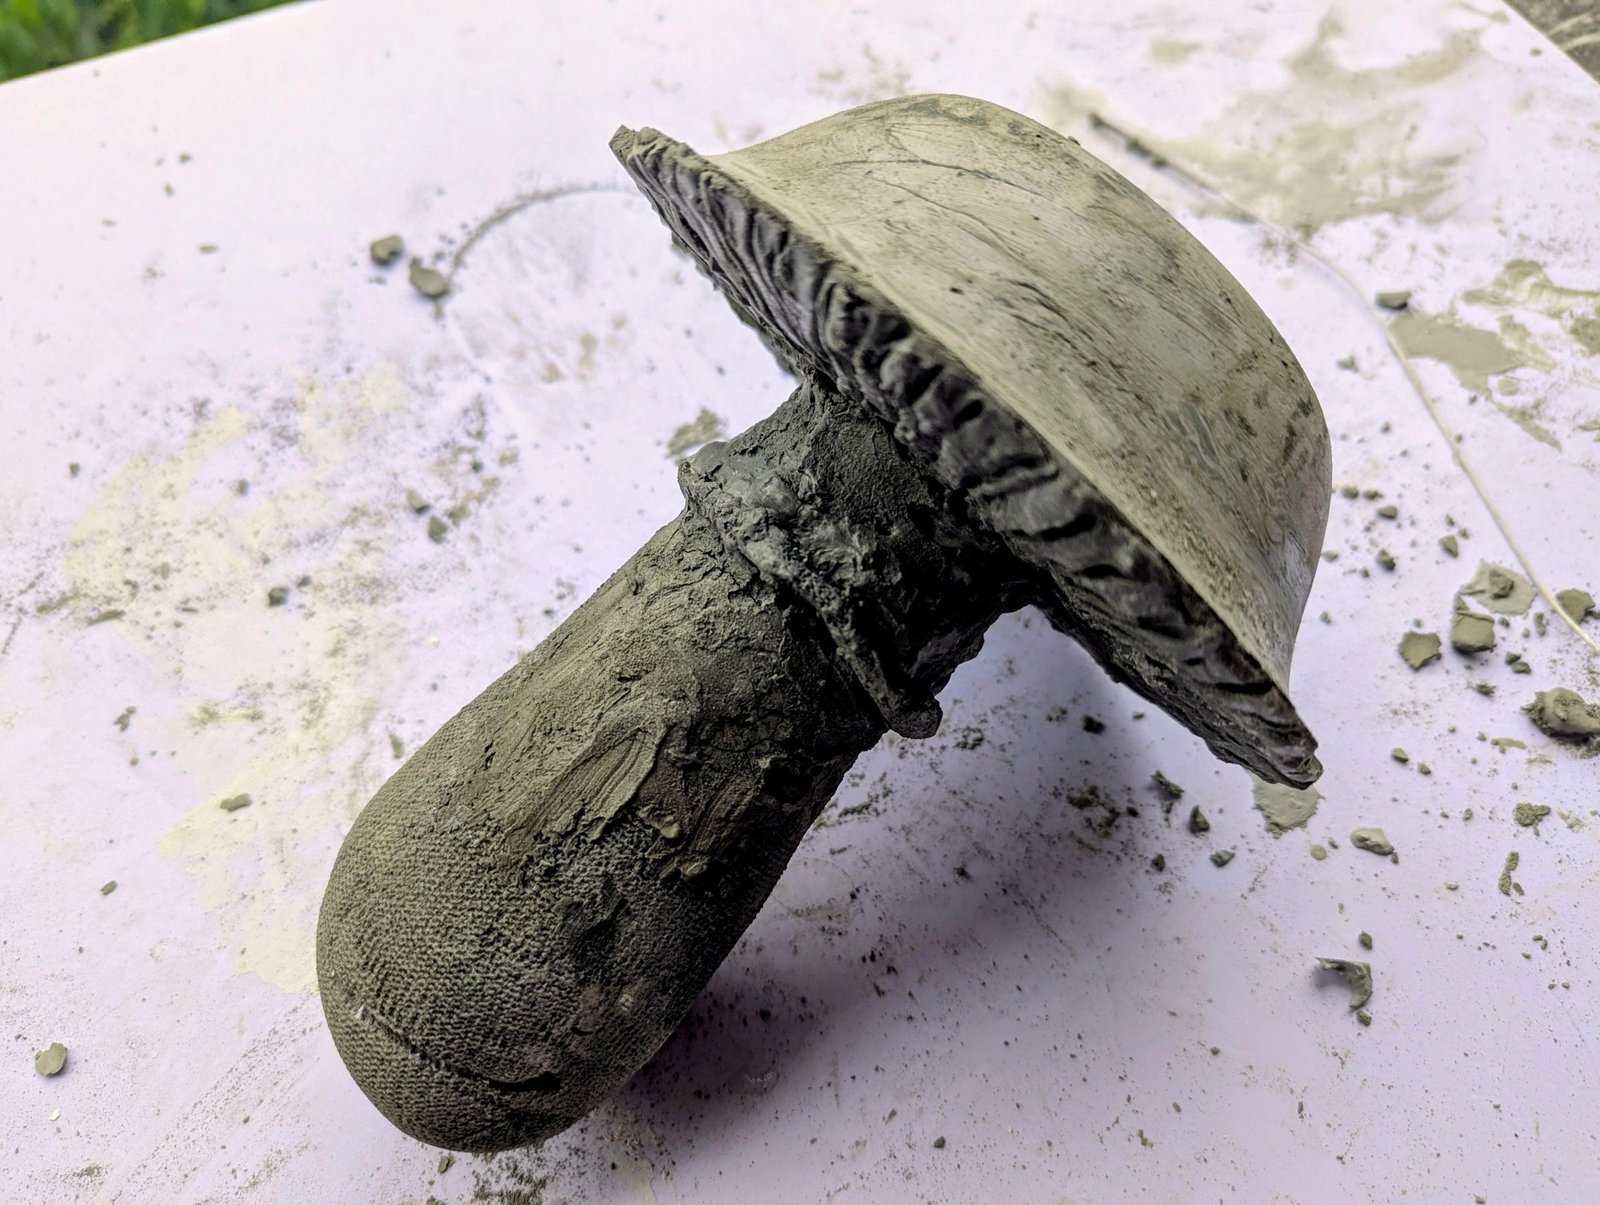
Before the cap becomes fully hard, use the narrow tip of a hand trowel to score the exposed underside. Start beside the stem and draw each groove outward toward the cap edge. Continue all the way around, keeping the lines close but allowing slight changes in depth and spacing. Natural gills are not mechanically perfect.
To form the raised ring, or annulus, cut a narrow band from another sock. Saturate the fabric with fresh cement paste and wrap it around the upper stem directly beneath the cap. Blend its upper edge into the joint while leaving the lower edge slightly proud.
Leave the mushroom supported in its plate until the cap, radiating grooves, and fabric-backed ring have cured completely.
Step 4: Cast Two Smaller Mushrooms
Waiting for the large mushroom to harden creates a useful window for casting its two smaller companions. Different heights and cap sizes help the final trio resemble a cluster that emerged naturally from the soil.
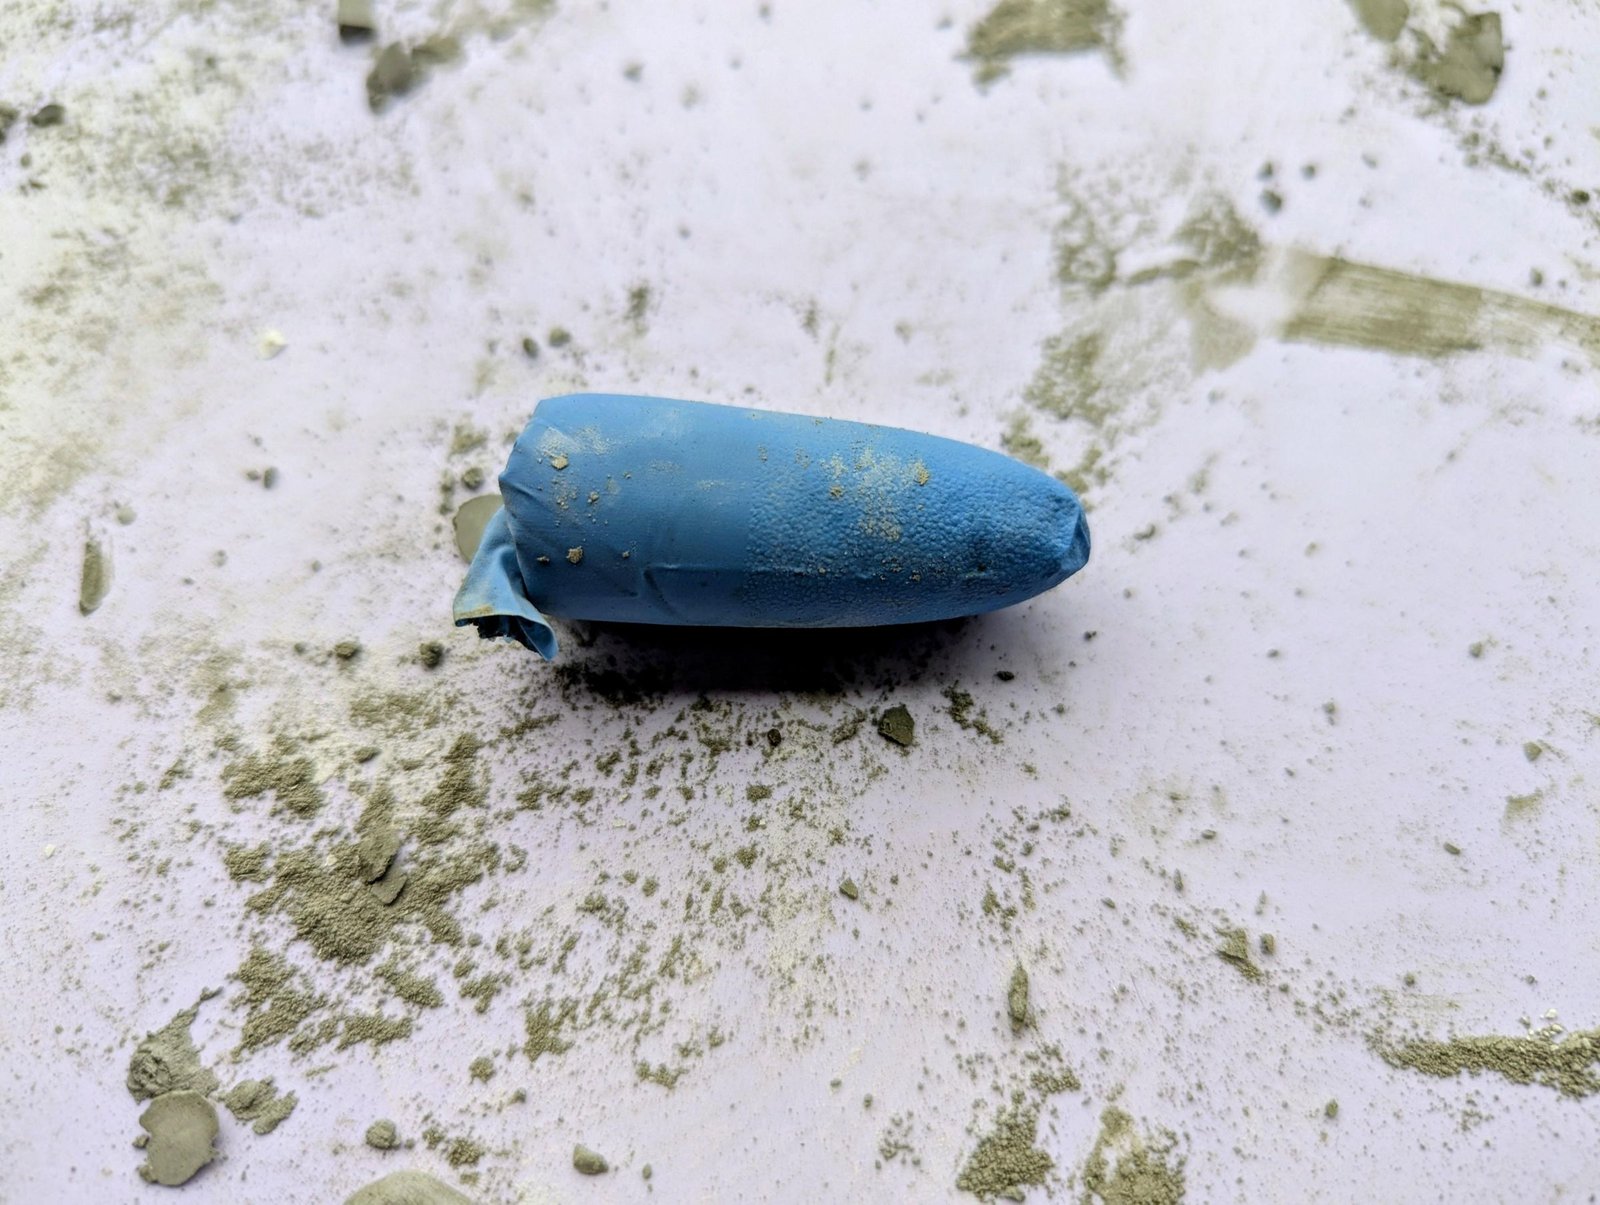
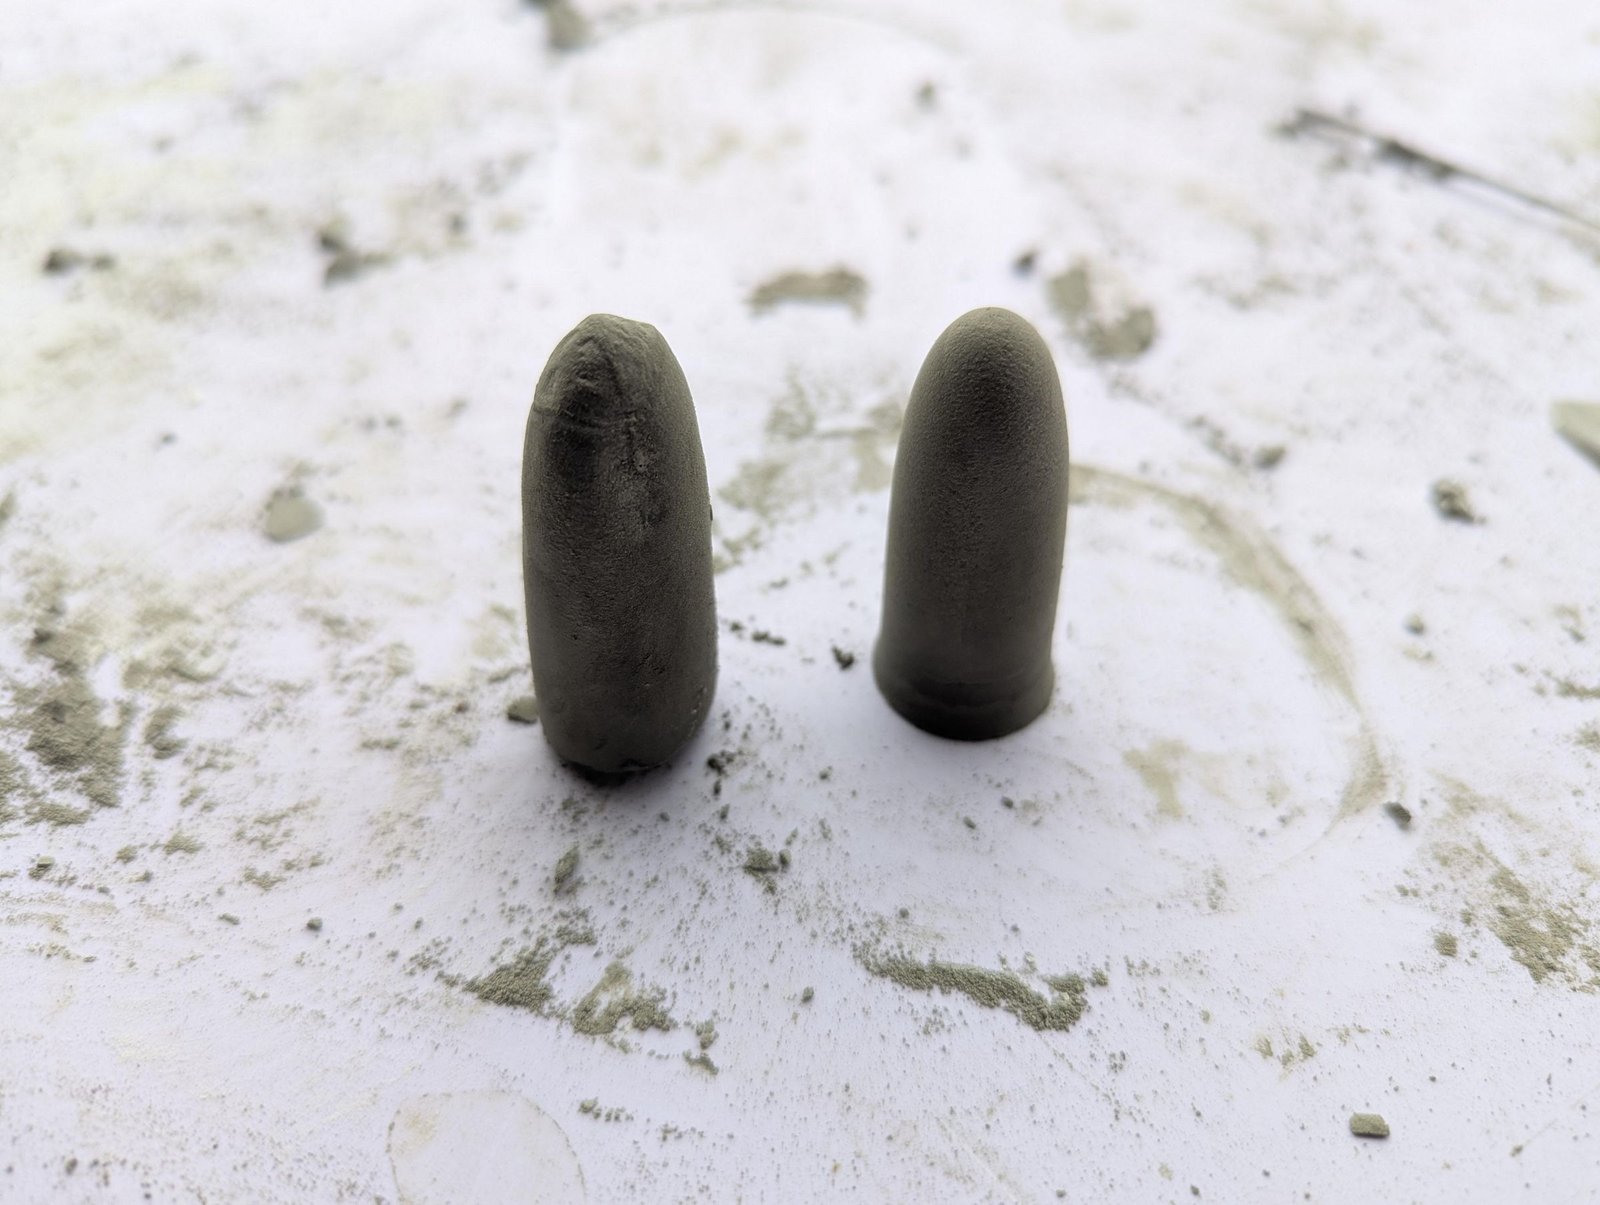
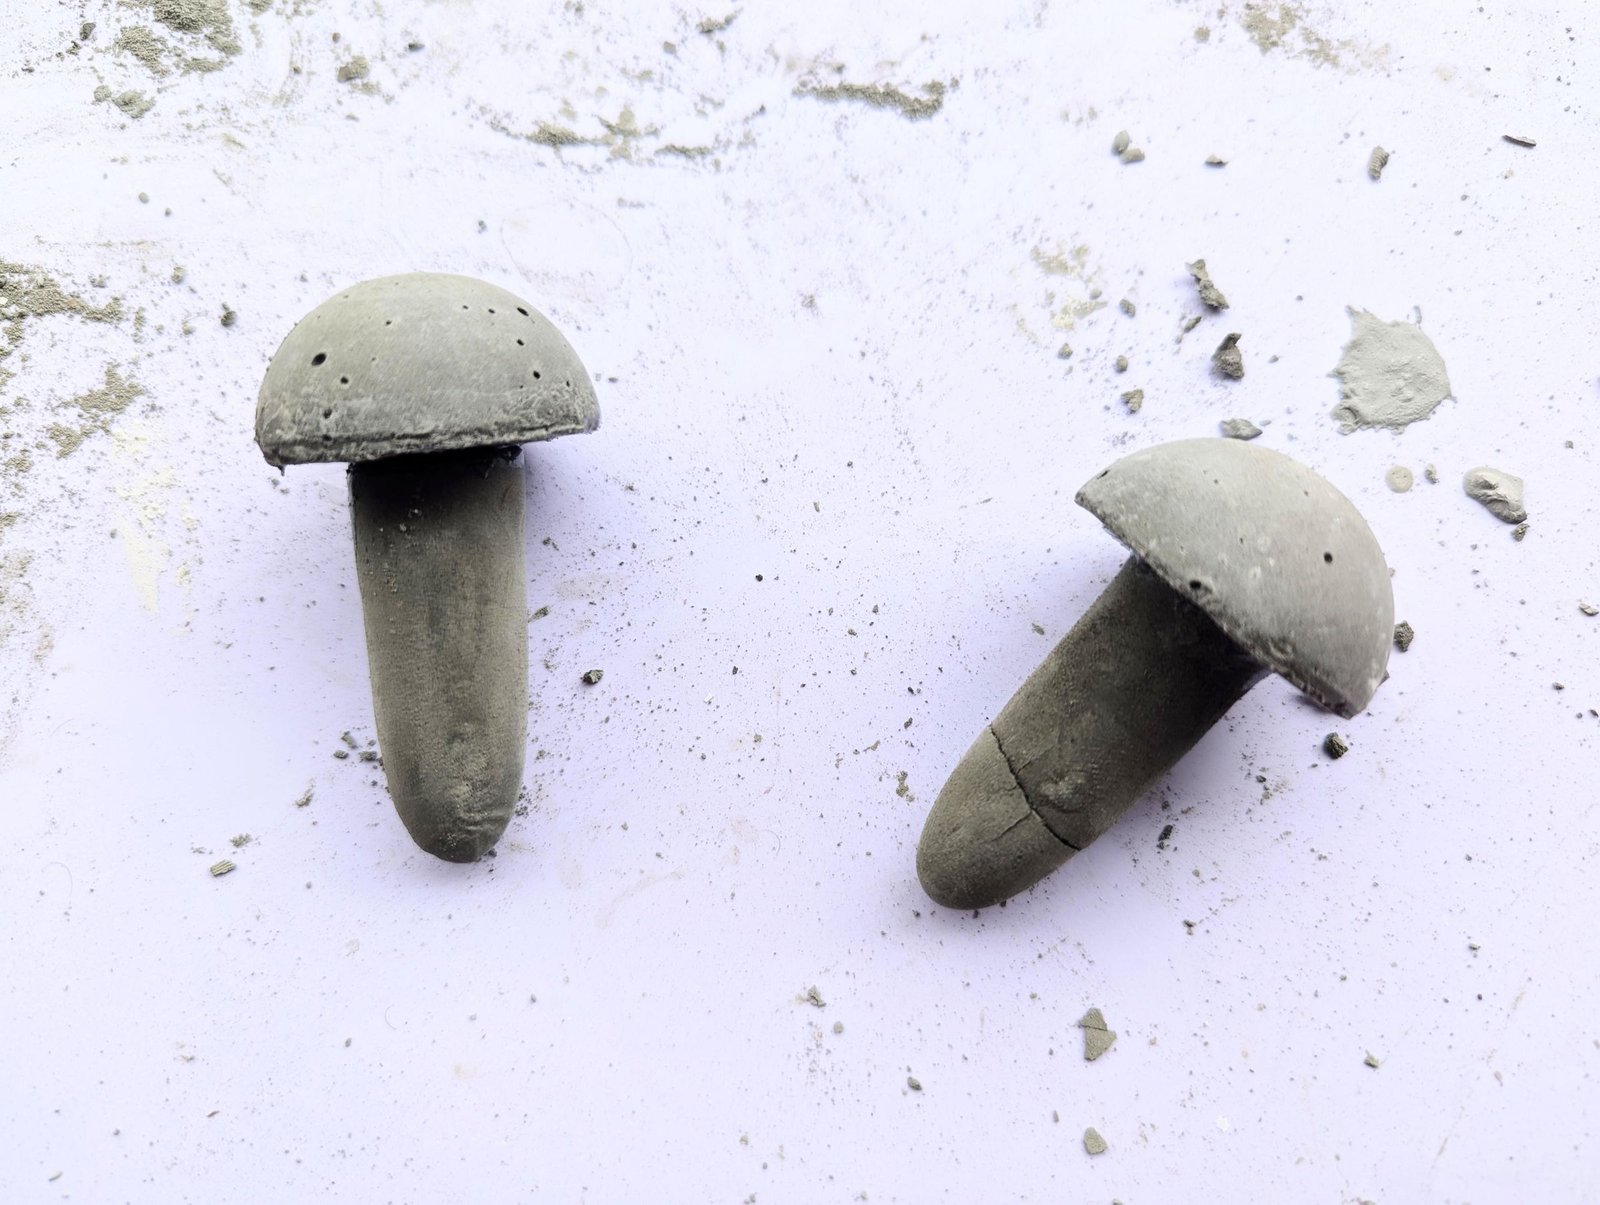
Cut the pinky finger from a rubber glove to create a narrow flexible mold. Fill it with cement paste, pressing the mixture toward the tip to remove empty spaces. Shape a stable lower end and a narrower top, support the mold until the stem is firm, then peel away the rubber. Repeat for the second stem.
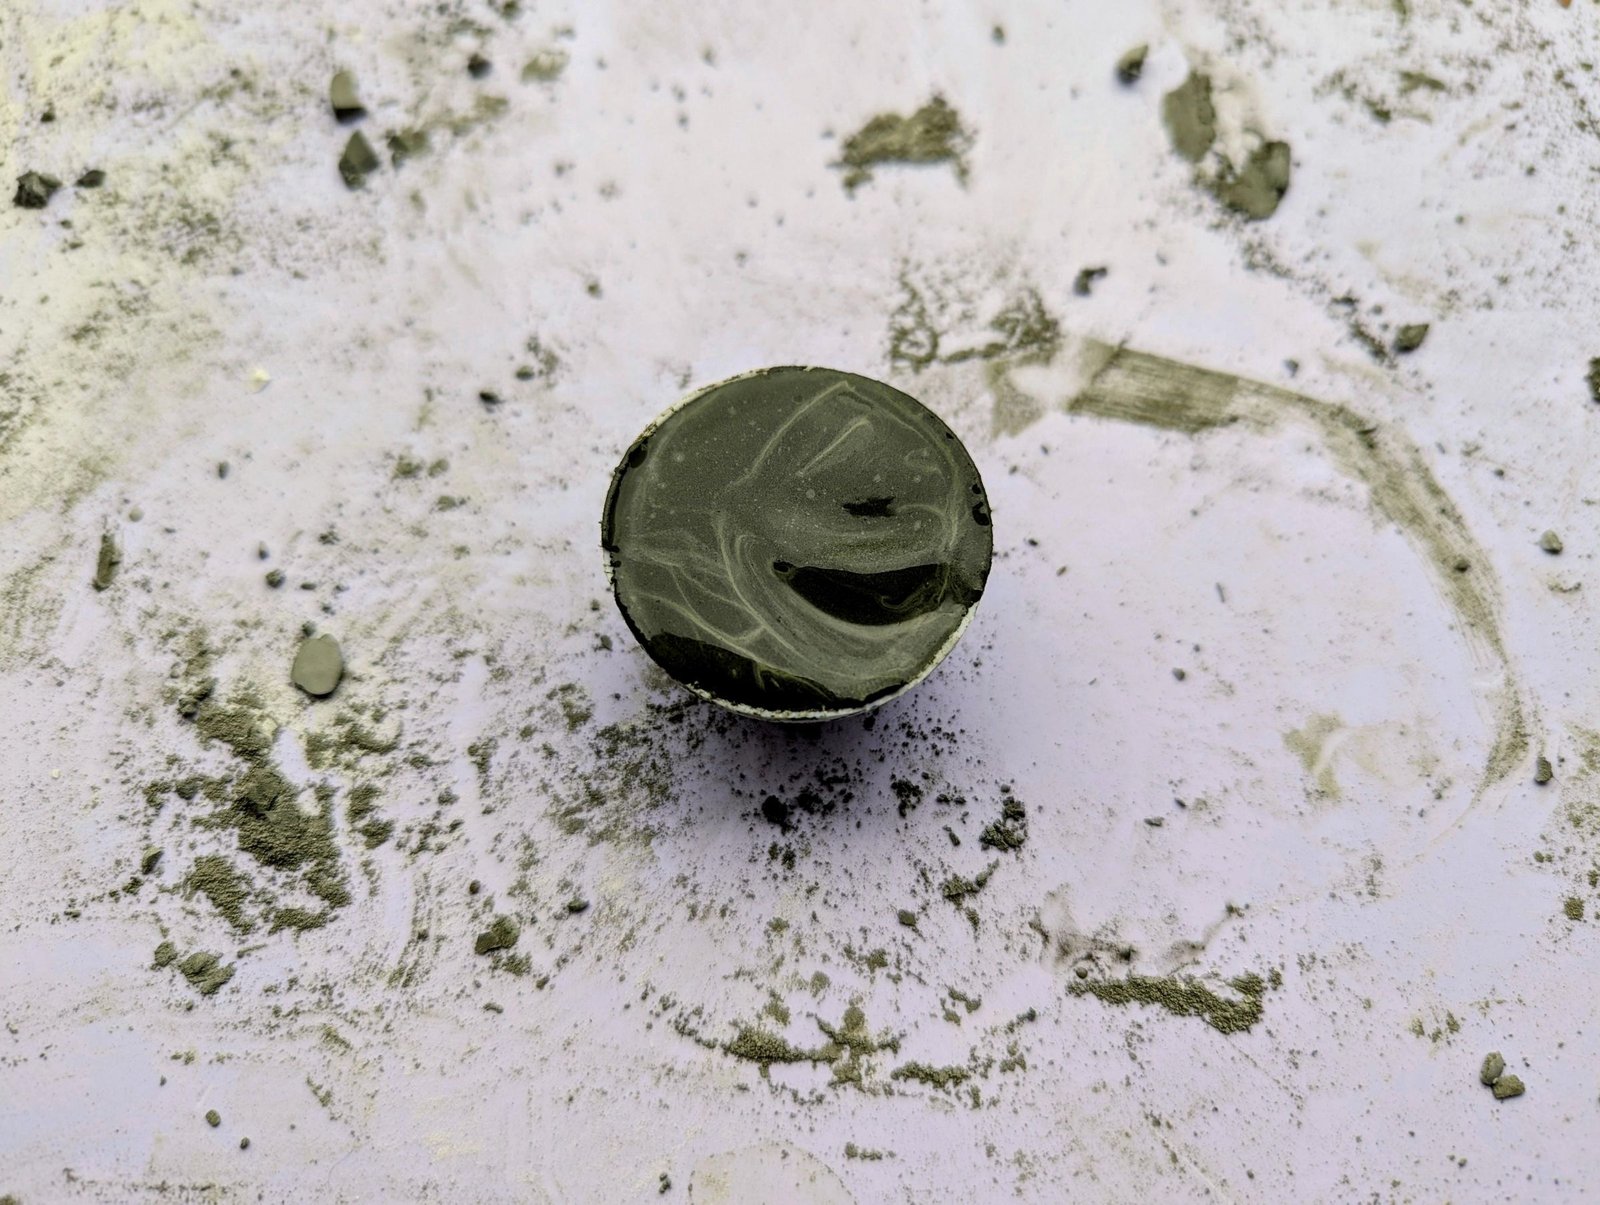
Secure a ping-pong ball and cut it in half with the small hand saw. Coat the inside of each half with petroleum jelly. Fill both hemispheres with fresh cement, then insert the tip of one cured miniature stem into the center of each wet cap.
After the cement has hardened, flex or peel the plastic molds away. The result is a pair of rounded small mushrooms that matches the proportions of the larger one without looking identical.

Step 5: Build the Dome and Refine the Casts
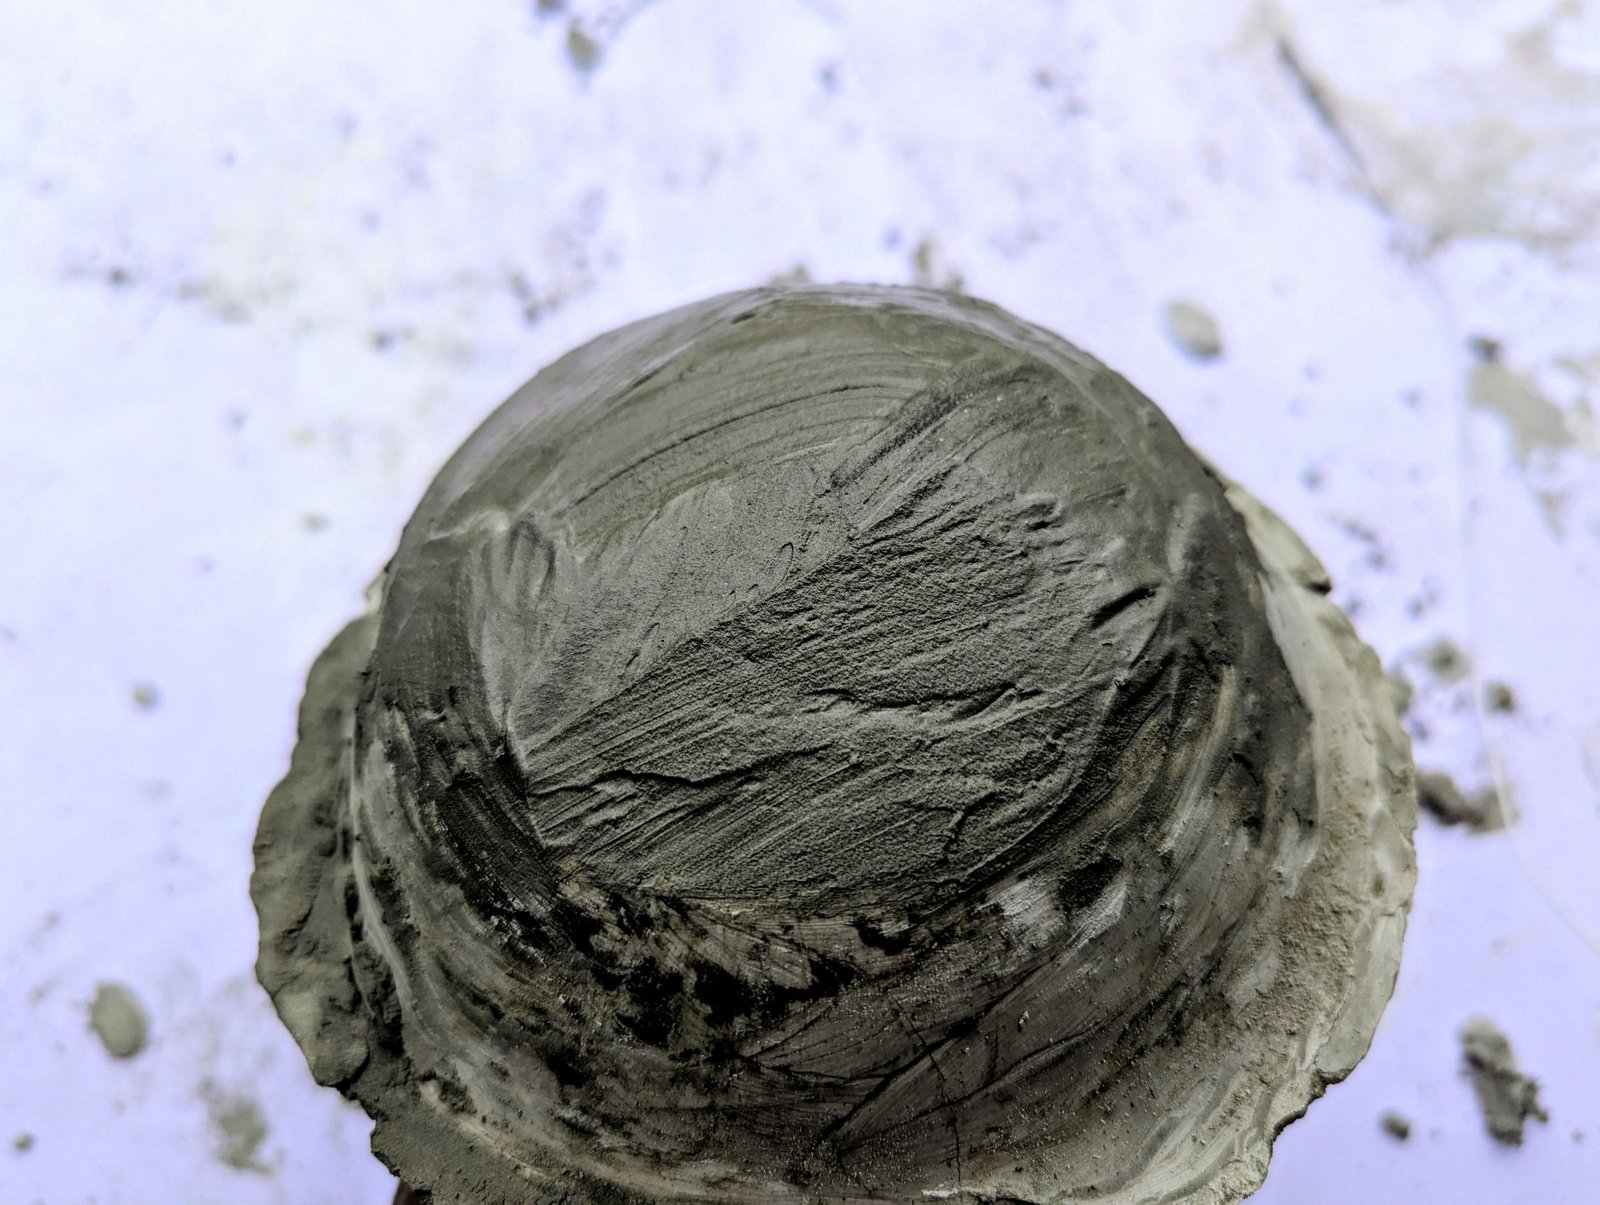
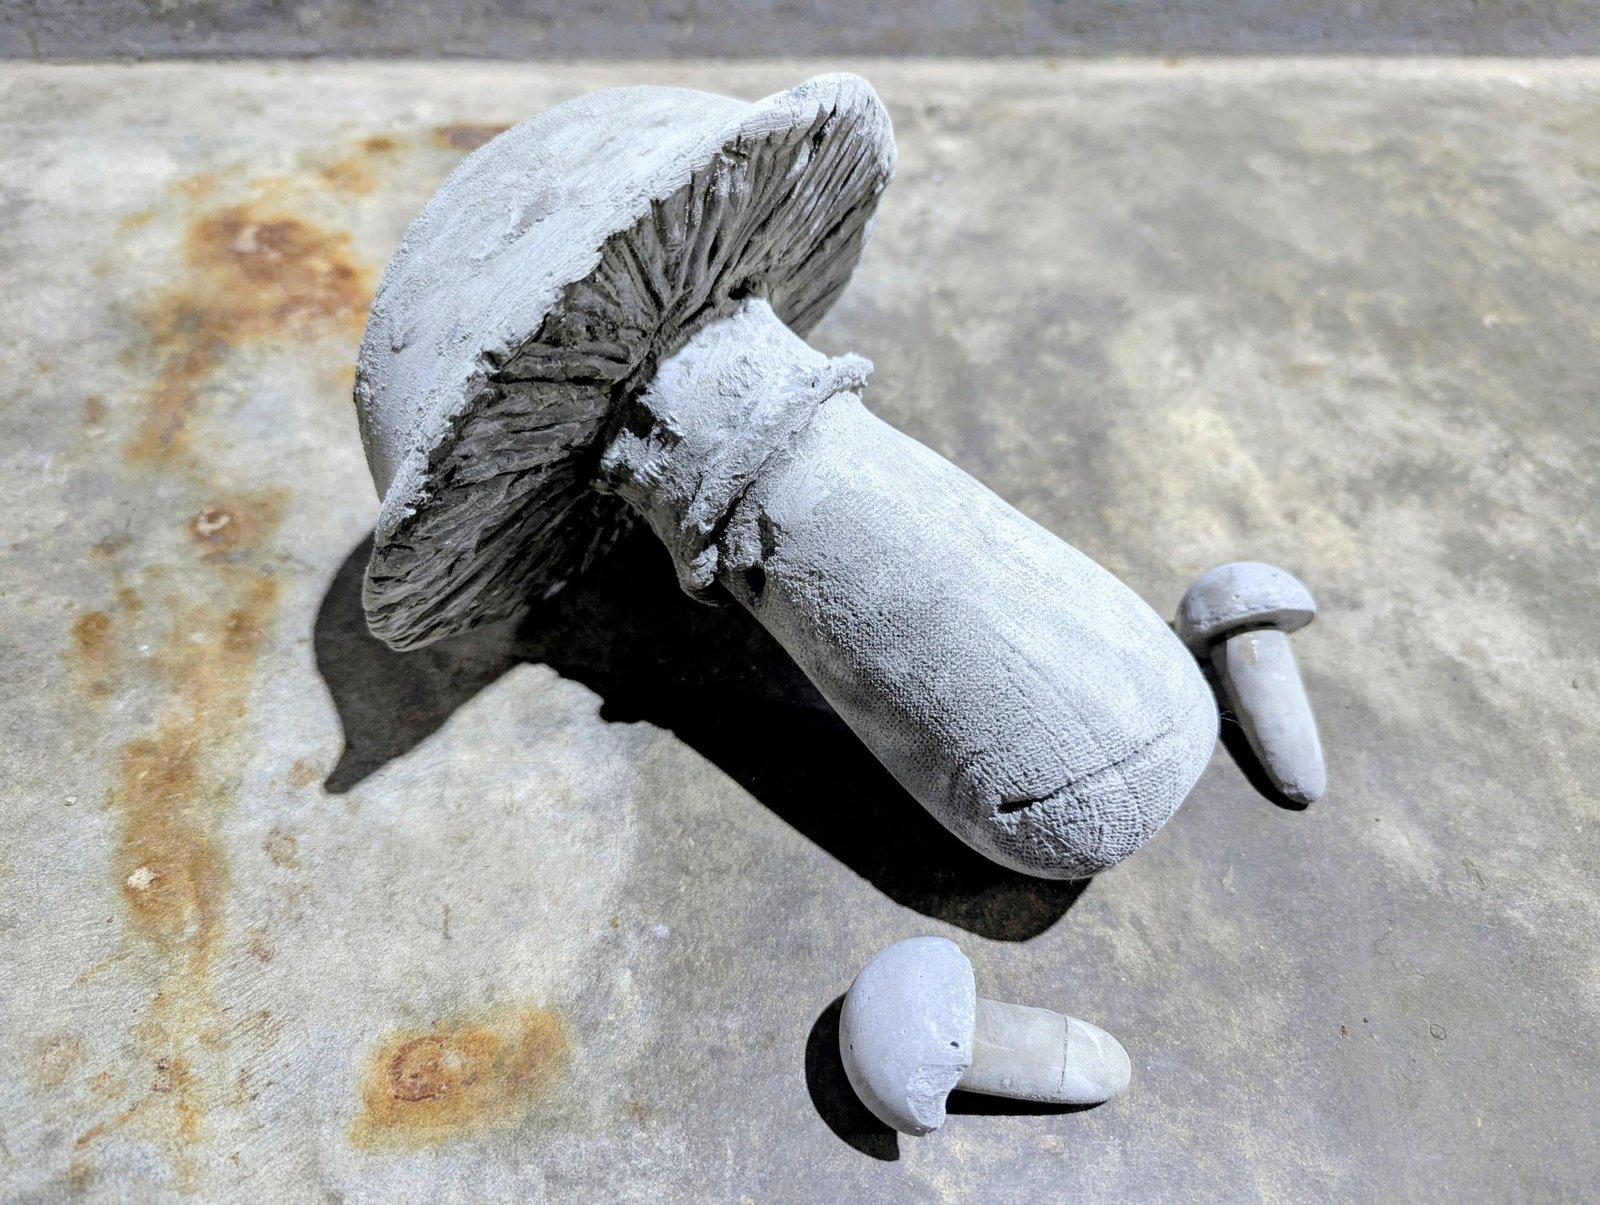
Remove the fully cured large mushroom from the plate. The underside may already have a convincing curve, while the visible top can remain flatter because it copied the plate base. Correct that profile with one additional layer.
Place a small amount of fresh cement at the center of the cap and feather it toward the perimeter, building a gentle dome rather than a sharp mound. Rotate the piece as you work so the curve reads evenly from every side. Keep the material thinner near the outer edge to preserve the broad silhouette.
Use the remaining mixture to fill obvious pits and holes in the stem. A few undulations can remain, but deep gaps and abrupt seams should be repaired before paint. Follow the cement’s curing guidance again.
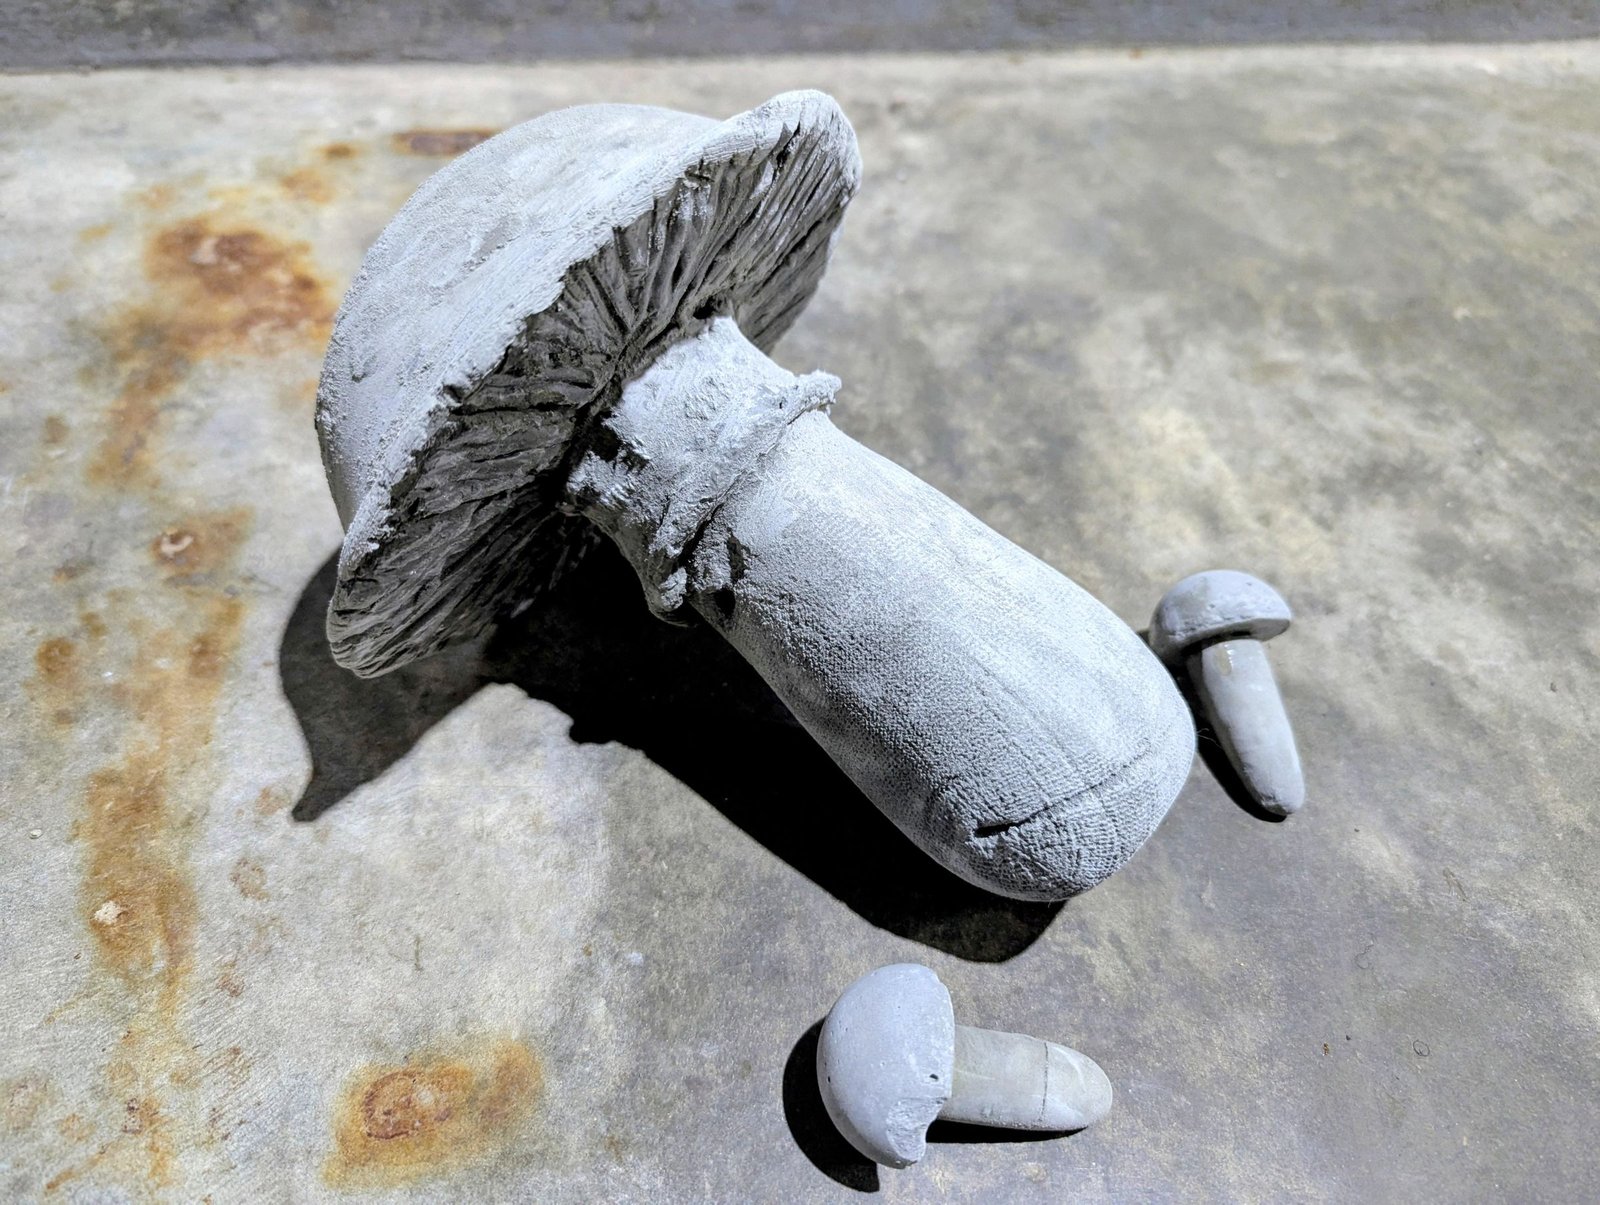
When the additions are fully hard, sand the cap, stem, edges, and repaired transitions. Soften brittle corners, remove loose grains, and wipe away the dust. Check all three bases and level any high points that make a mushroom wobble.
Step 6: Add the Woodland Color
After every cast is cured, shaped, and dust-free, the gray construction phase is complete. Paint now supplies the contrast that reveals the gills, rings, and cap profiles from across the garden.
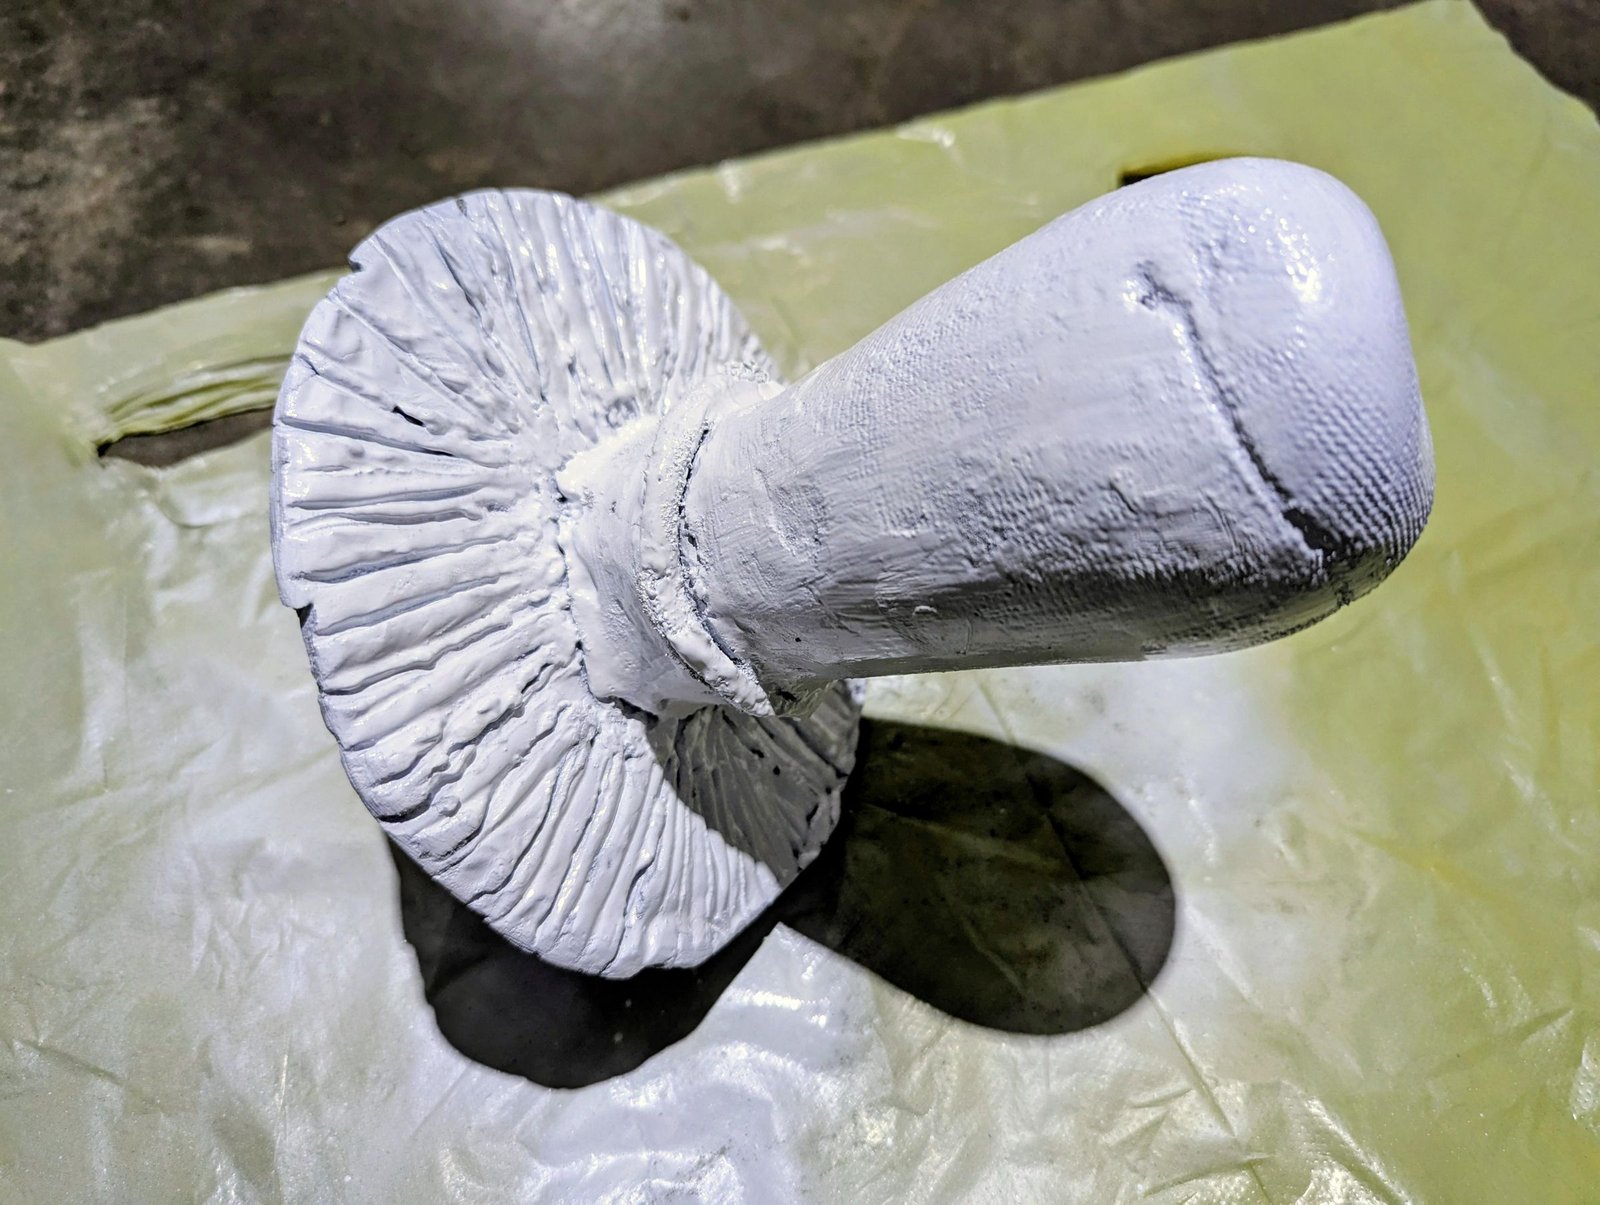
Begin with several thin coats of white on the stems and the gills beneath each cap. Let every layer dry before turning the pieces or applying the next. Thin coverage keeps the carved grooves visible instead of filling them.
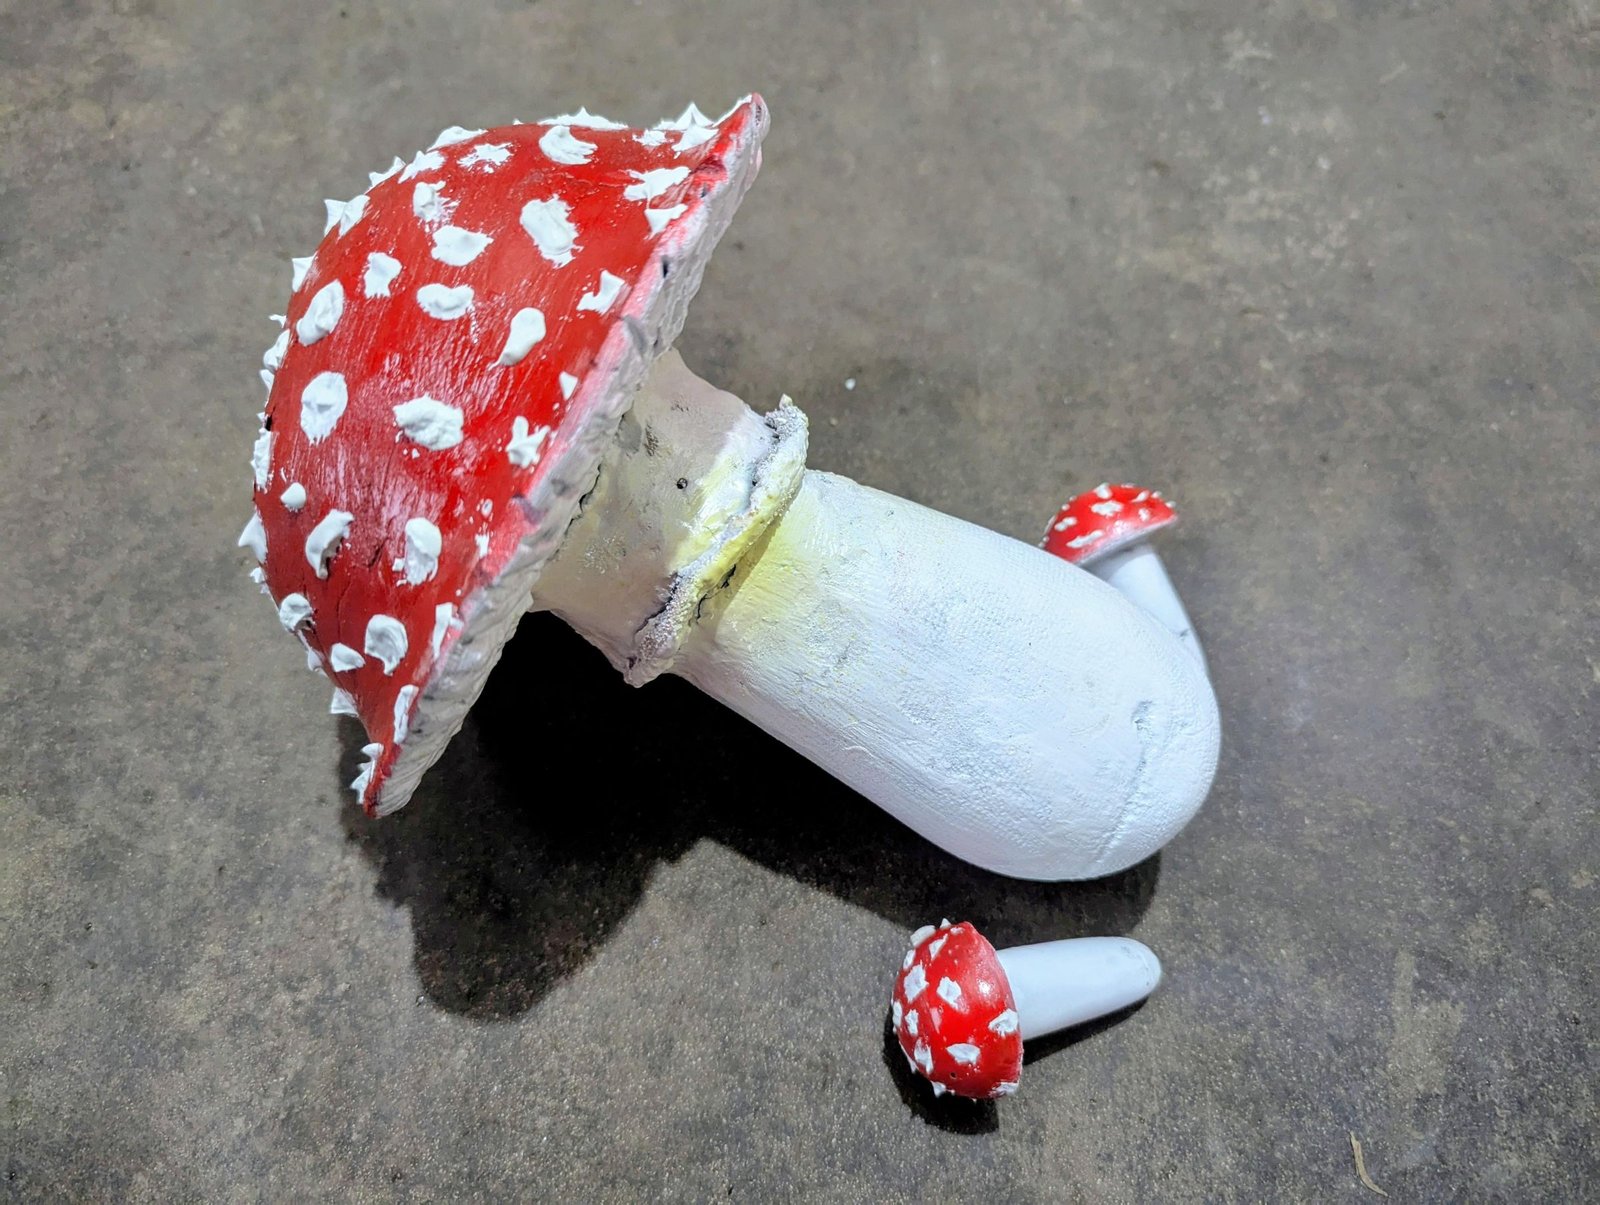
Add only a faint mist of yellow to the raised annulus for subtle variation. Once the pale areas are dry, build red color over the cap tops in several light coats. Rotate each mushroom so the curved sides and edges receive even coverage without drips.
For the final scales, mix a small quantity of white cement into a brushable paste. Use a fine brush to place irregular marks over the red caps, varying their size and spacing. Because the spots are cement rather than flat white paint, they dry with a raised texture that catches light.
Allow the paint and decorative cement to cure thoroughly before handling the set or moving it into the garden.
Step 7: Arrange the Finished Trio
The last stage is placement rather than construction. Group the large mushroom slightly behind the smaller pair, turn the caps at different angles, and let nearby foliage overlap the bases. This softens the transition between cement and soil.
A sock, plate, rubber glove, and ping-pong ball may be humble mold-making tools, but they produce a surprisingly detailed result. The softly irregular stems keep the pieces from feeling rigid, while the gills, raised ring, domed caps, and textured scales give each one a distinct character.
The method is easy to vary without changing its basic logic. A different plate diameter changes the main cap, and gentle adjustments to the filled fabric create new stem curves. Keep the finished group together as a family or distribute the pieces beside flowers, a walkway, or a planter.
What begins as gray cement and a handful of household molds becomes a compact woodland scene—durable garden art with the irregular detail of a handmade object.
This independently rewritten article adapts the project method from “How to Make Realistic Cement Mushrooms for Your Garden/Lawn” by lyon. Source photographs are used under CC BY-NC-SA 4.0 and stored locally rather than hotlinked.