
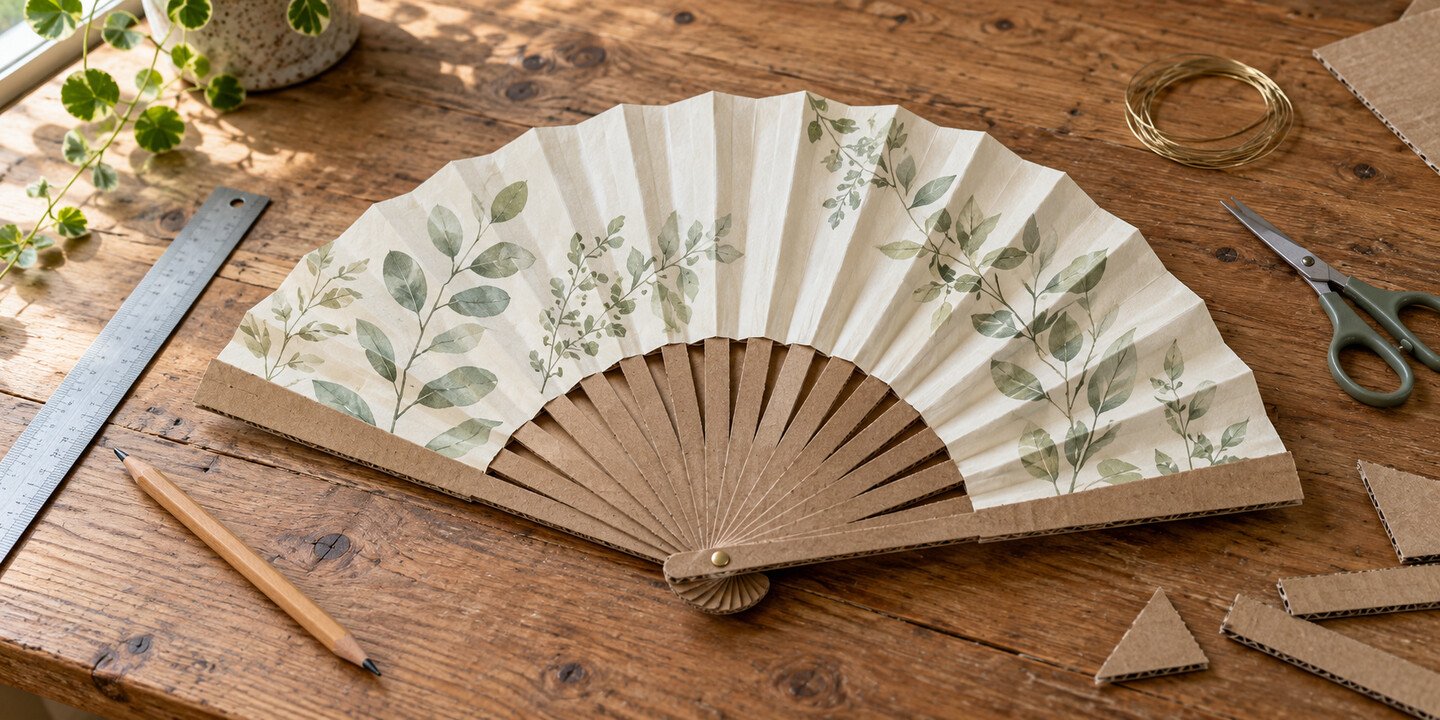











Turn lightweight cardboard and paper into a portable folding fan that creates a useful breeze without batteries, charging, or a motor.
A fan does not have to begin with wires. Here, corrugated cardboard forms the ribs, paper supplies the air-moving surface, and one pivot lets the frame open wide or close into a compact bundle for warm afternoons, travel, camping, or a power cut.

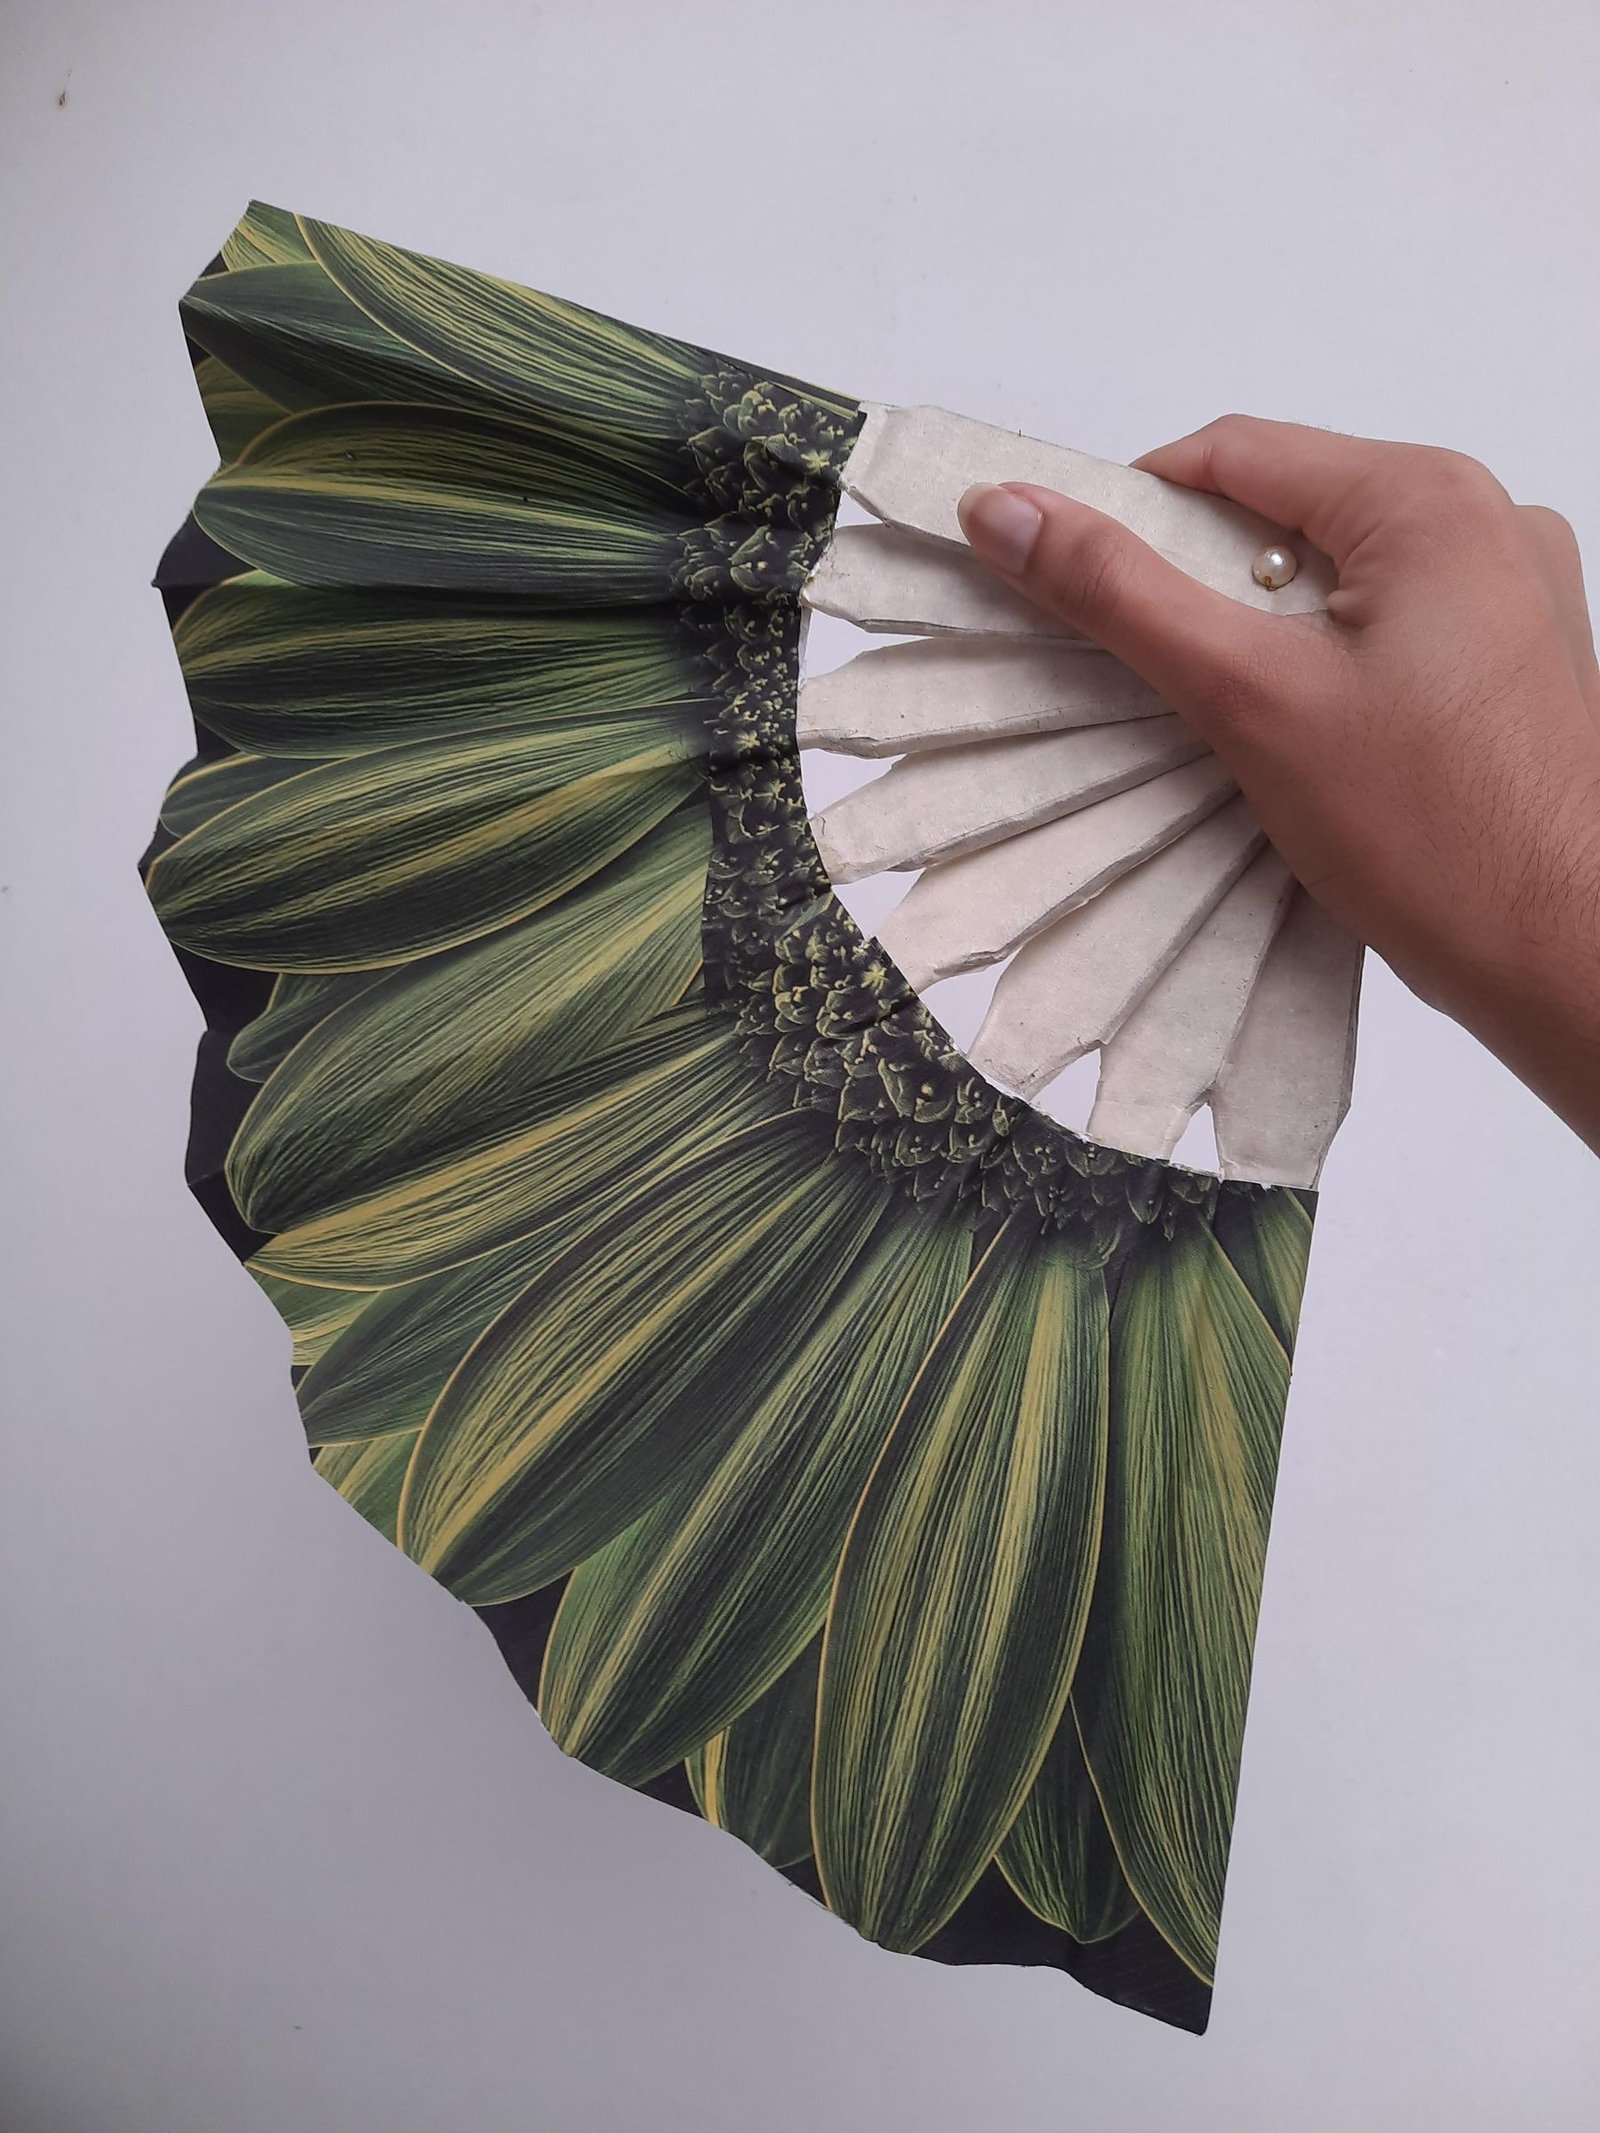
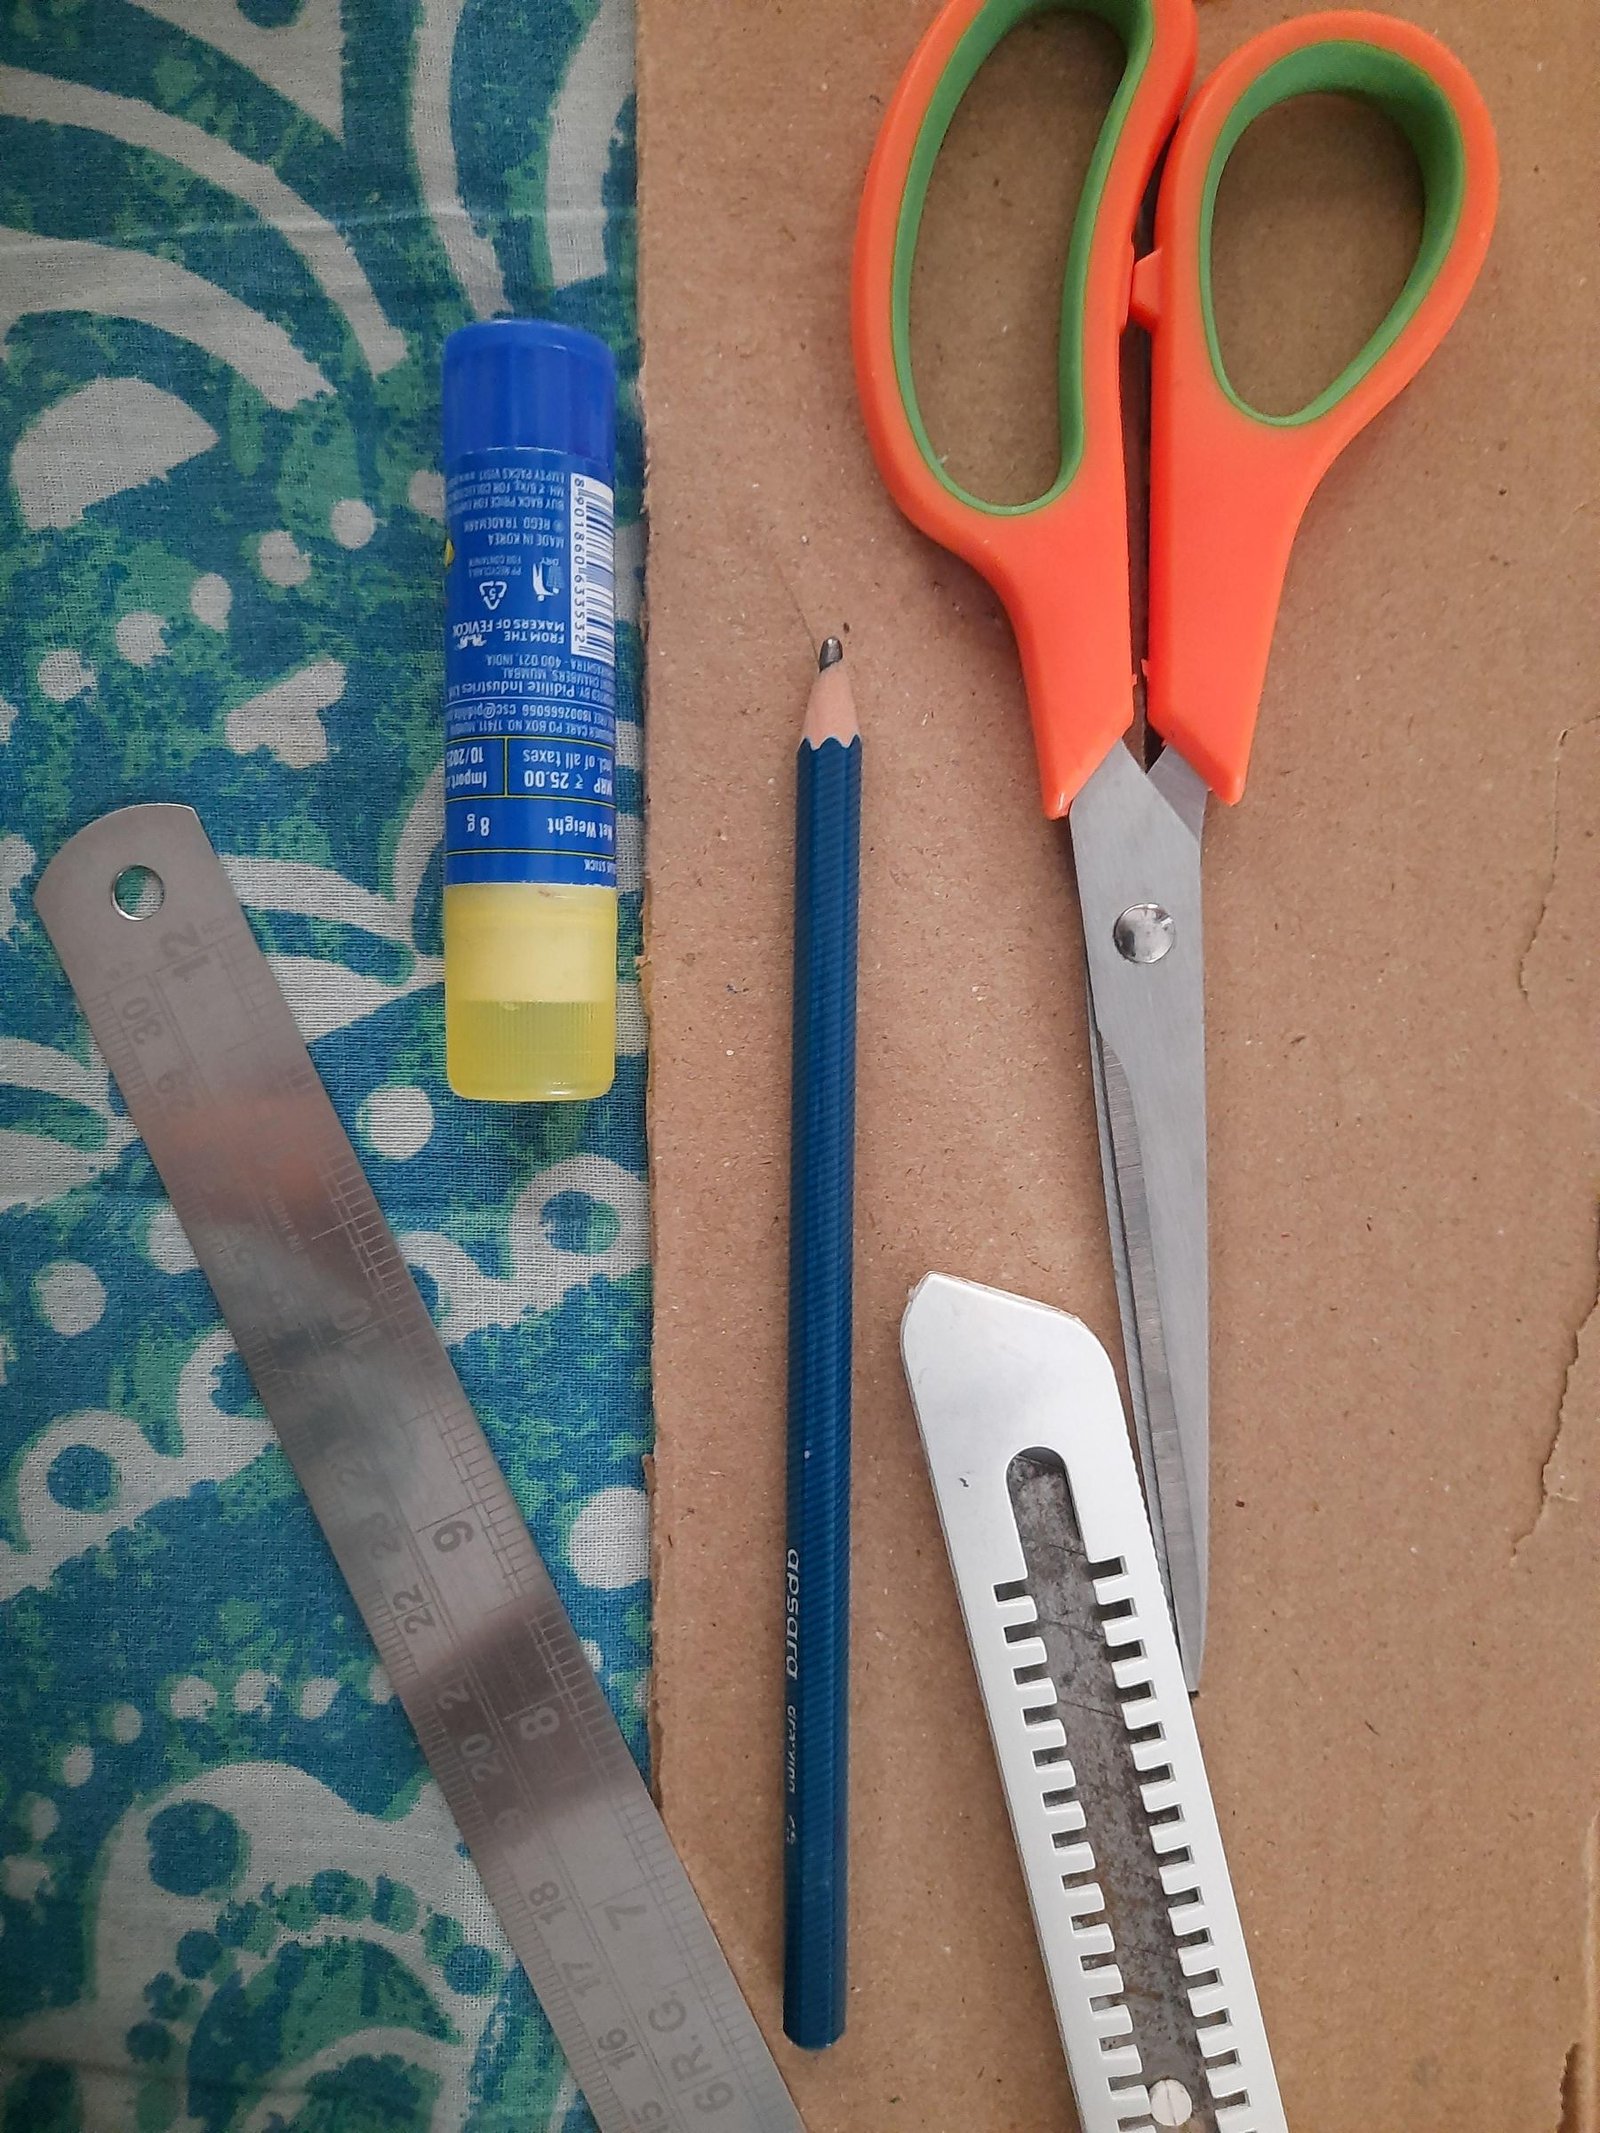
What You’ll Need
- Lightweight corrugated cardboard
- White paper or craft paper
- Decorative paper
- Glue
- Scissors or a craft knife
- Pencil
- Ruler
- Hole punch or pointed awl
- Thread or flexible wire
- Cutting mat or protected work surface
Choose cardboard that holds its shape without adding bulk; thick shipping board can make the pivot stiff.
Safety first: Cut and punch on a protected surface, keep fingers clear of blades and points, and cover wire ends. Children need adult supervision for cutting, hole-making, and the pivot. These precautions are independent additions.
1. Draw a Repeatable Rib
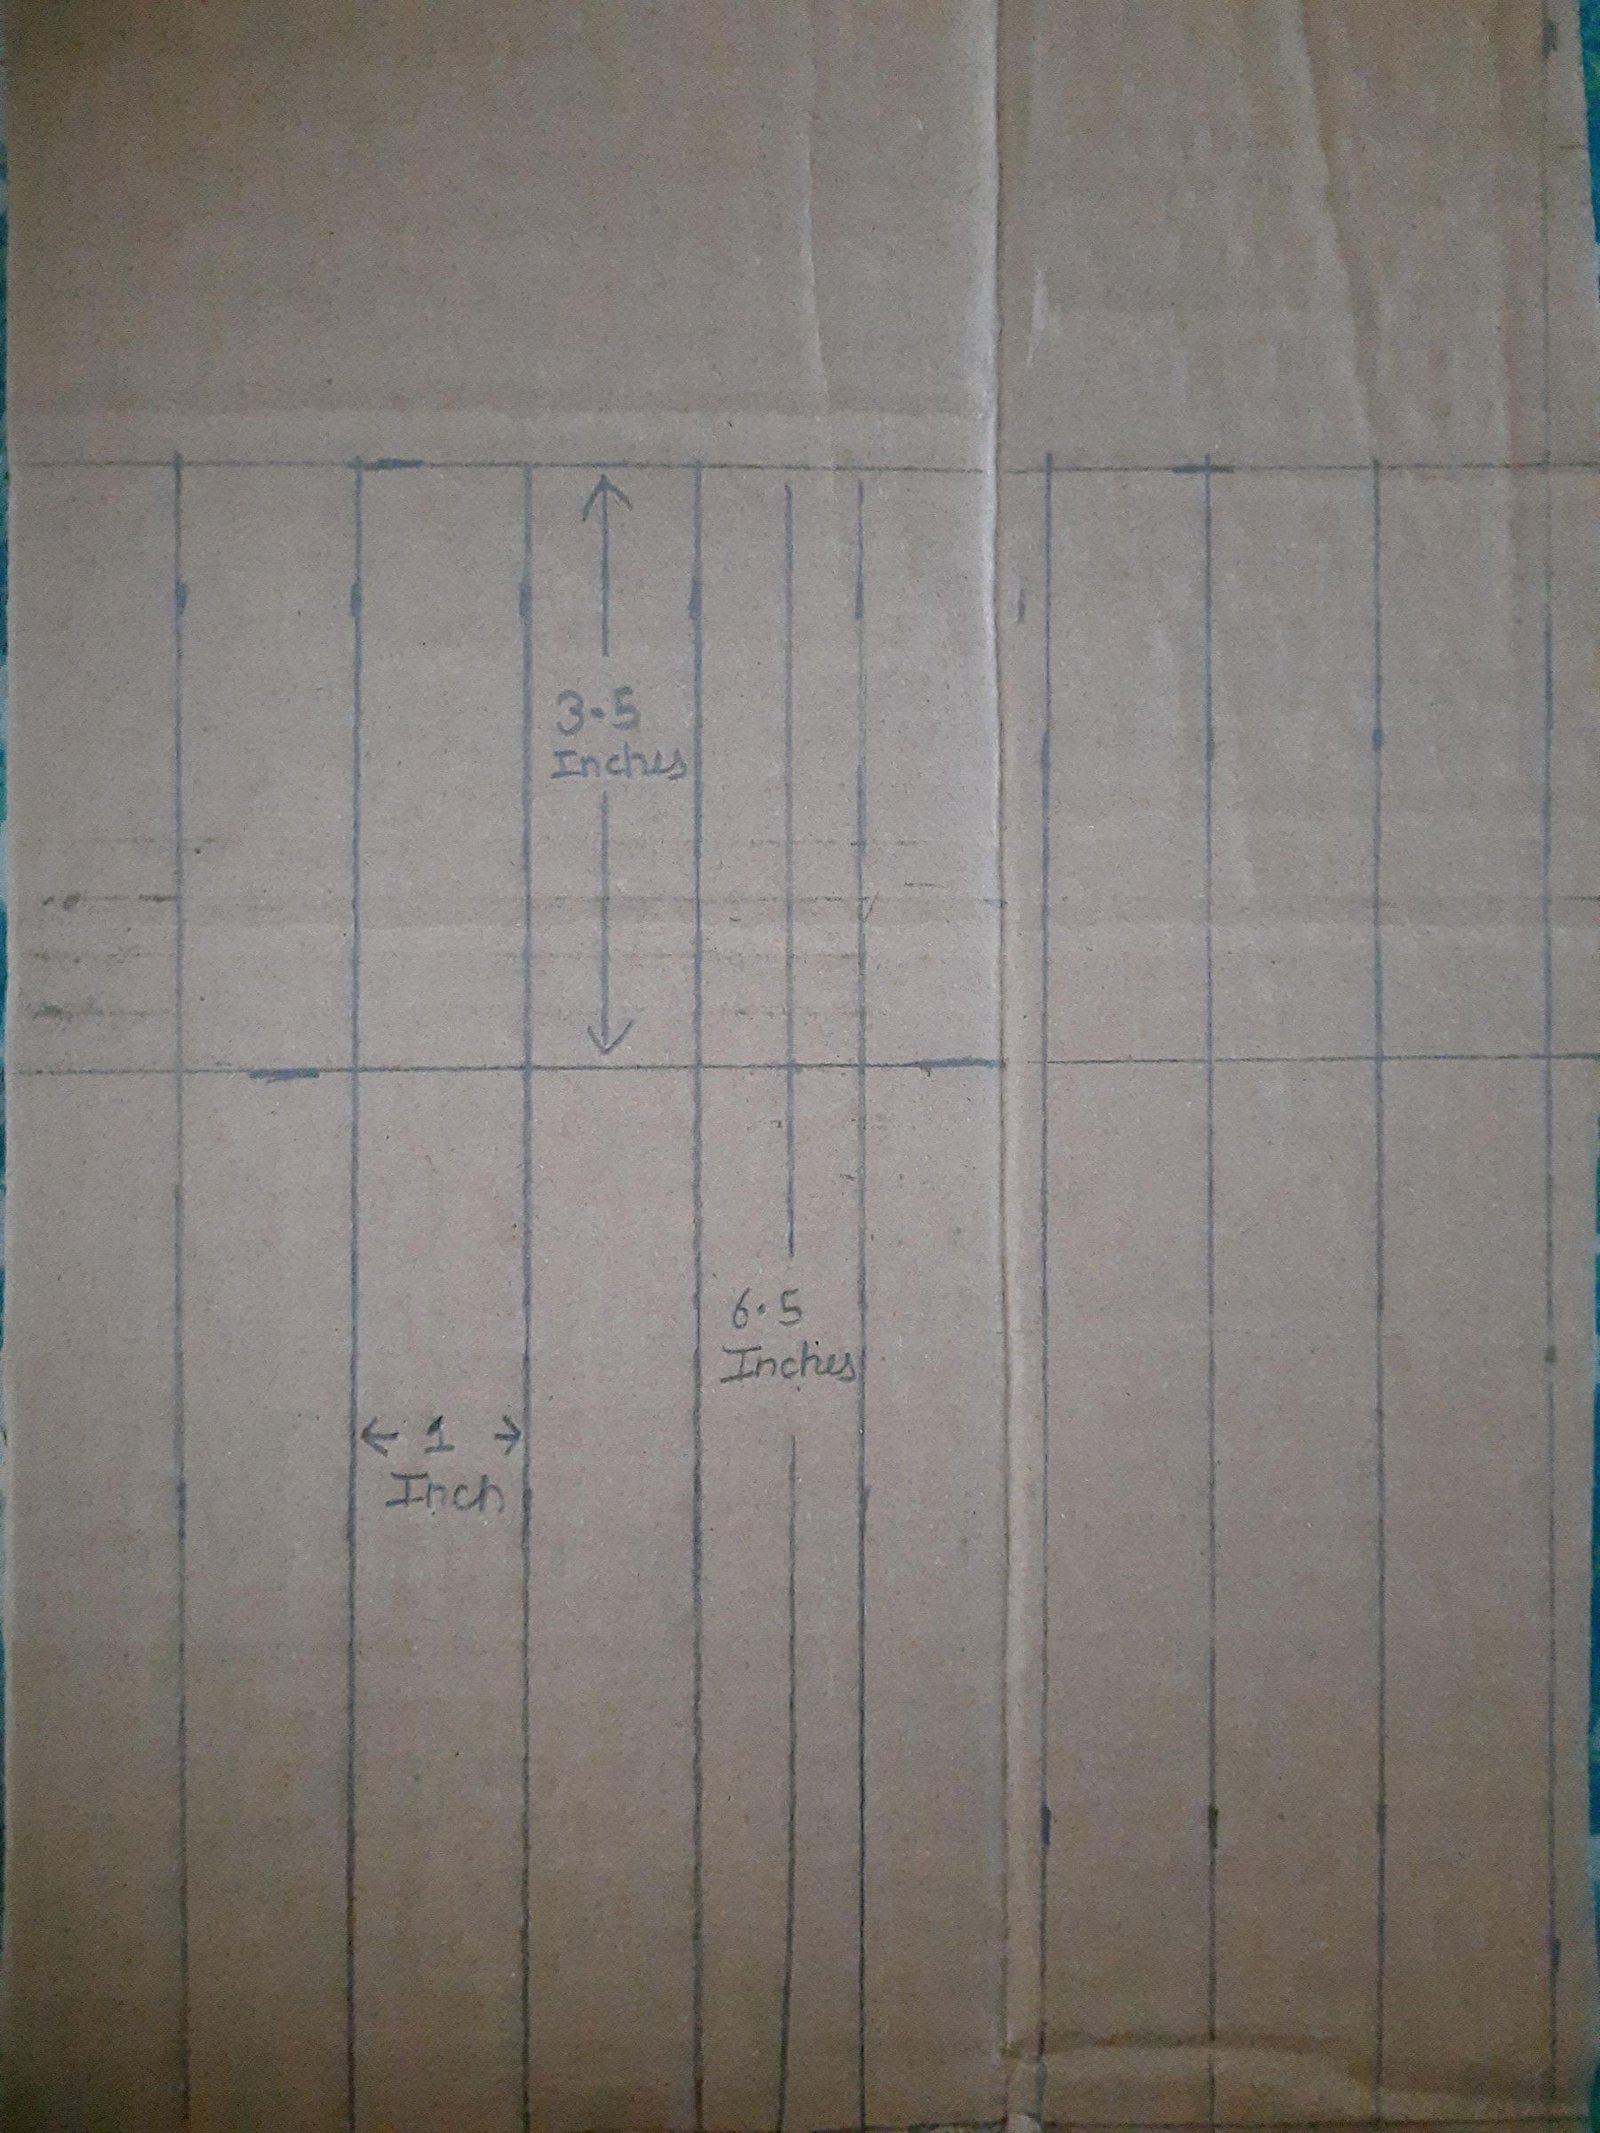
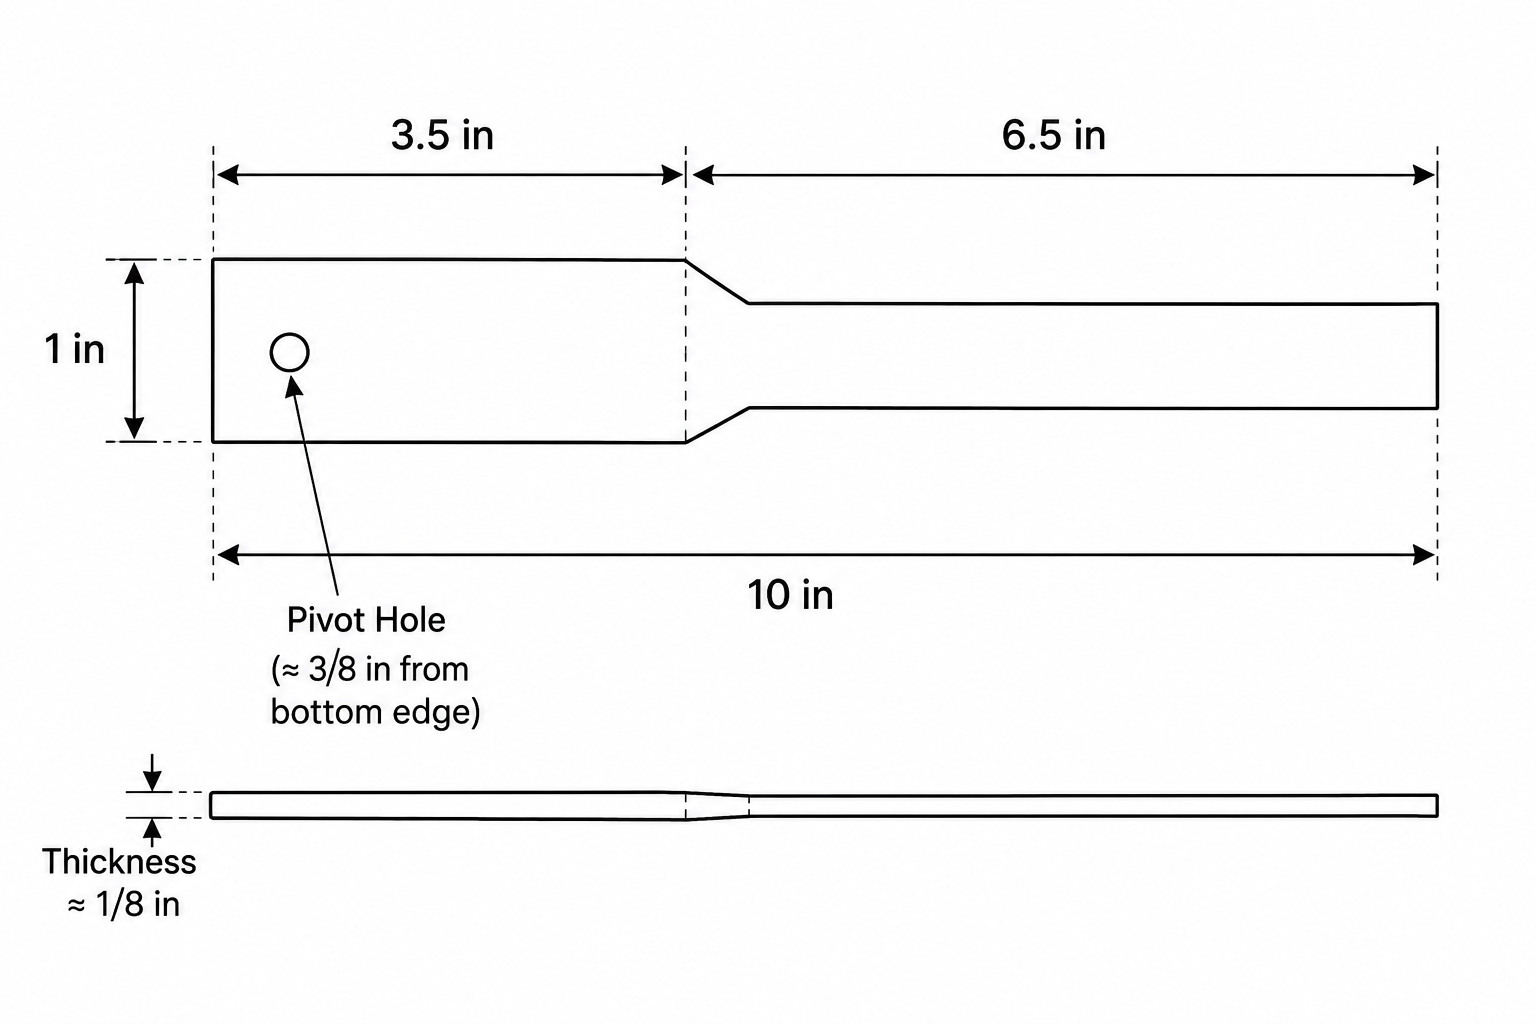
Make one accurate rib pattern. Each strip is 1 inch wide and 10 inches long, divided into 3.5-inch and 6.5-inch sections. The source prose reverses the roles shown in its diagram; the pictured template places the shaped, pivot-bearing handle in the 3.5-inch section and the straight support in the 6.5-inch section. Check the orientation, then use it consistently.
Trace that first outline for every additional rib so the pieces stack and spread evenly.
2. Cut a Matching Set
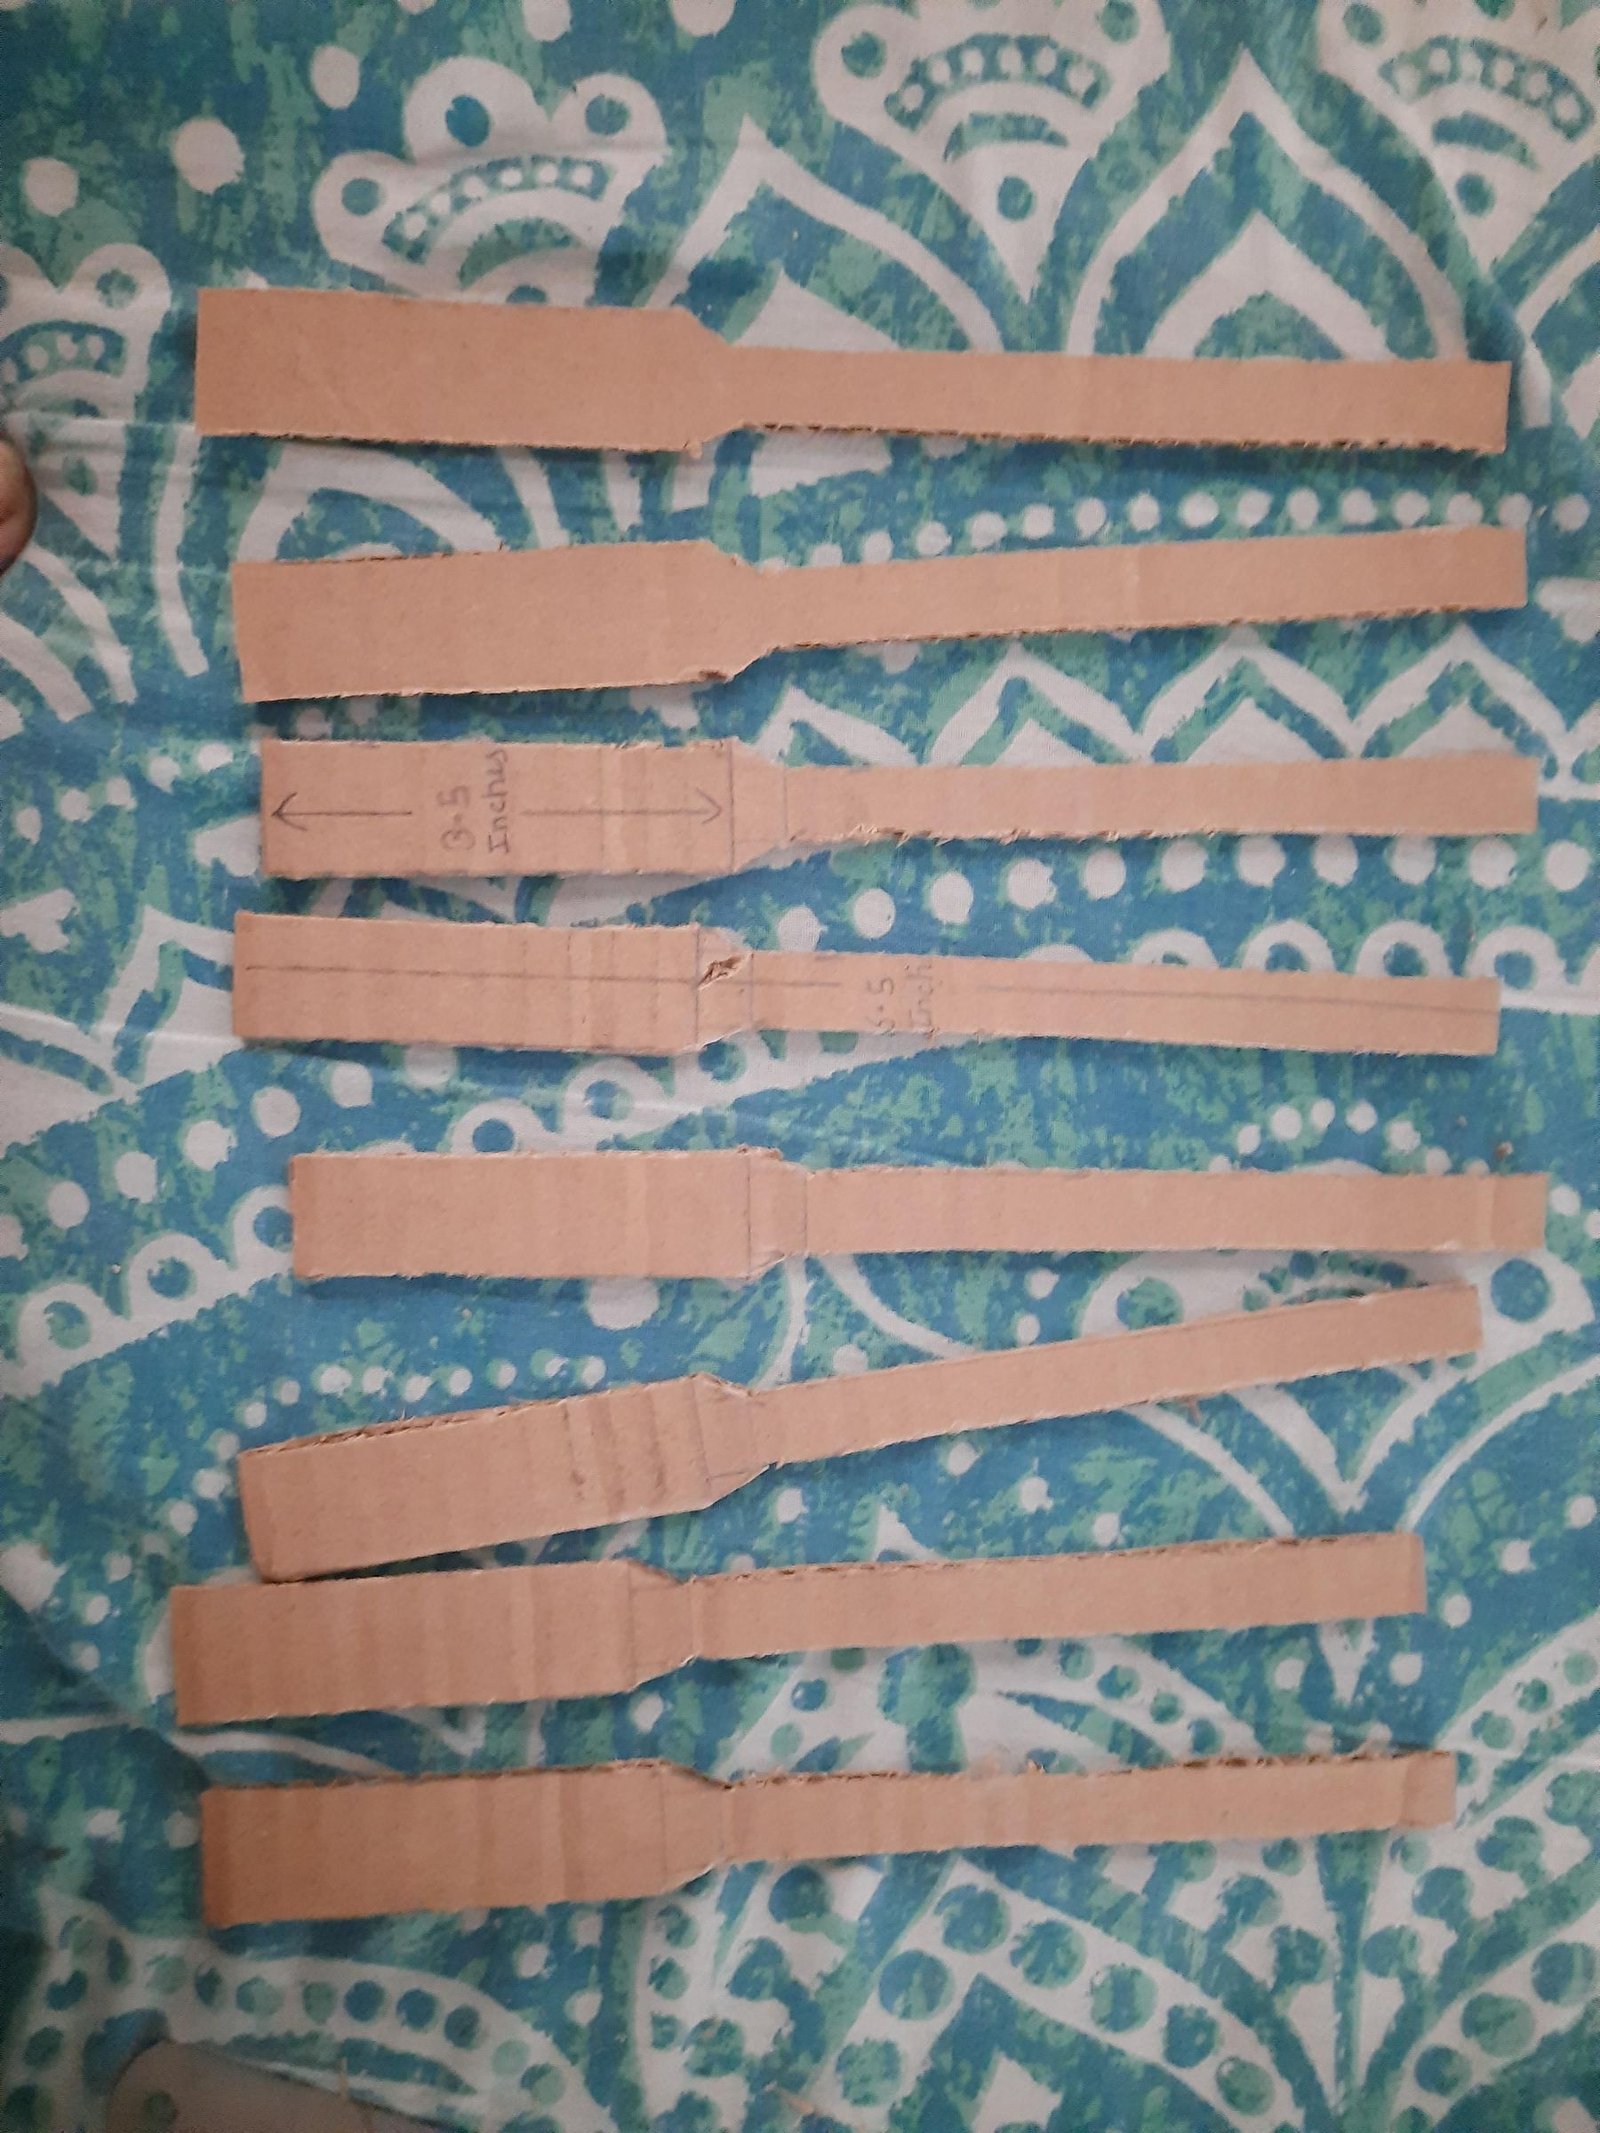
Cut the outlines with scissors, or use a craft knife and ruler on a mat. Stack the pieces, compare their ends and pivot edges, and trim high spots that could make the fan open unevenly.
3. Reinforce the Handles
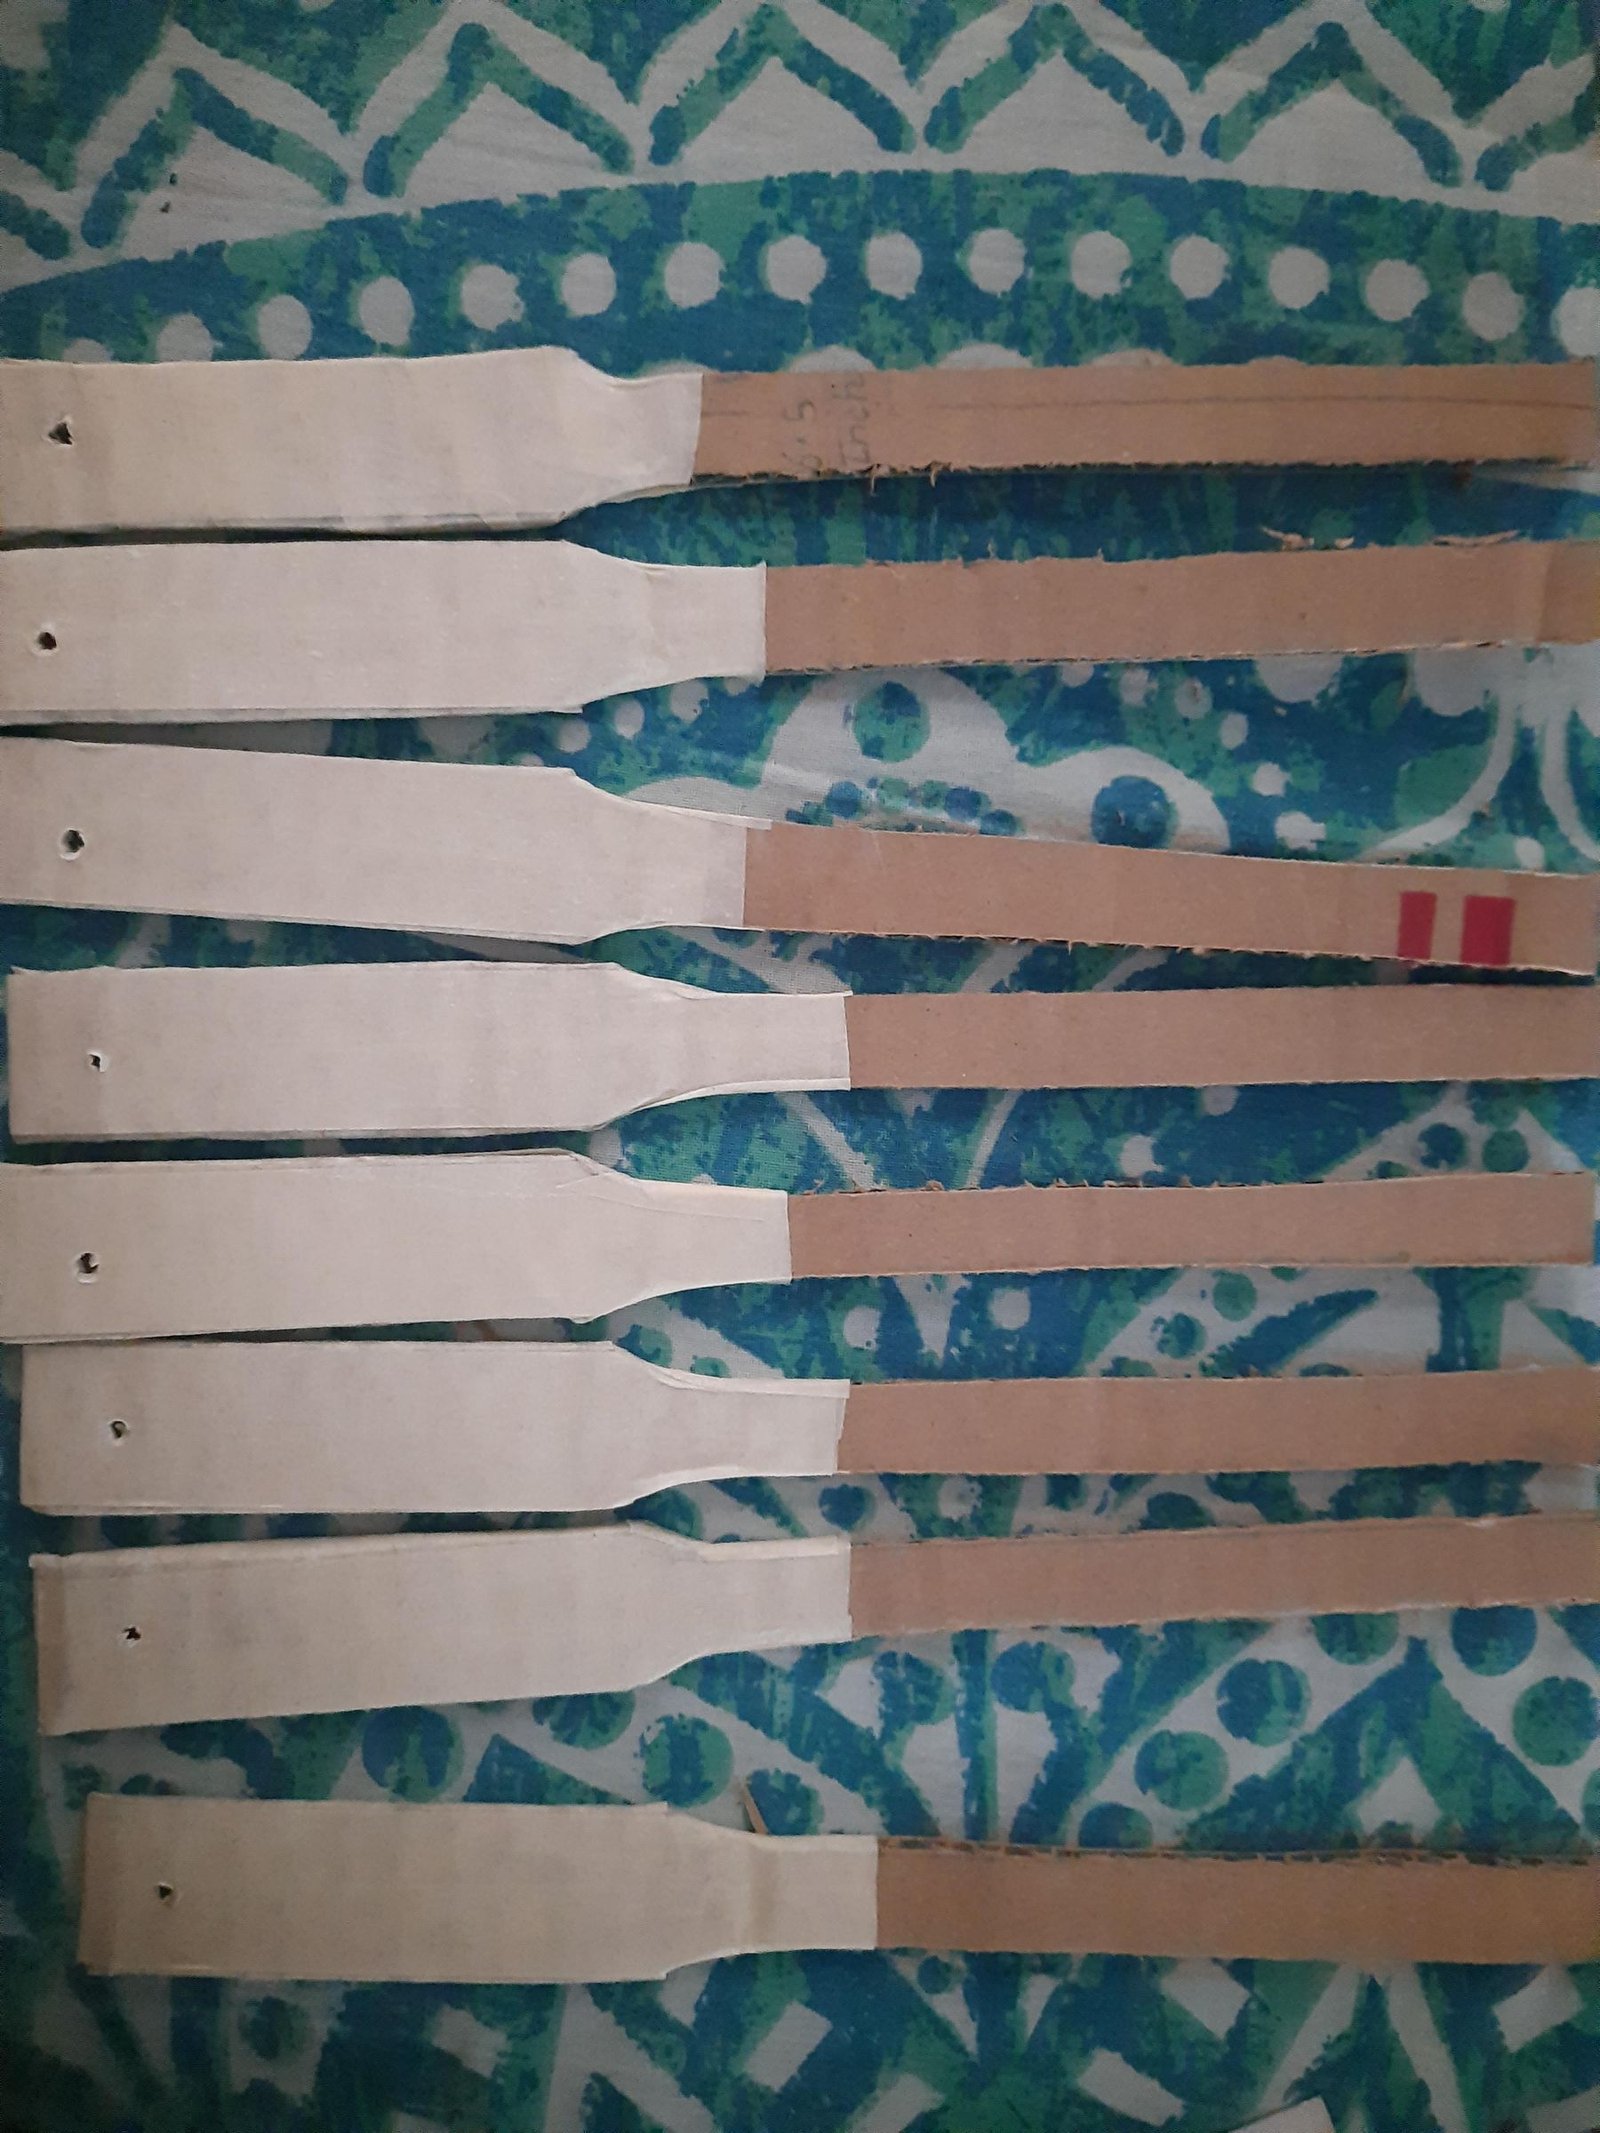
Once the shapes match, cover the wider handle areas with white or craft paper, smoothing each wrap around the edges without creating bulky layers.
The wrap cleans and reinforces the pivot area. Use little glue, then leave the pieces flat until dry so they do not curl when punched.
4. Make the Pivot Holes
Mark one hole near the bottom of the first rib and copy its position to every piece. The diagram places its center about 3/8 inch from the bottom edge and shows roughly 1/8-inch-thick material; consistency is what gives all ribs one rotation axis.
Punch carefully, stack the ribs, and correct misalignment instead of forcing wire through at an angle.
5. Assemble the Moving Joint
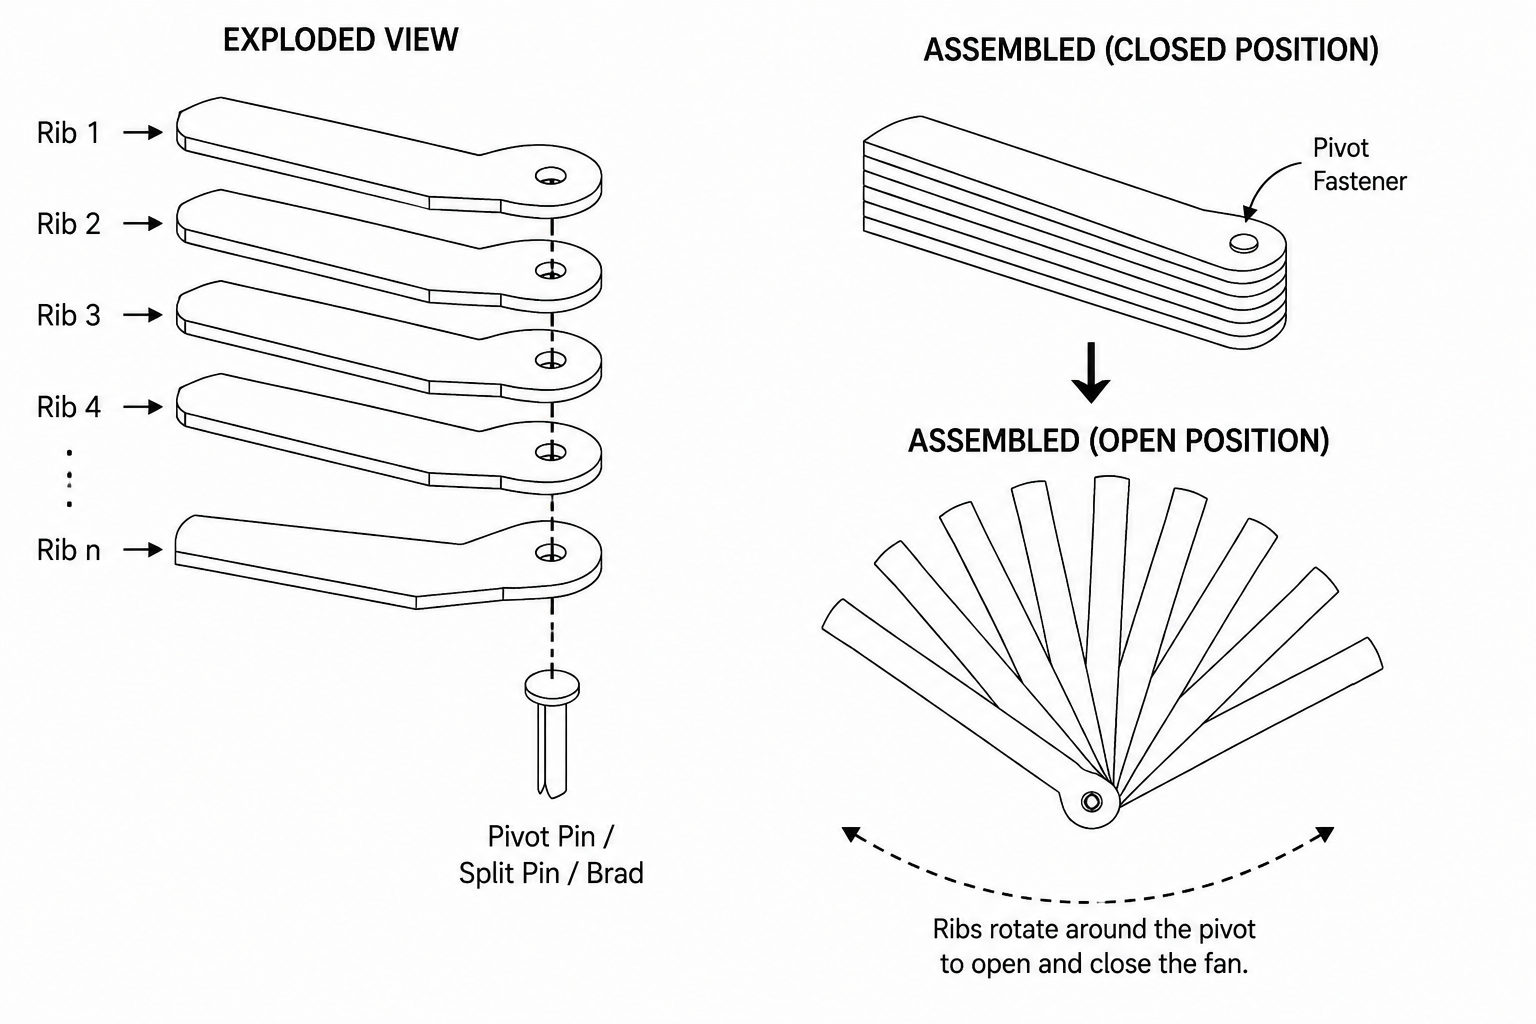
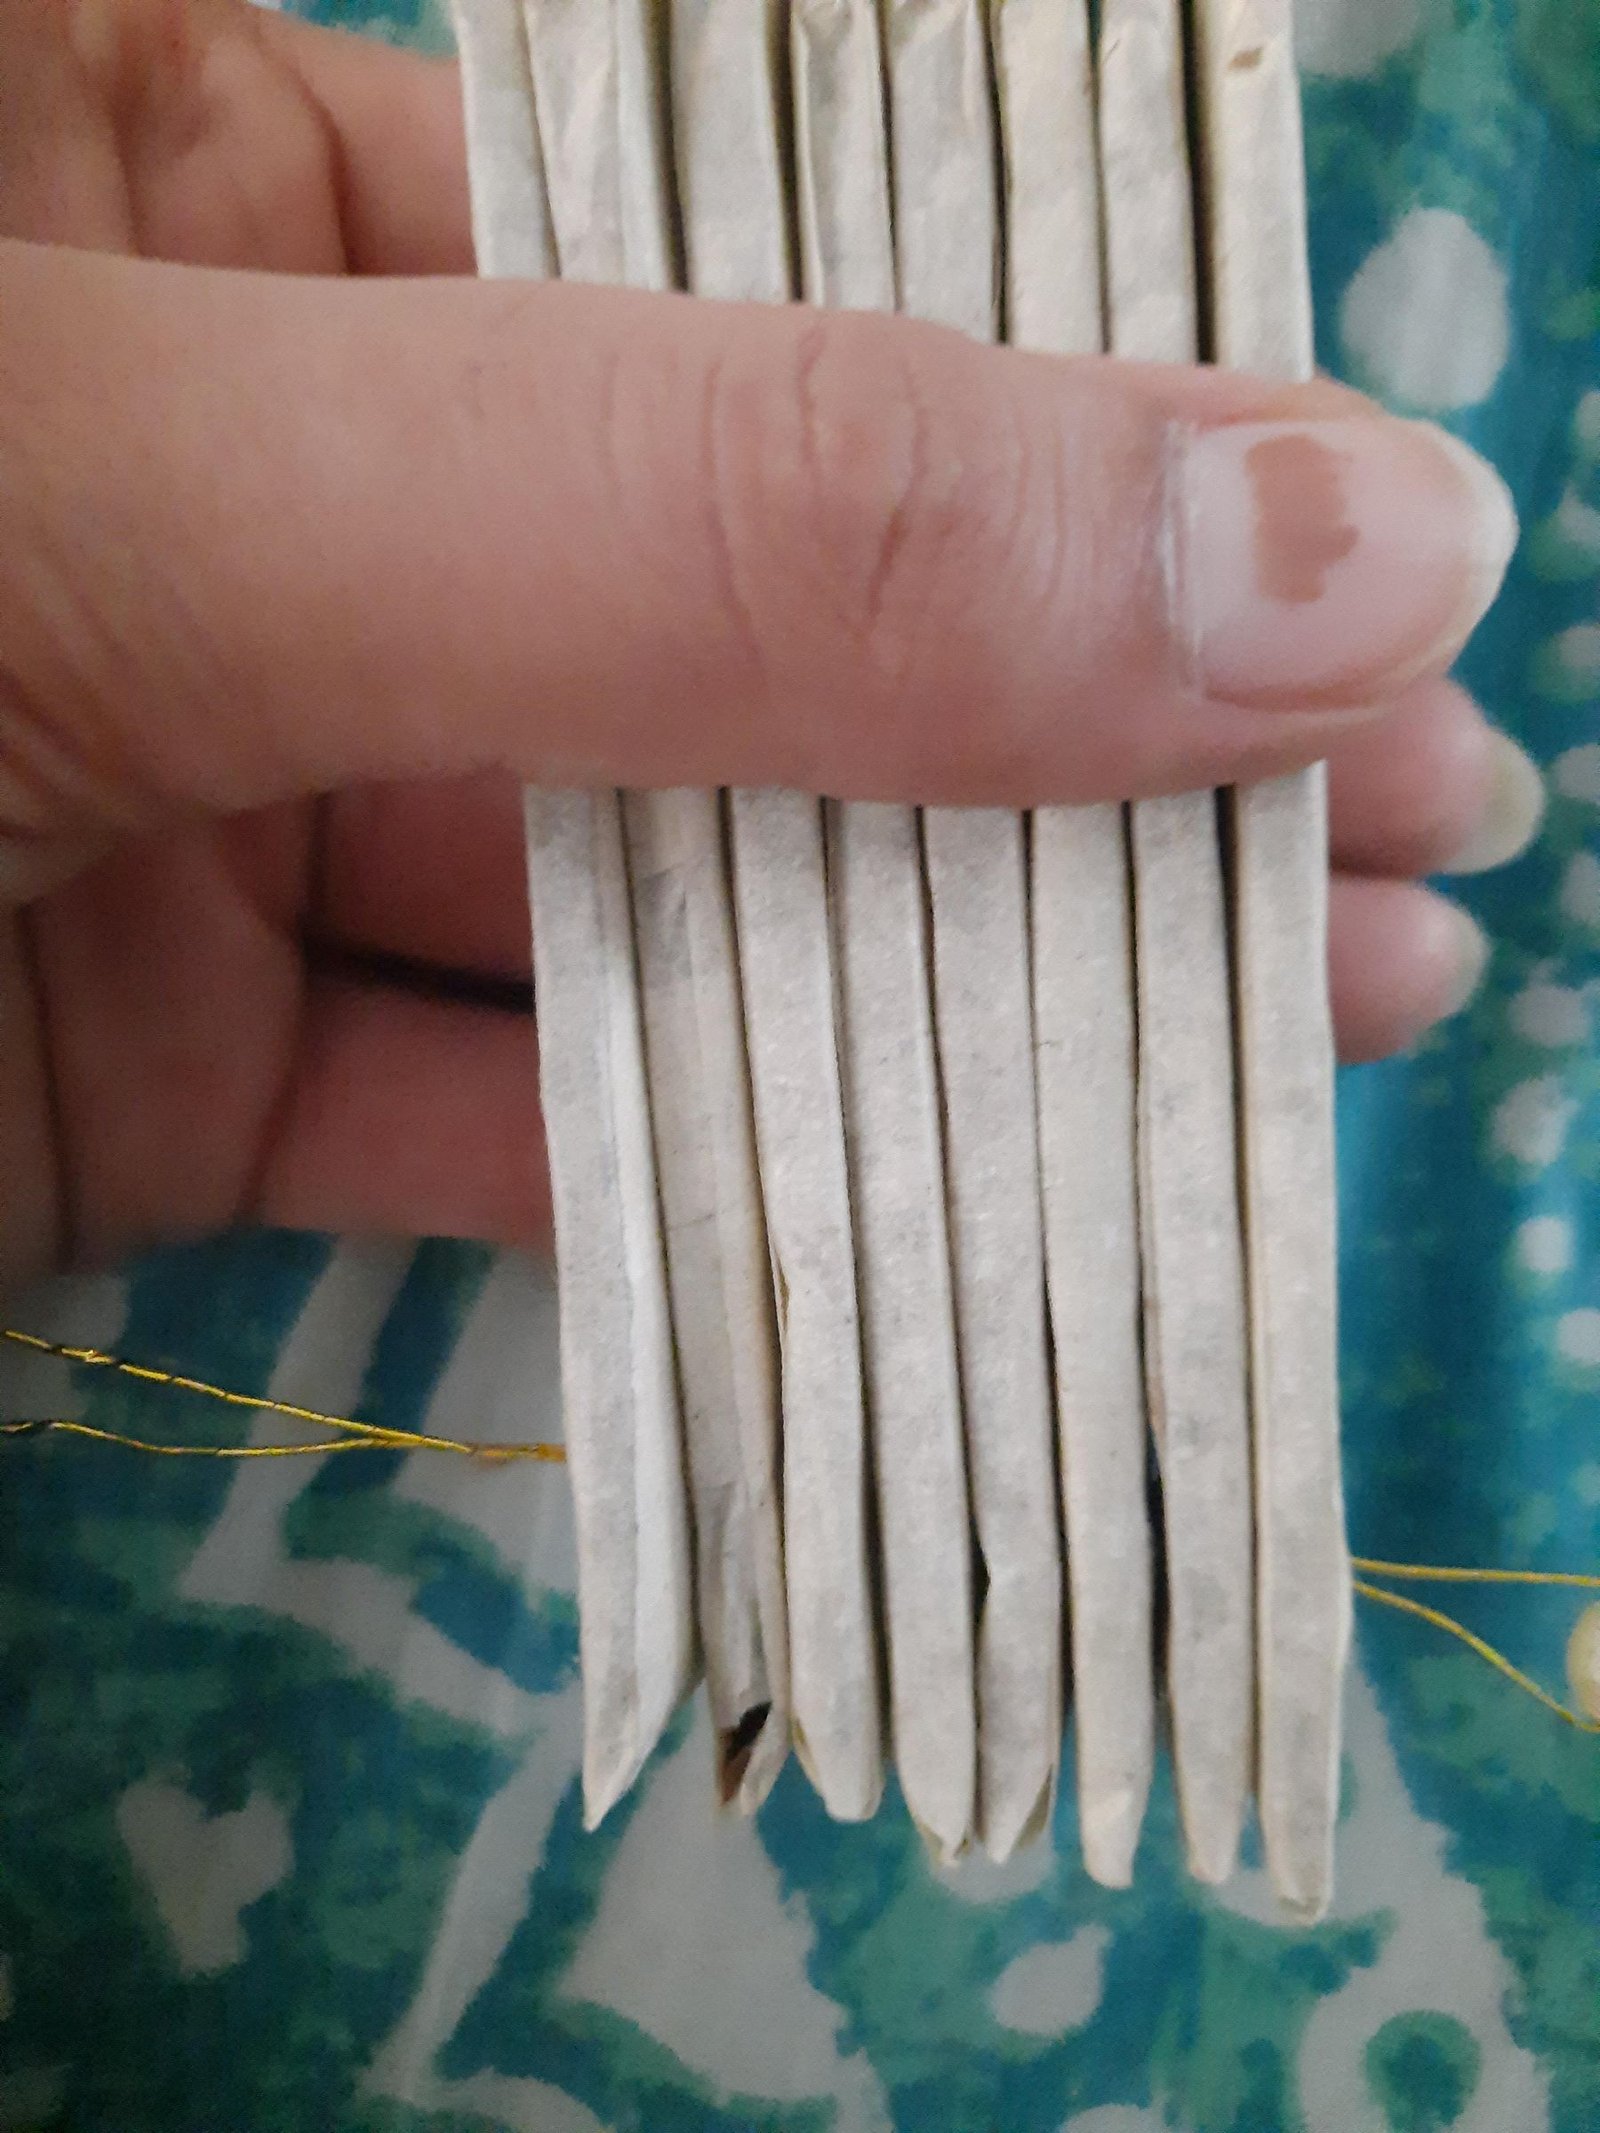
Stack the ribs, align the holes, and feed thread or flexible wire through the set. Secure it loosely enough to hold without clamping.
Spread each rib independently. If one binds, loosen the pivot and clear rough cardboard or paper; bend or cover exposed wire ends.
6. Shape the Fan Surface
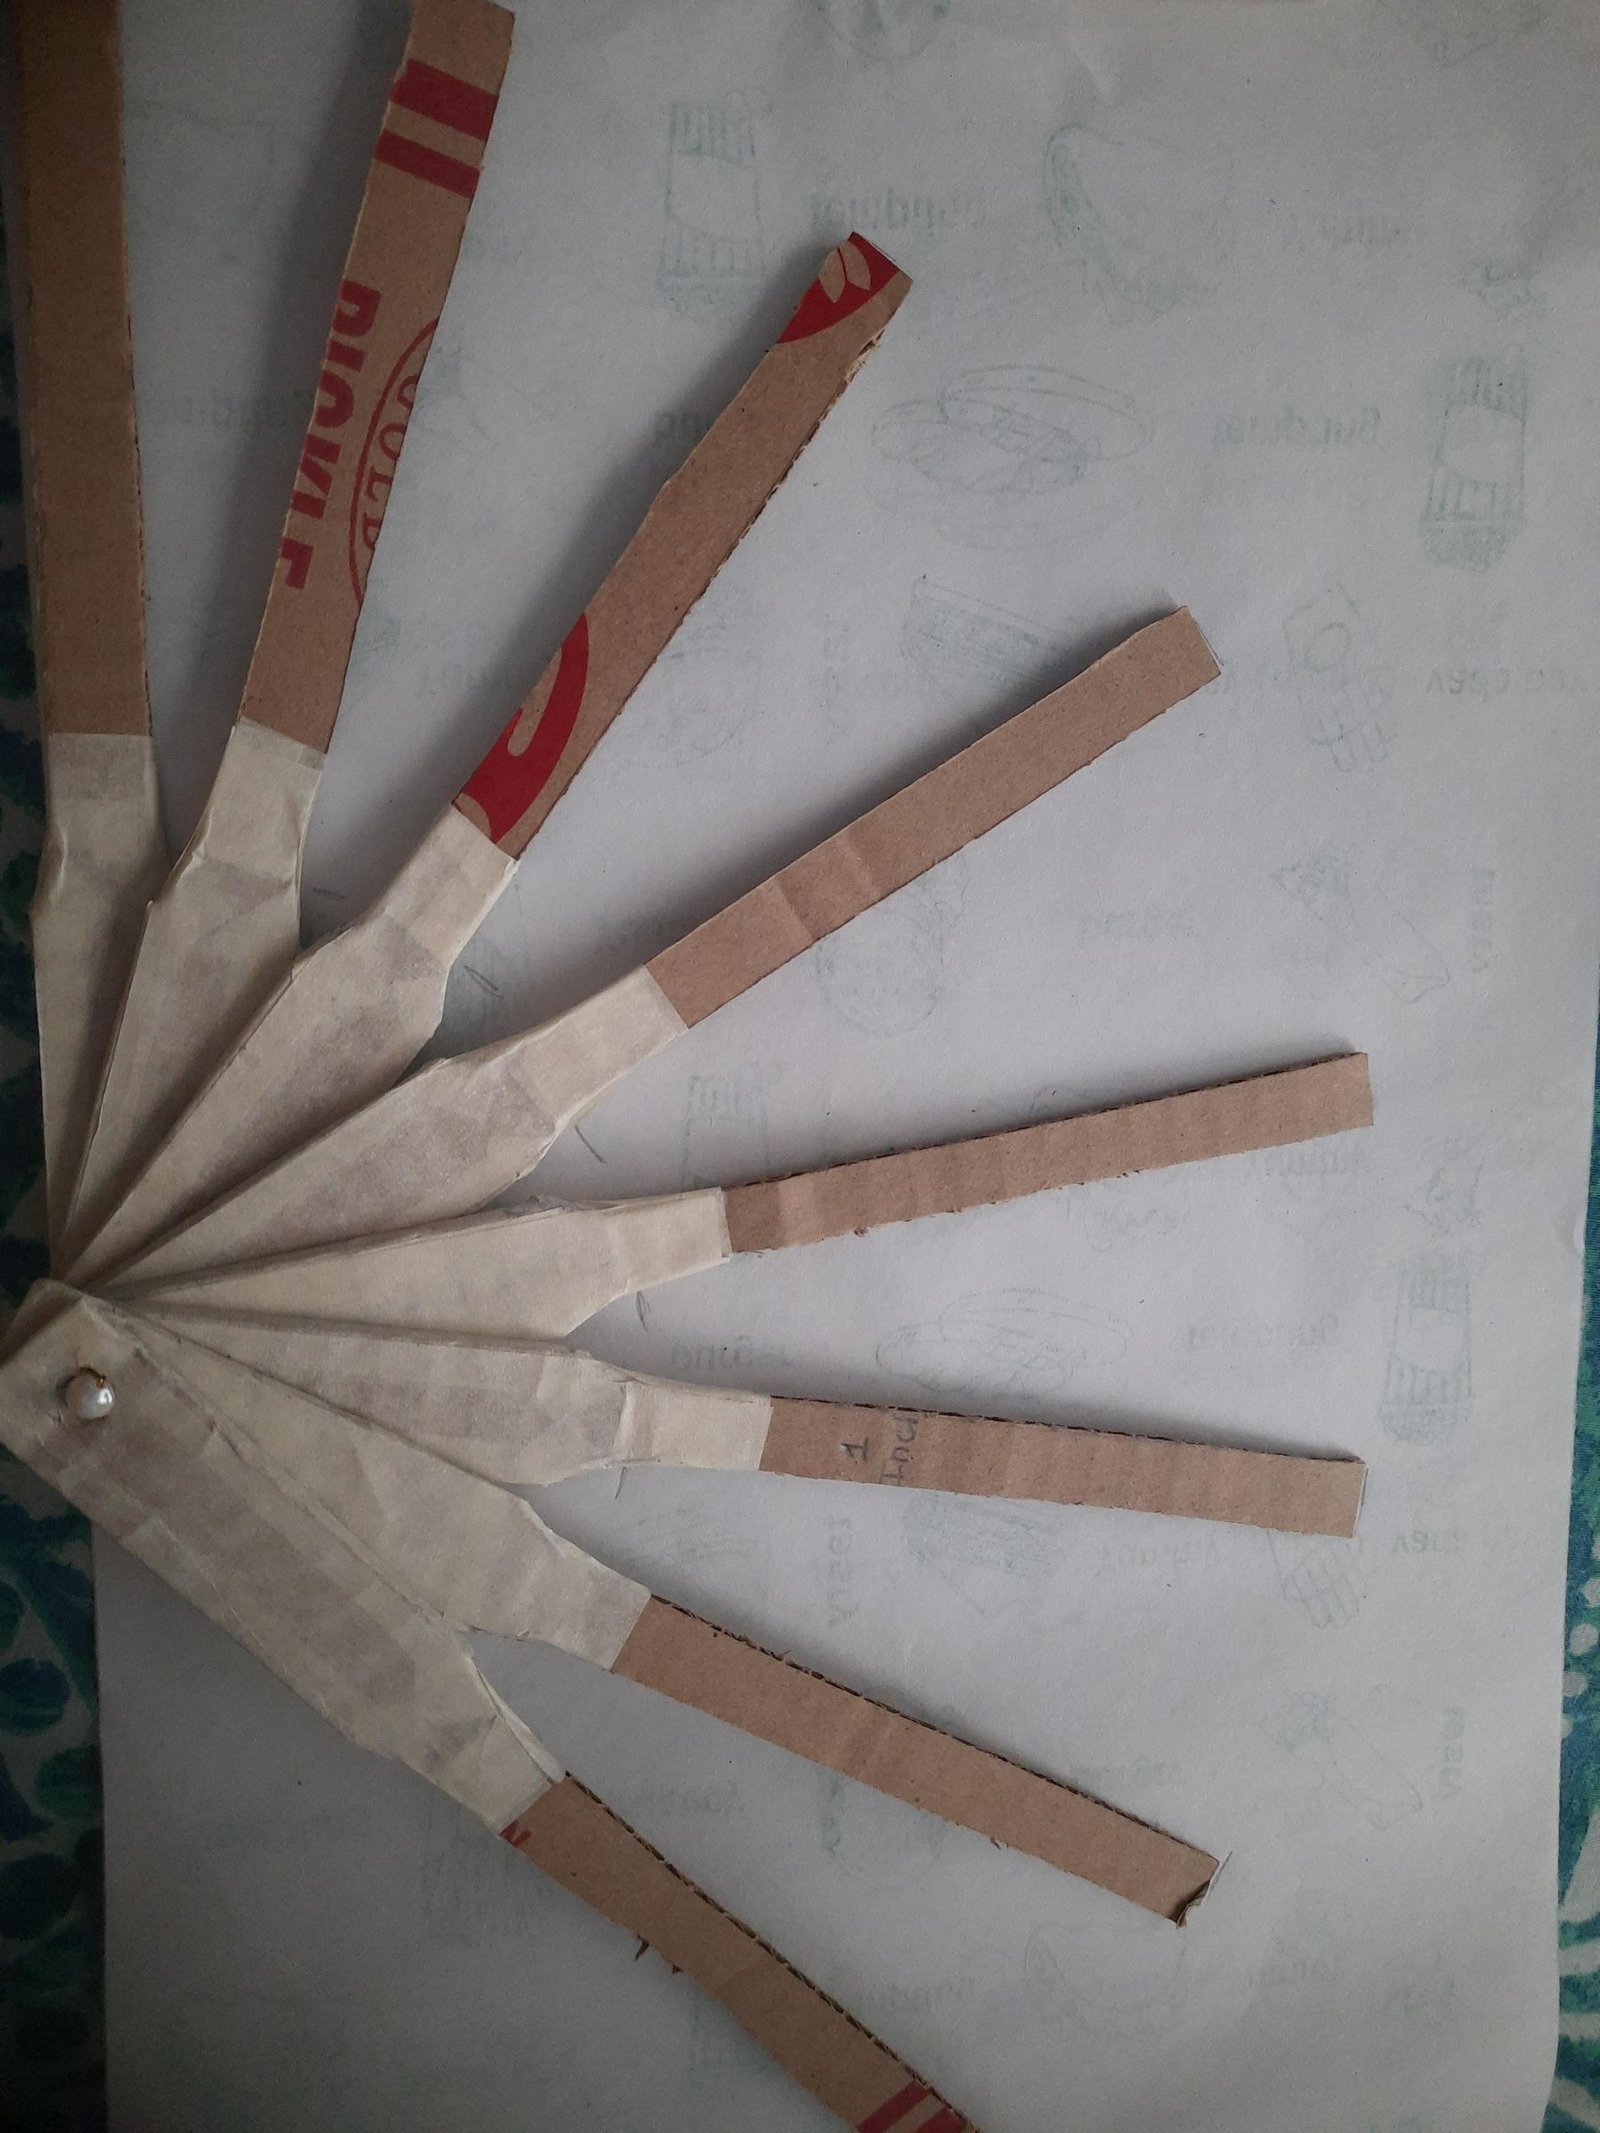
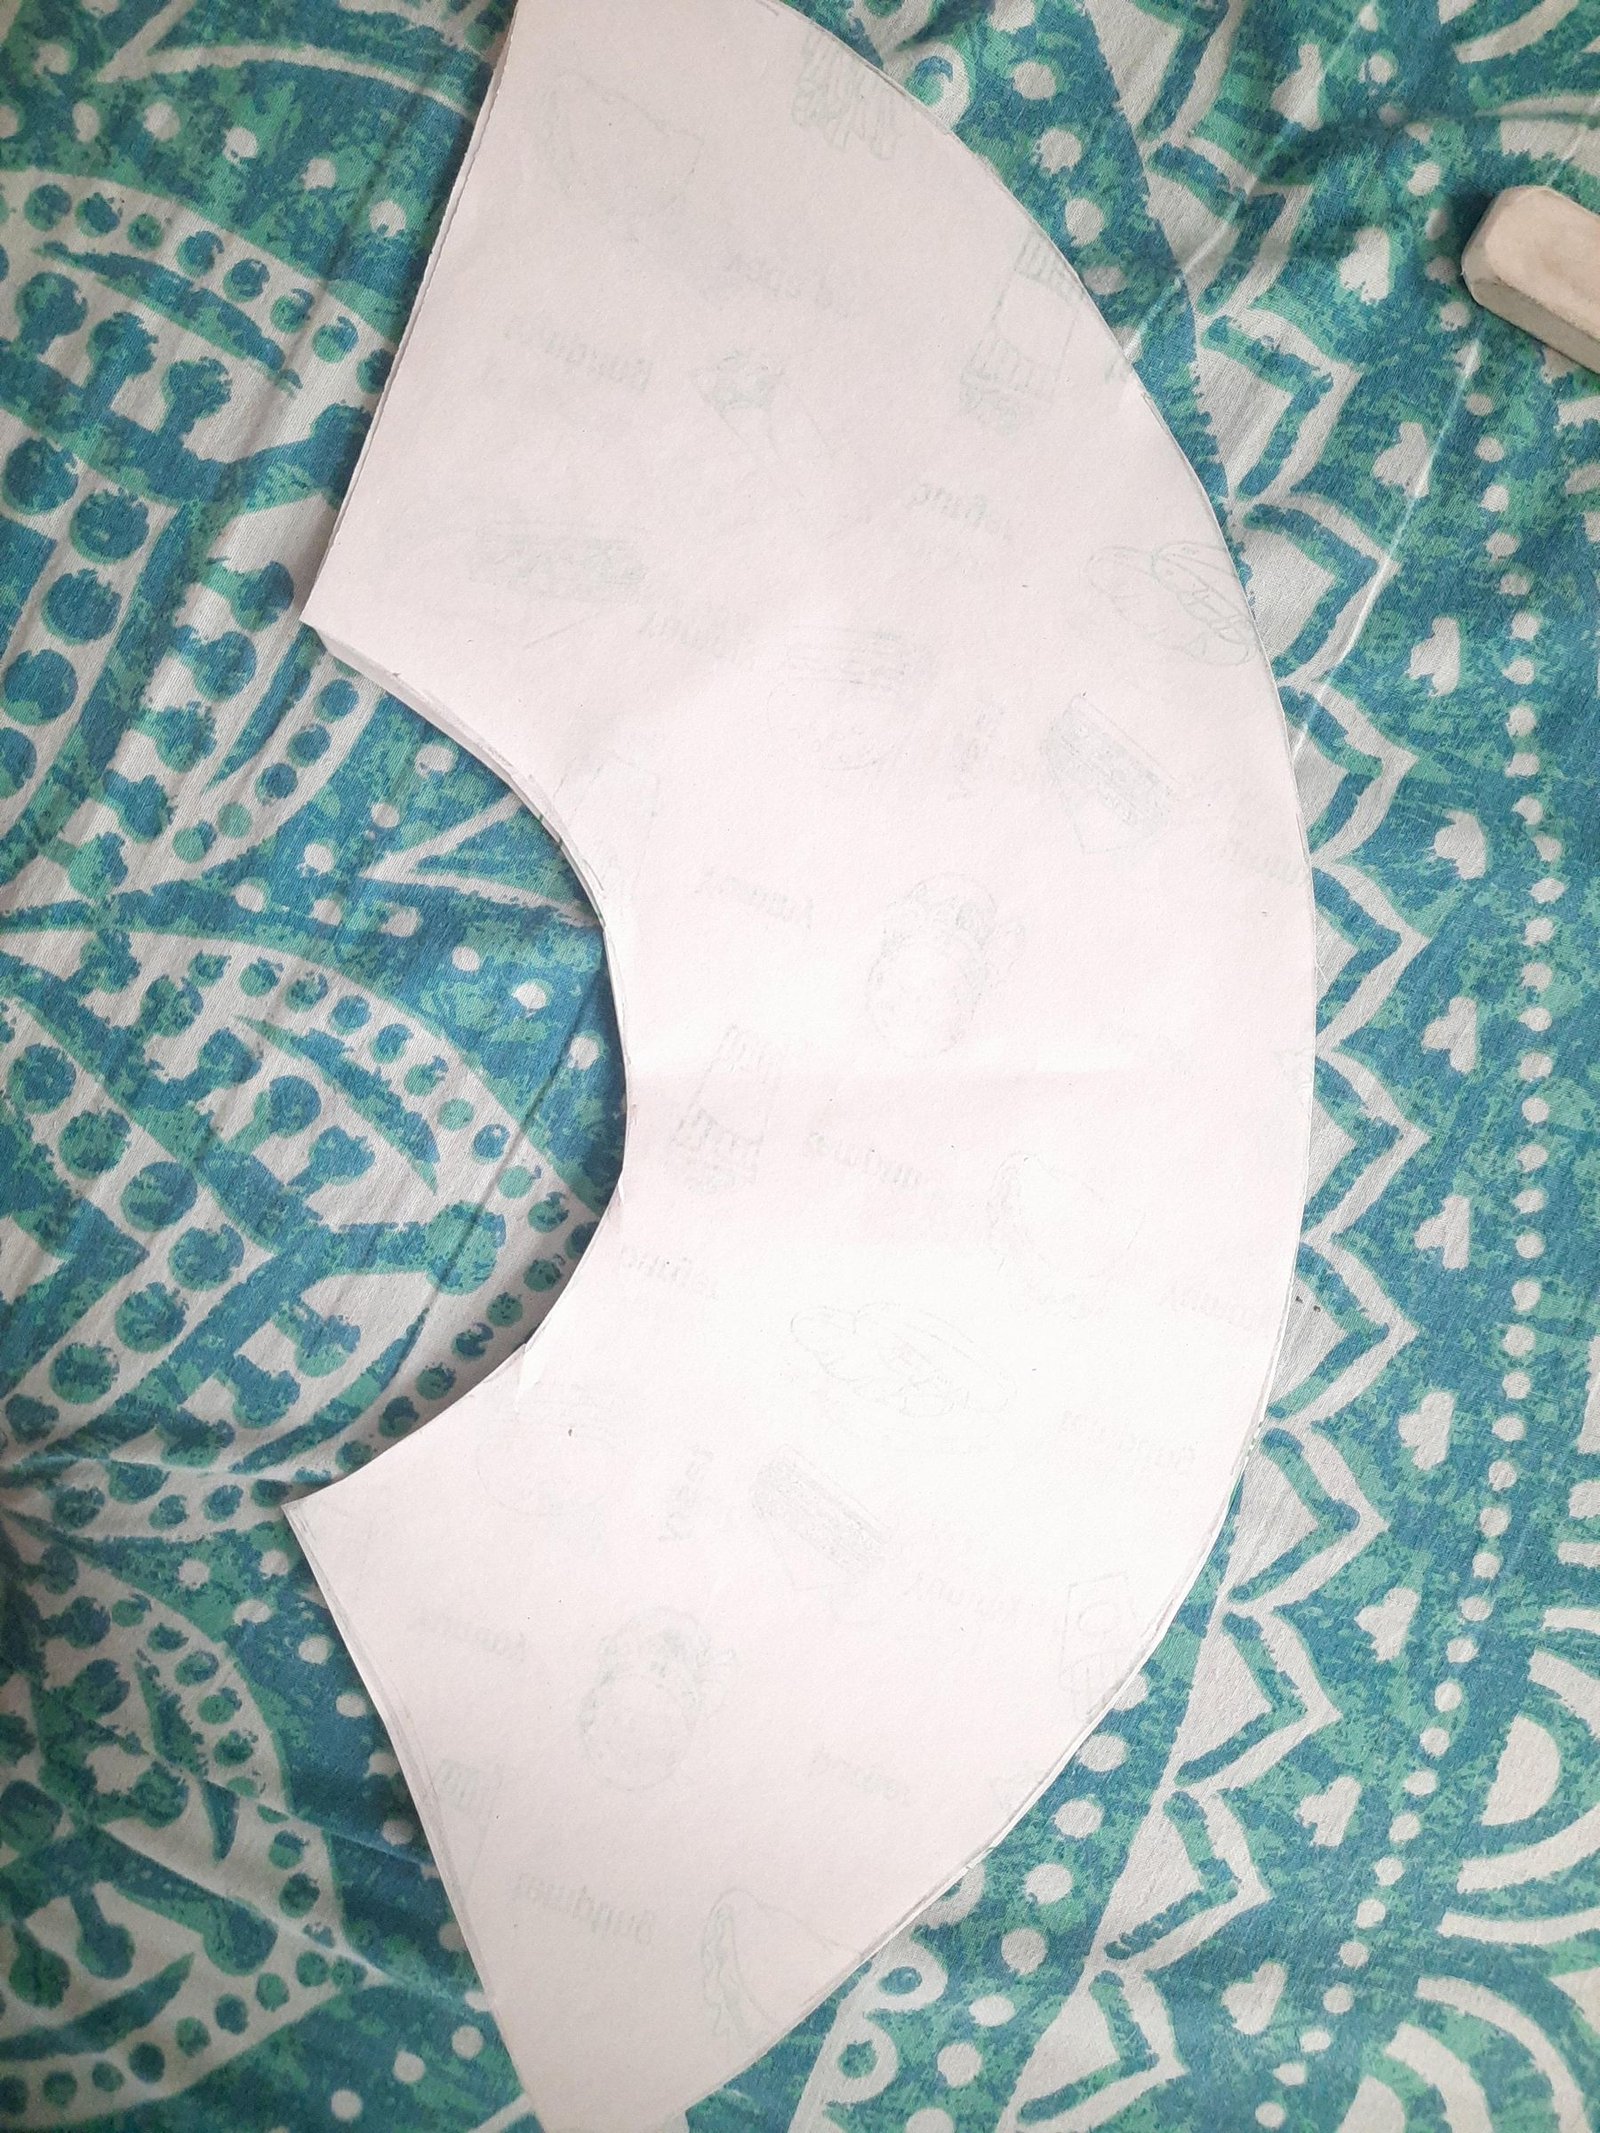
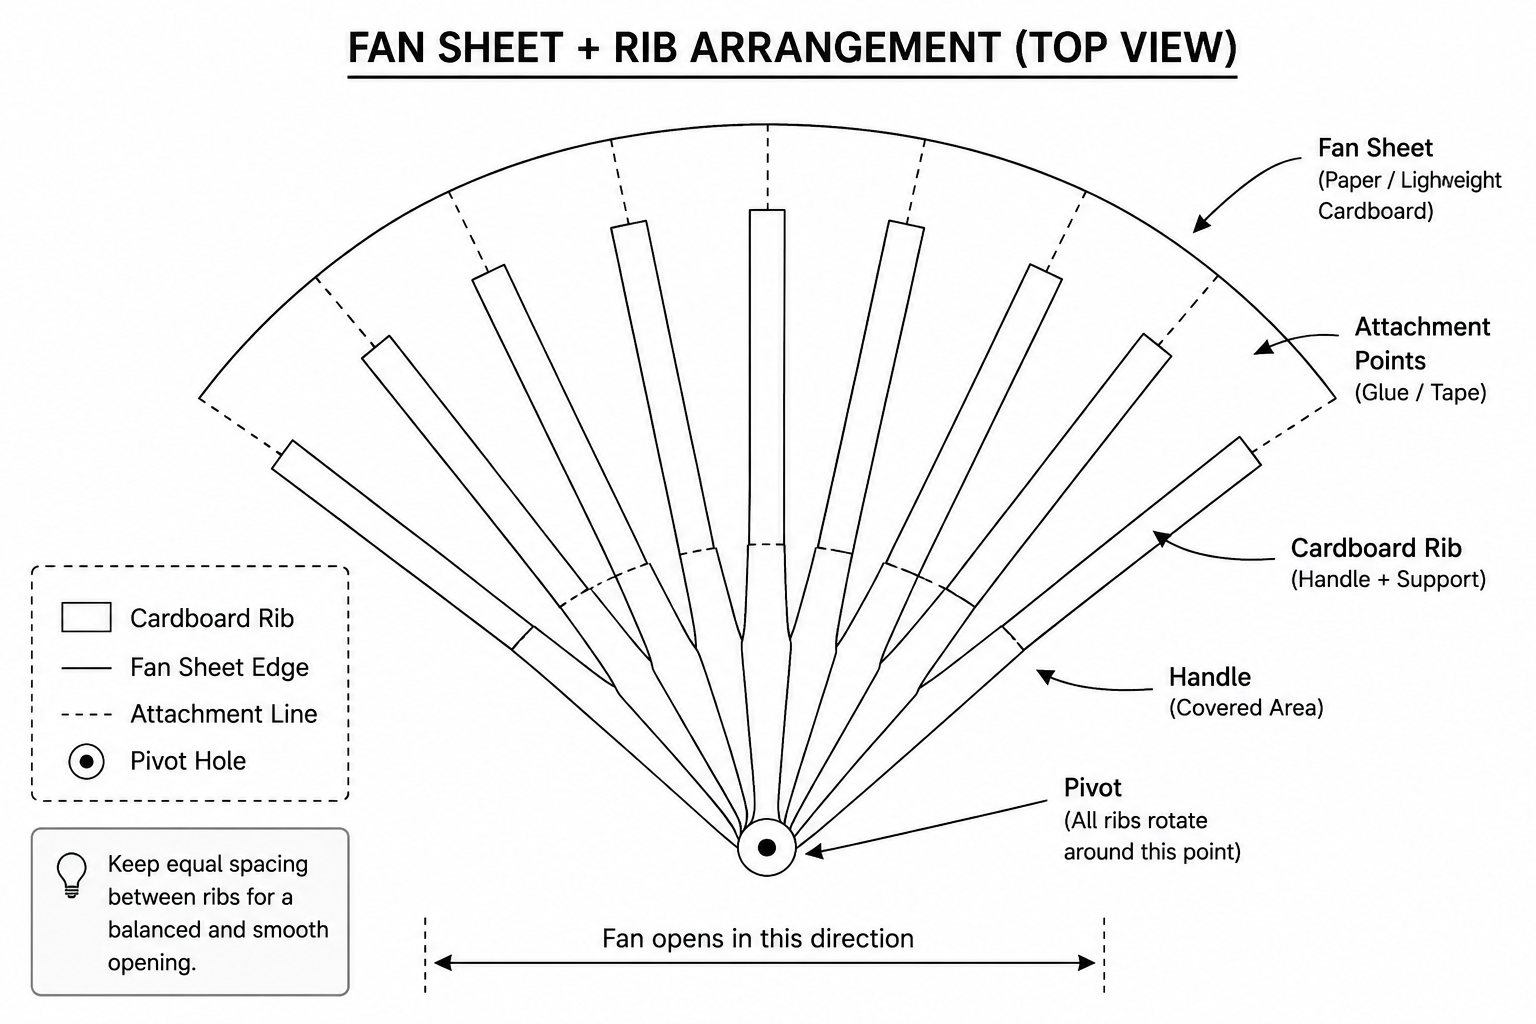
When the ribs sweep smoothly around the pivot, the frame is ready for its air-moving surface. Open it and use the arc as a guide for cutting a broad shape from lightweight paper or thin card.
Enough area moves air, but extra weight strains the hinge. Test the sheet over the frame before gluing and make sure it does not pull the supports inward.
7. Attach the Sheet Evenly
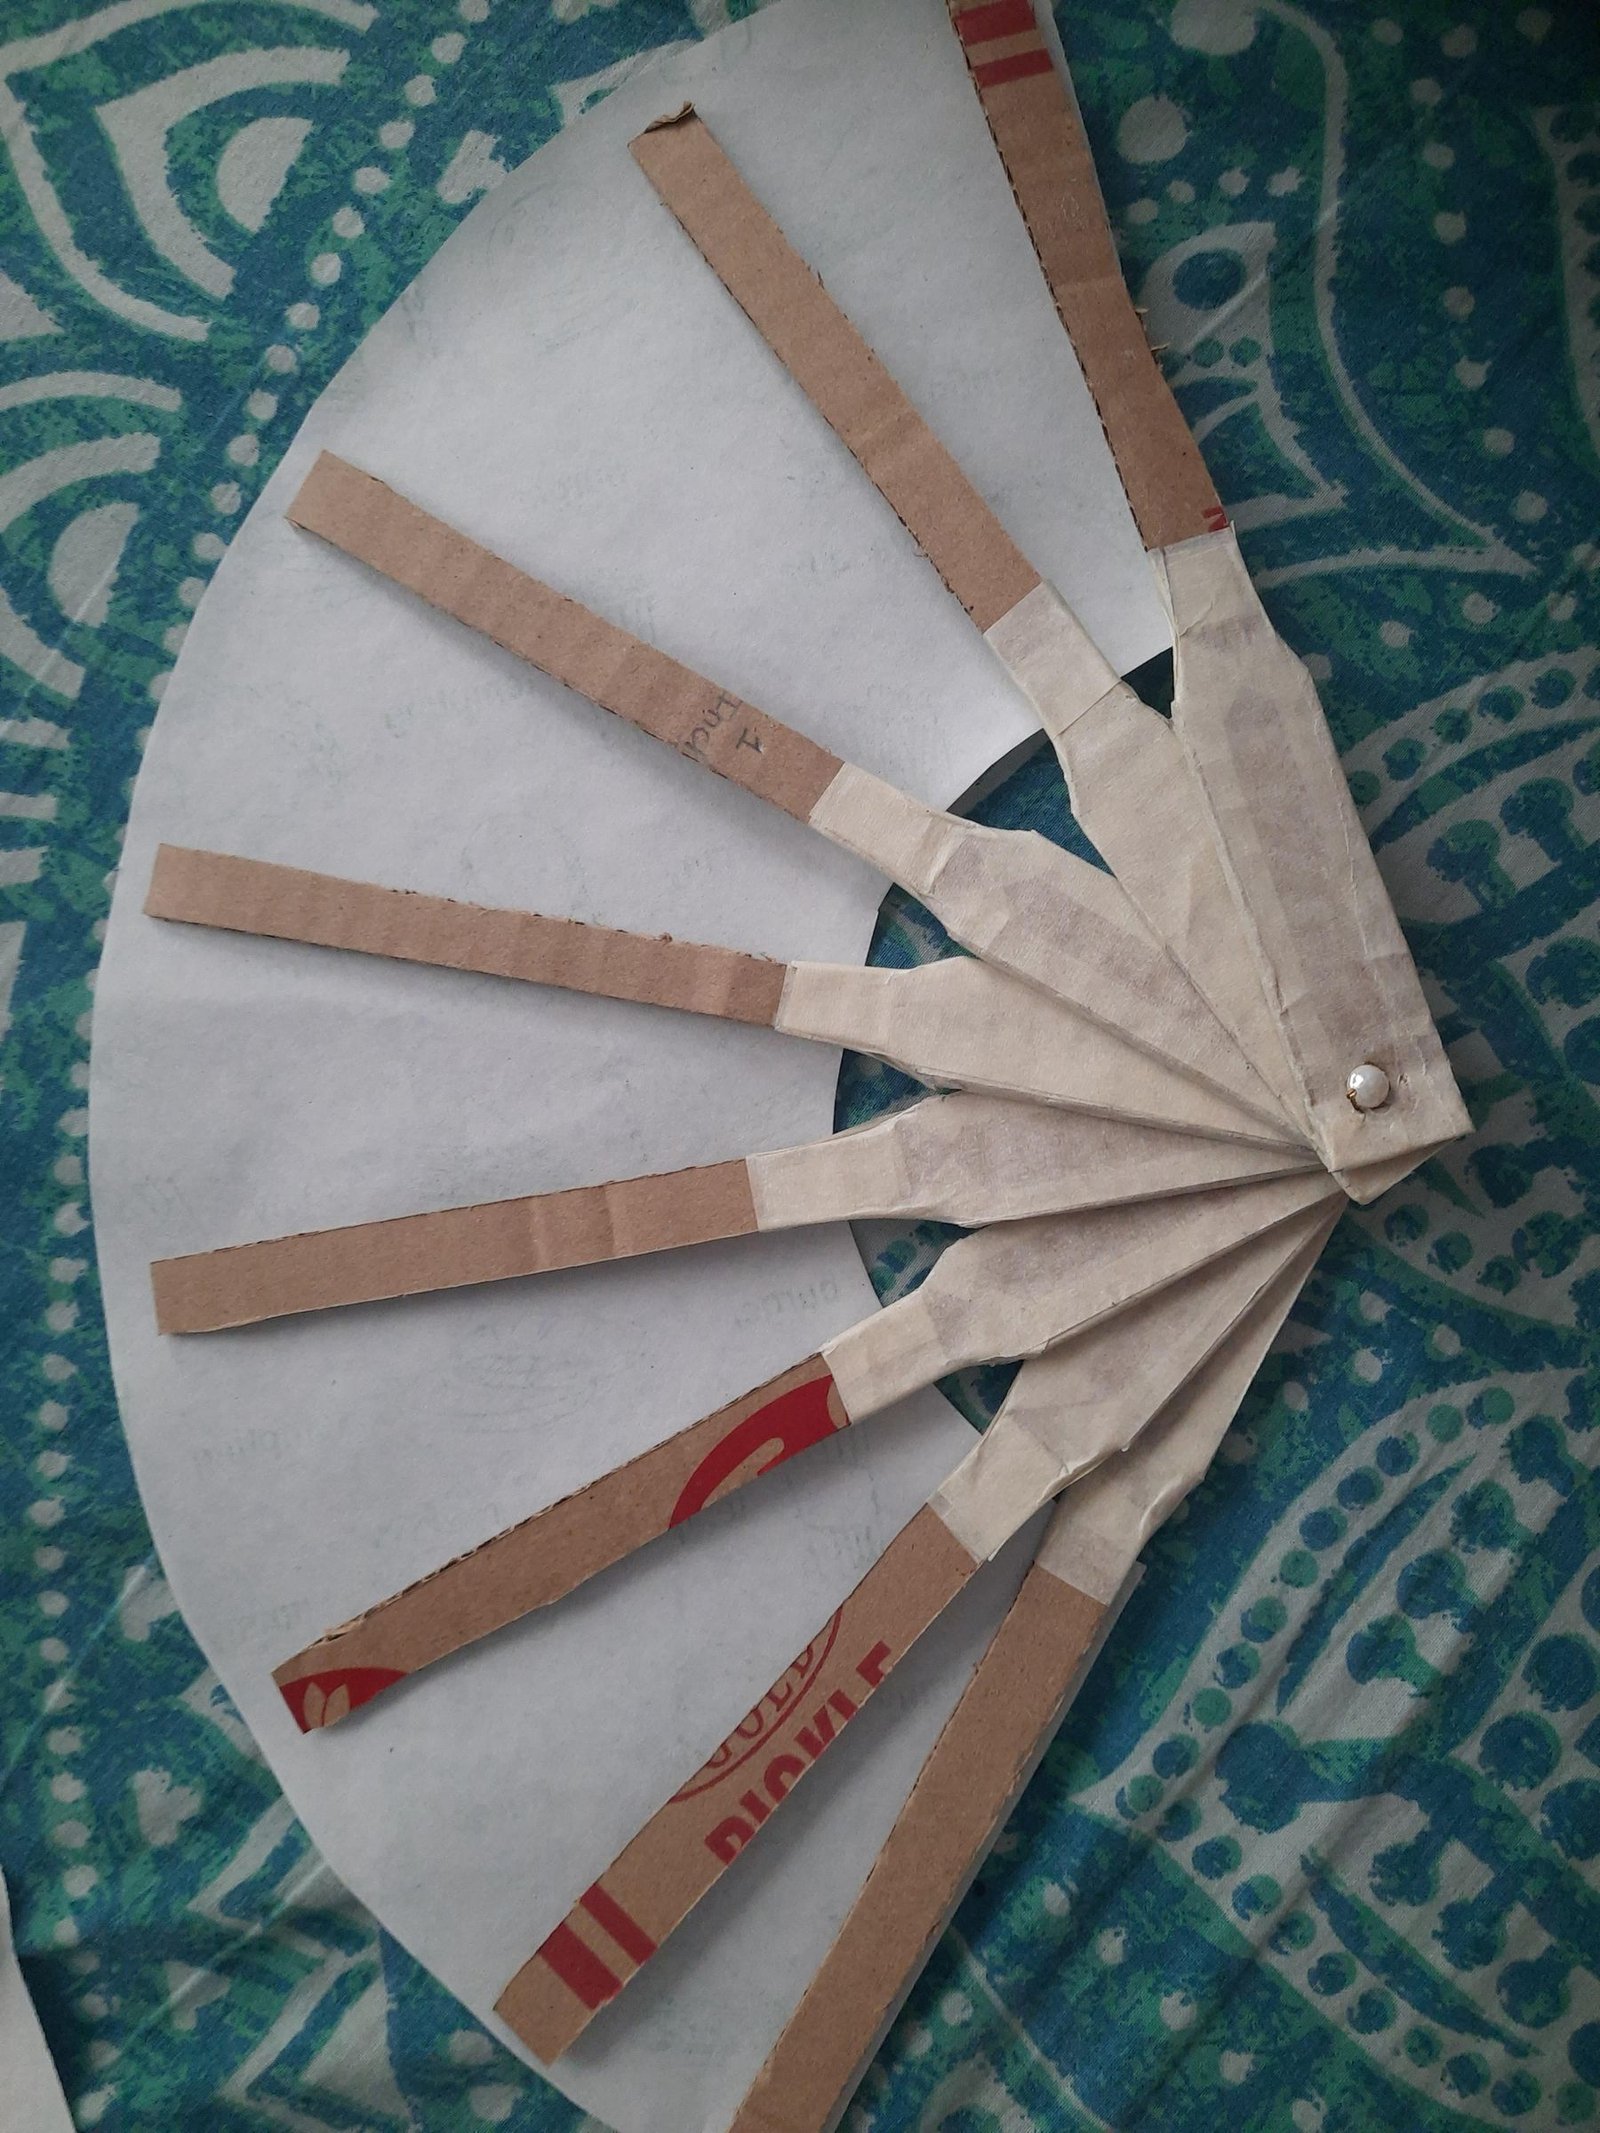
Space the ribs beneath the sheet. Attach it to the upper supports gradually, rechecking the gaps and keeping the pivot free of glue.
Let it dry open. Fold slowly the first time so the paper creases between supports without buckling or twisting a rib.
8. Add the Decorative Finish
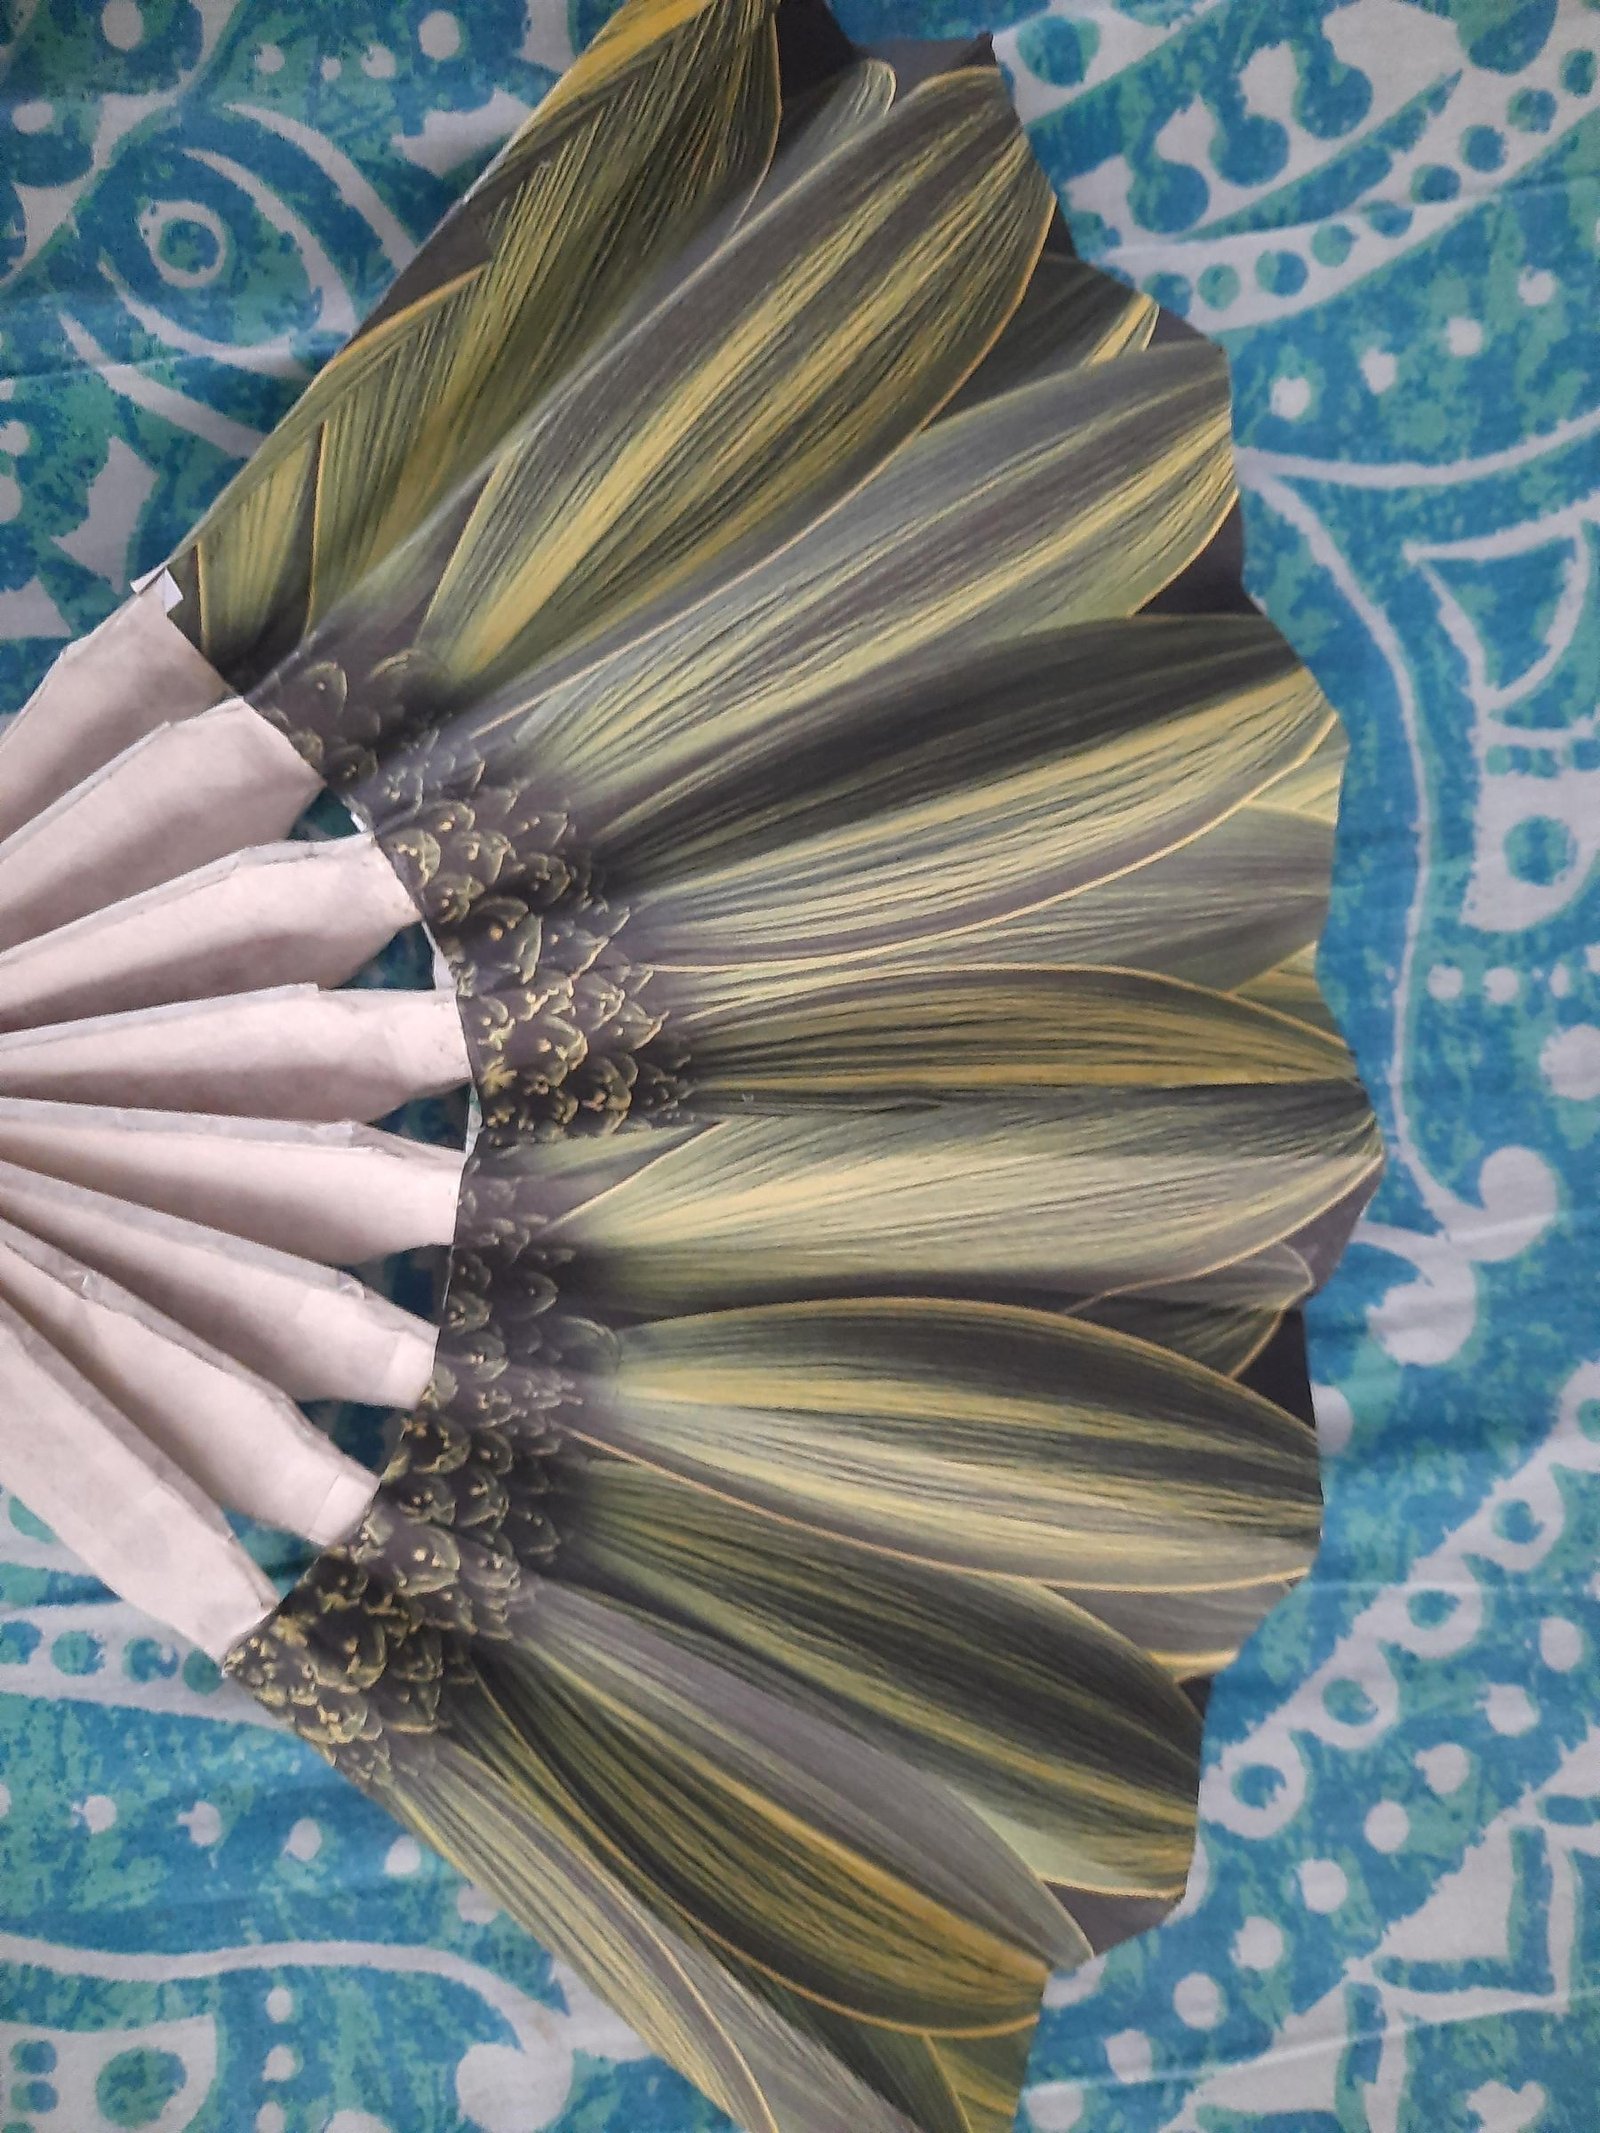
Test the mechanism before covering the outer face. Use botanical paper, a geometric print, recycled gift wrap, or a solid color, but keep decoration light and away from the pivot.
9. Test and Fine-Tune
After the adhesive cures, the focus shifts from construction to motion. Open the fan, hold the lower handle, and use controlled strokes; the broad surface should redirect air toward you.
- If the ribs resist opening, ease the pivot and clear glue or paper from the joint.
- If the fan spreads unevenly, compare the pivot holes and rib lengths.
- If the sheet buckles, reopen the frame and correct the spacing before regluing that area.
- If a handle flexes, add a light paper reinforcement rather than another thick cardboard layer.
Use moderate strokes instead of snapping it open. Uniform ribs provide balance, a loose pivot provides movement, and a wide, light sheet turns that movement into airflow.
Careful measuring turns ordinary cardboard into a portable tool with no plug, motor, battery, or charger.