










GARDEN-INSPIRED CRAFT
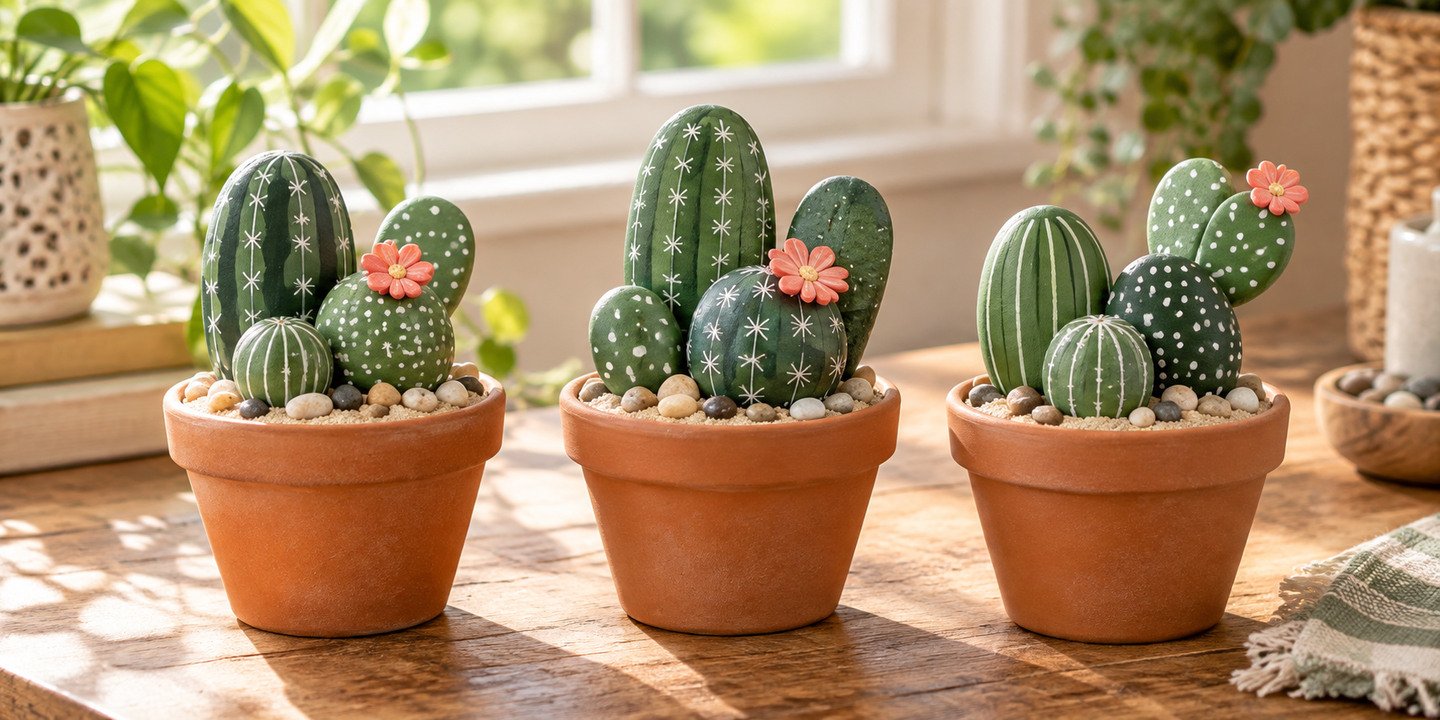
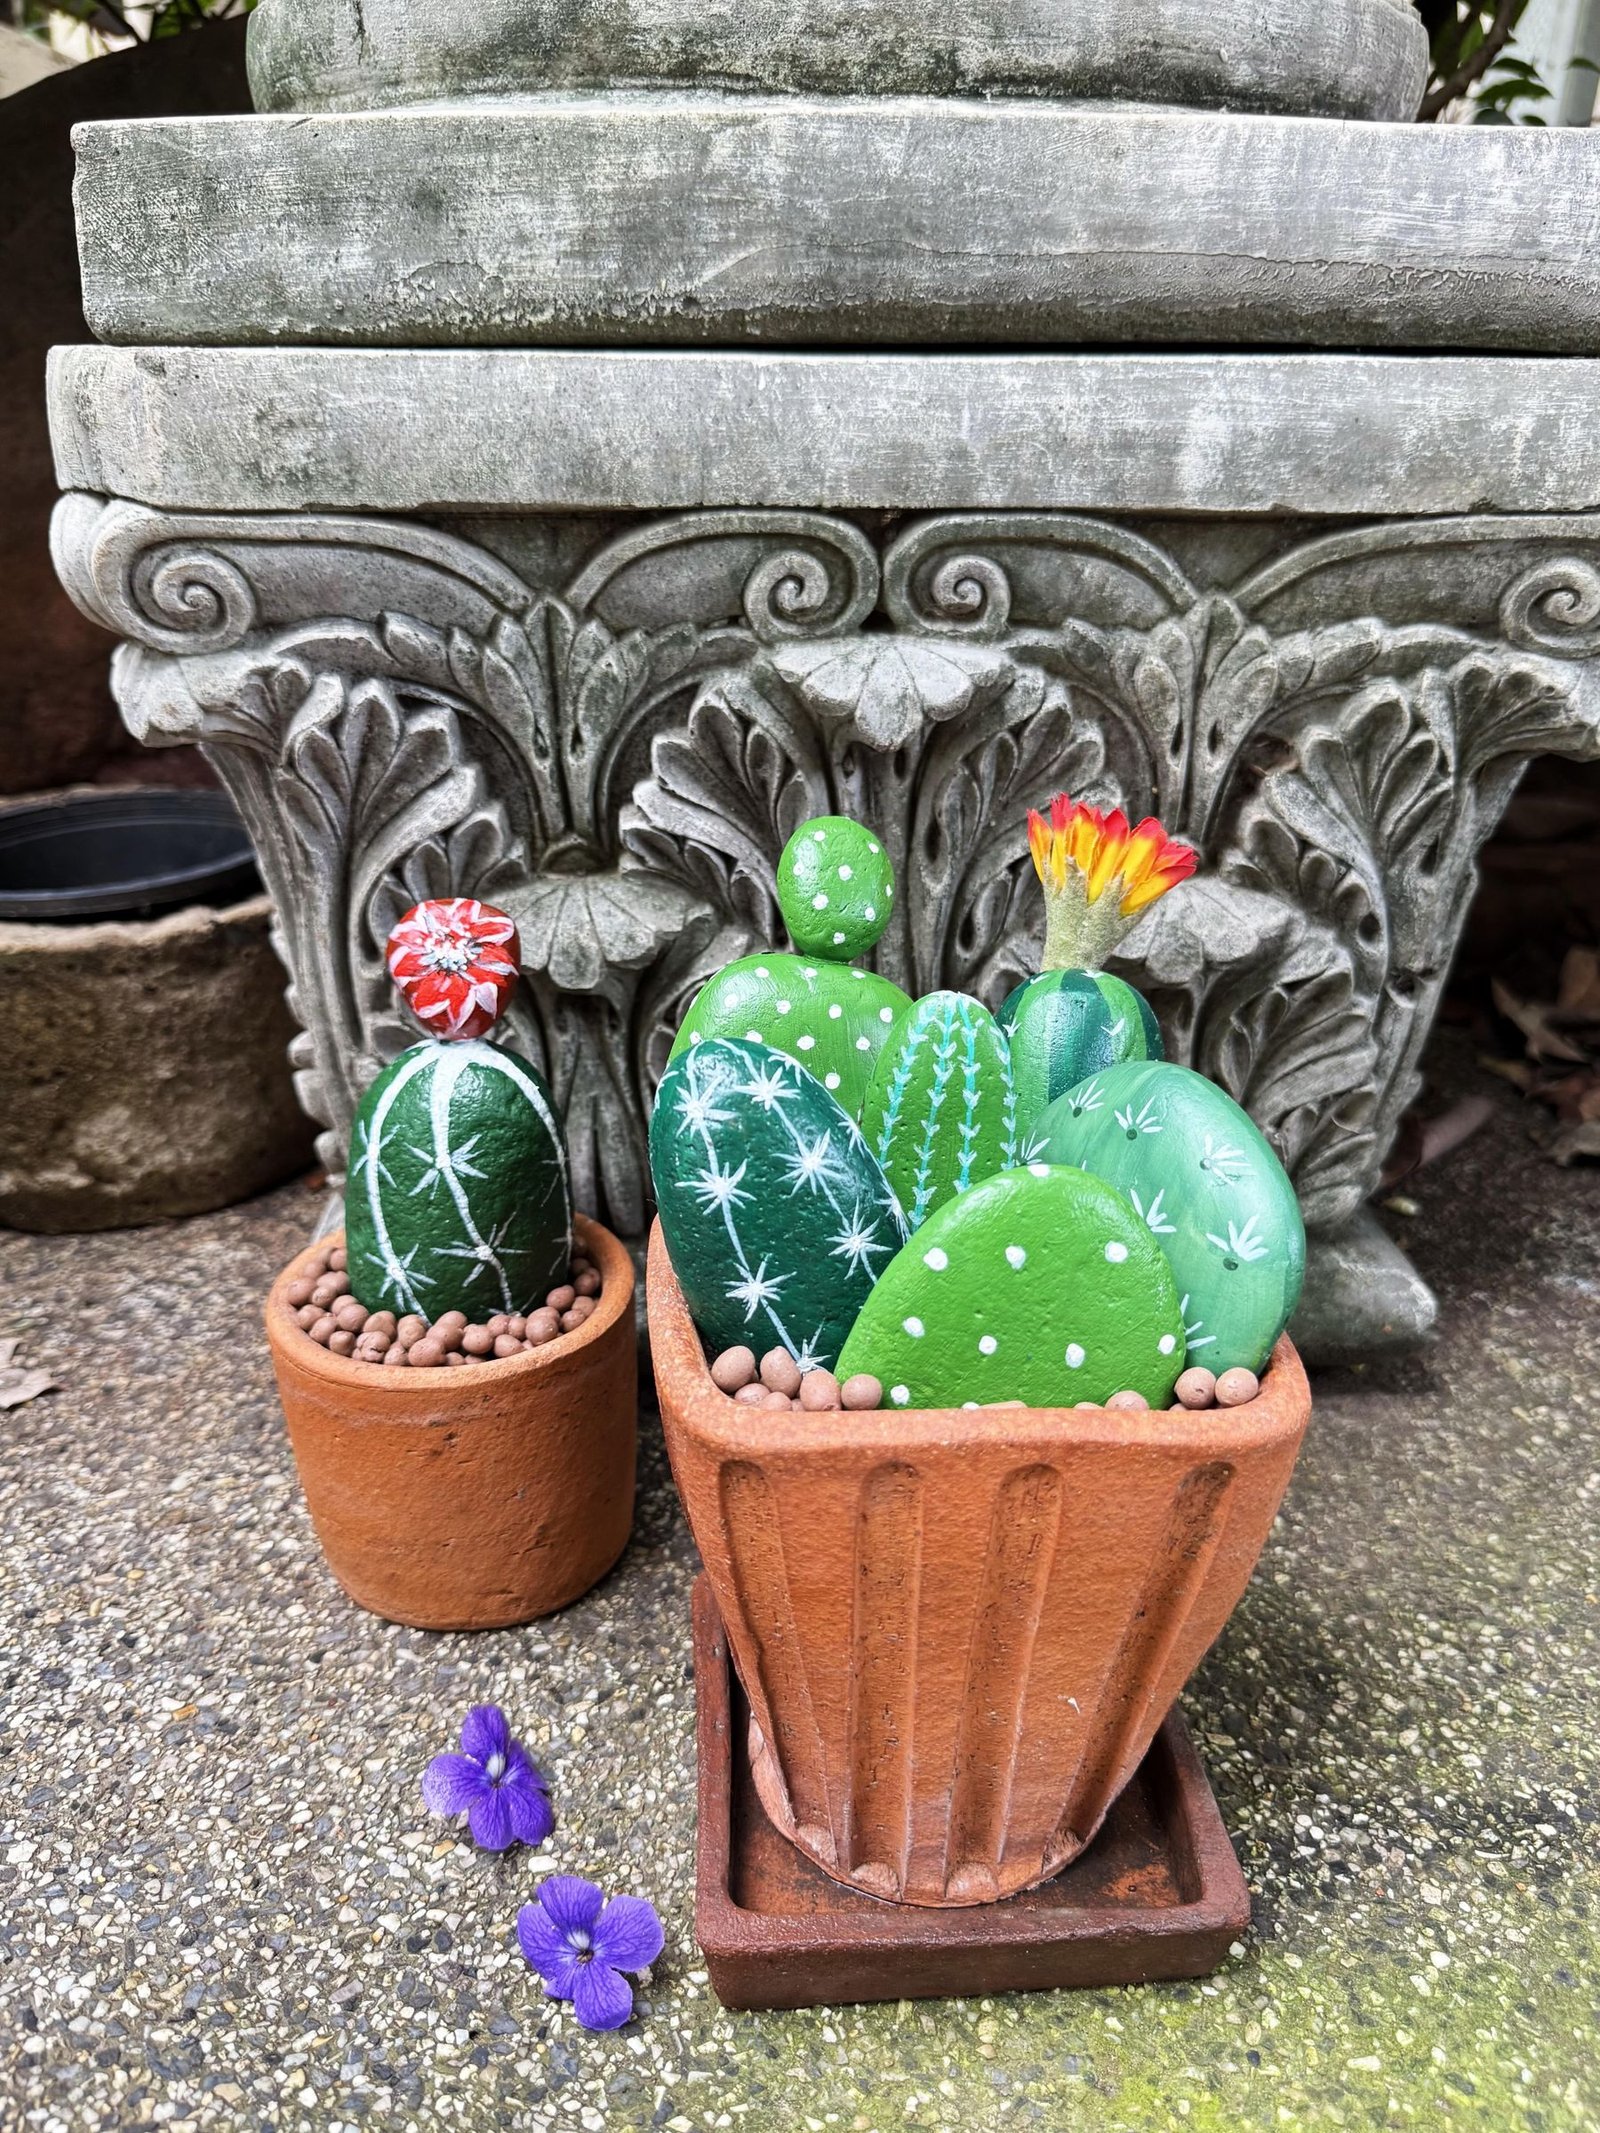
Turn smooth rocks, simple pots, and layers of green paint into a cheerful cactus display that never asks for a watering can.
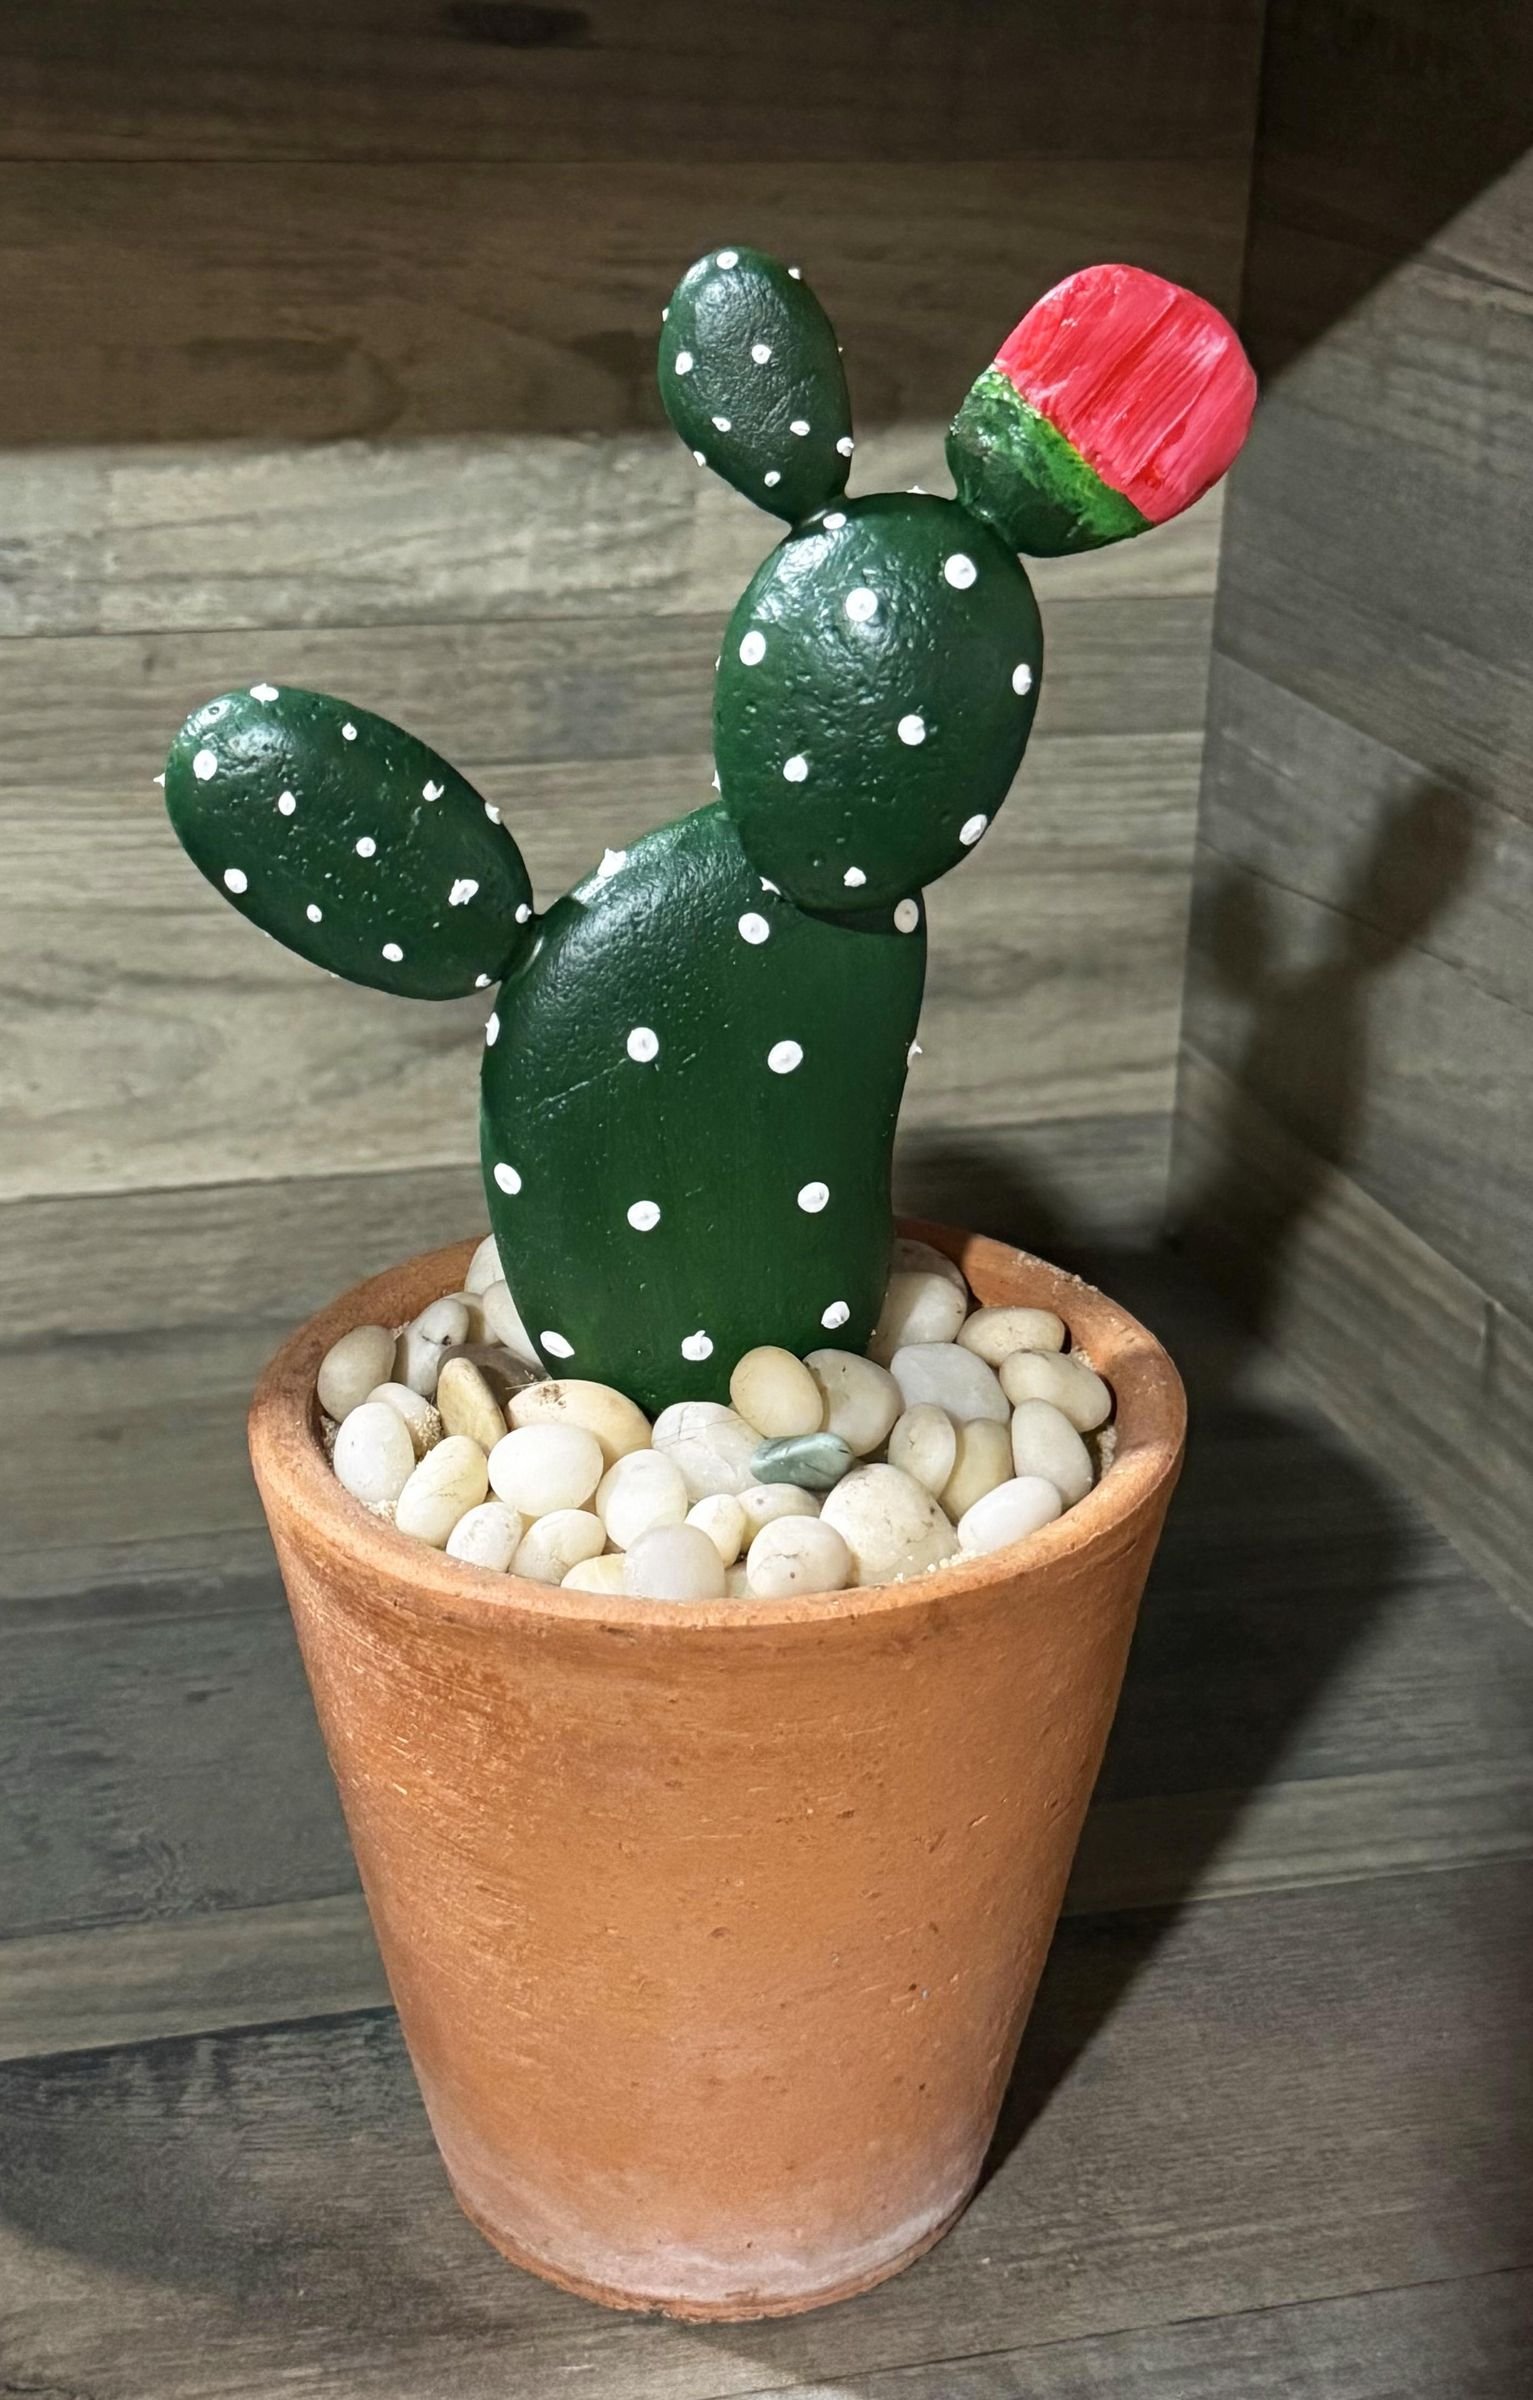
Ordinary stones already have the curves and irregular profiles of desert plants. This project uses concrete primer, acrylic color, and small painted marks to turn rounded rocks into upright stems, flatter pieces into pads, and tiny stones into optional new growth.
The strongest arrangements begin before the paint comes out. Choose useful silhouettes, test every grouping in its pot, and let each layer dry before moving on.
What You’ll Need
- Assorted rocks
- Small plant pots
- Sand and small support pebbles
- Concrete or masonry primer
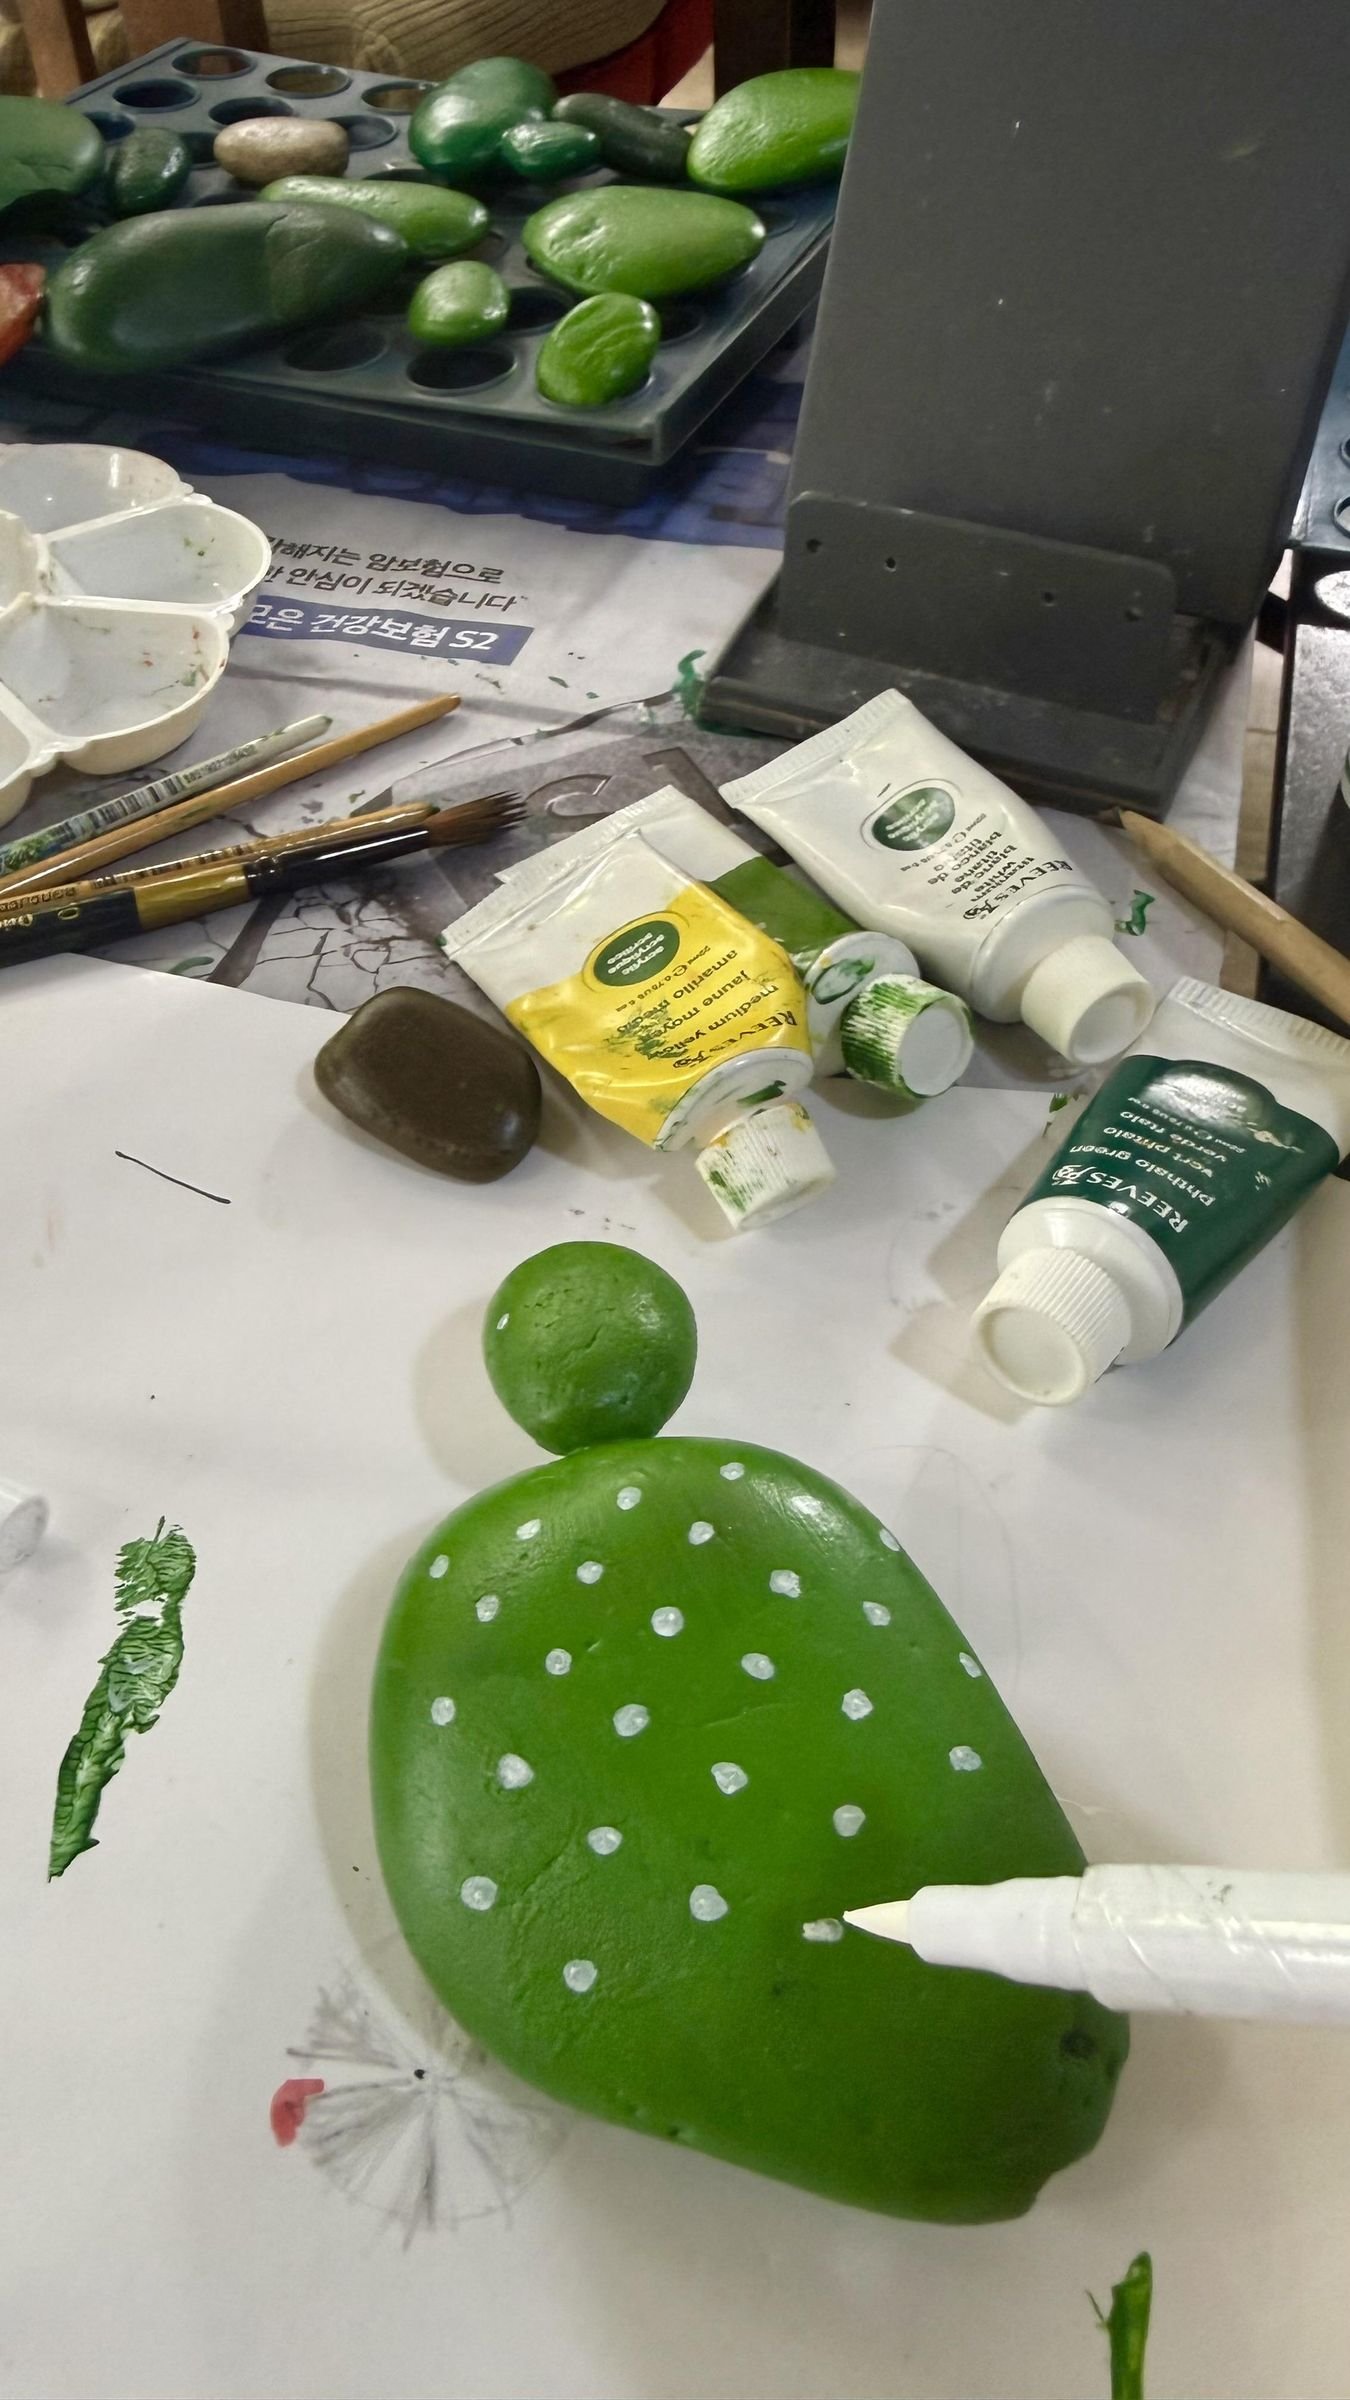
- Acrylic paint
- Two-part epoxy
- Optional white-out or paint marker
- Scrub brush
- Regular and fine paintbrushes
- Mixing card or tray
- Chopstick or mixing stick
- Sandpaper
- Protective paper
- Optional paper or plastic flowers
Safety first: Collect stones only where permitted. Follow the primer and epoxy labels for ventilation, gloves, eye protection, mixing, and curing; products vary. Work with adult supervision where appropriate, and use only stones that can stand securely in the finished pot.
1. Choose Cactus-Like Shapes
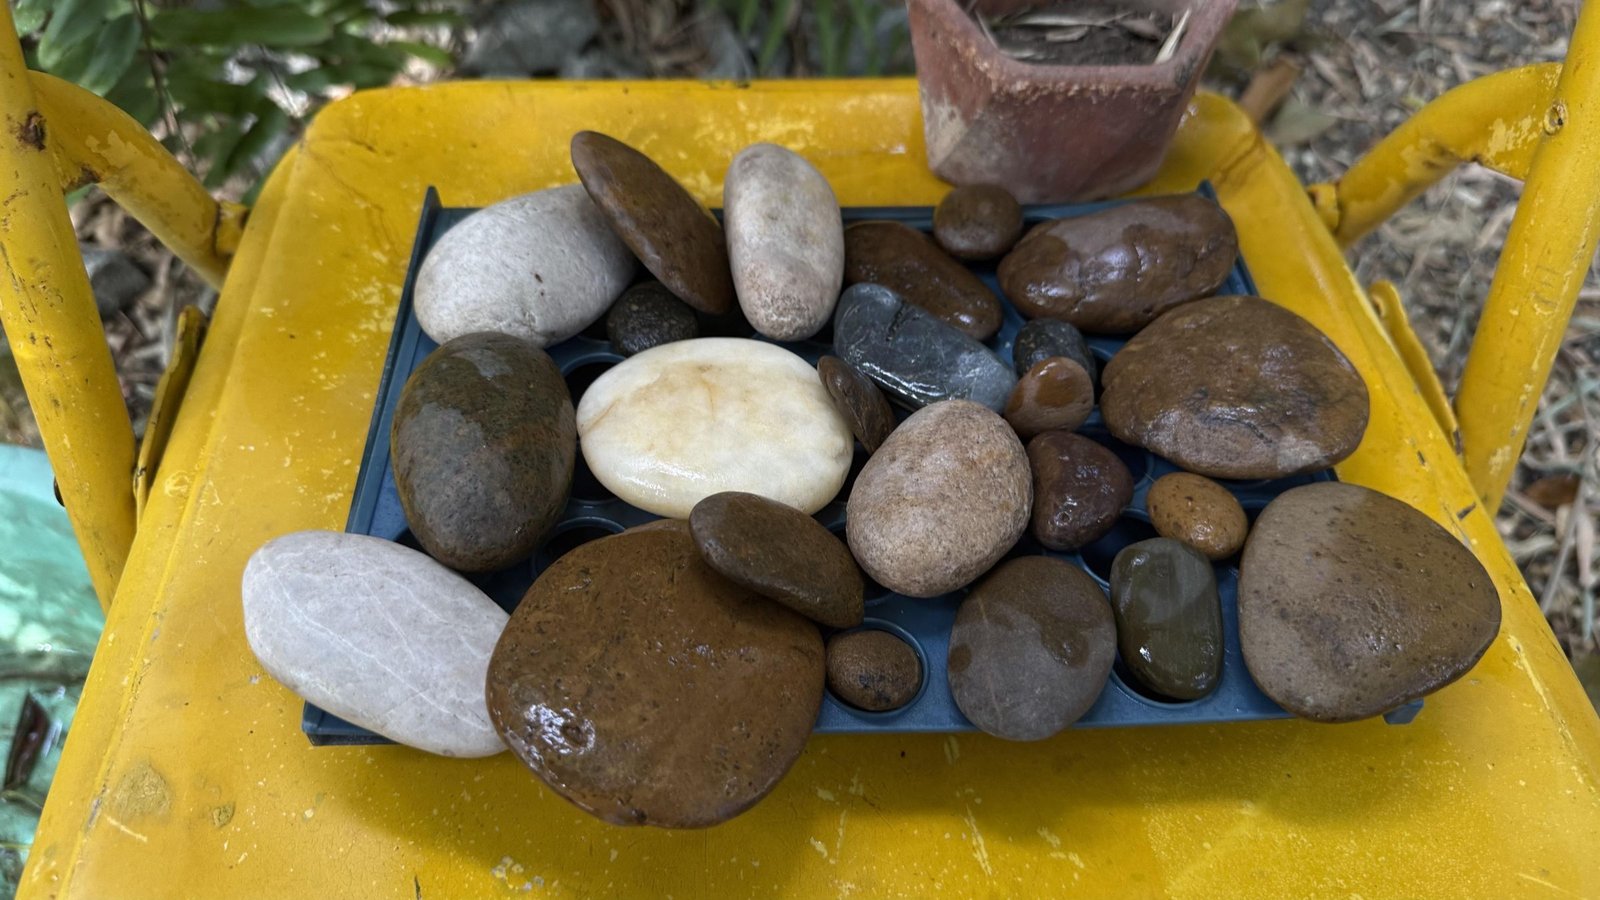
Collect more stones than you expect to use. Look for smooth, rounded pieces that can stand upright and flatter stones that resemble paddle cactus segments. Small rocks can become side shoots, while tall pieces make strong center stems. An awkward stone may become the most expressive part of a cluster.
Choose the pots at the same time. Their openings must fit the planned stones while leaving room for sand and supporting pebbles. Group likely pieces beside each pot so the scale feels balanced before surface work begins.
2. Scrub the Rocks and Pots
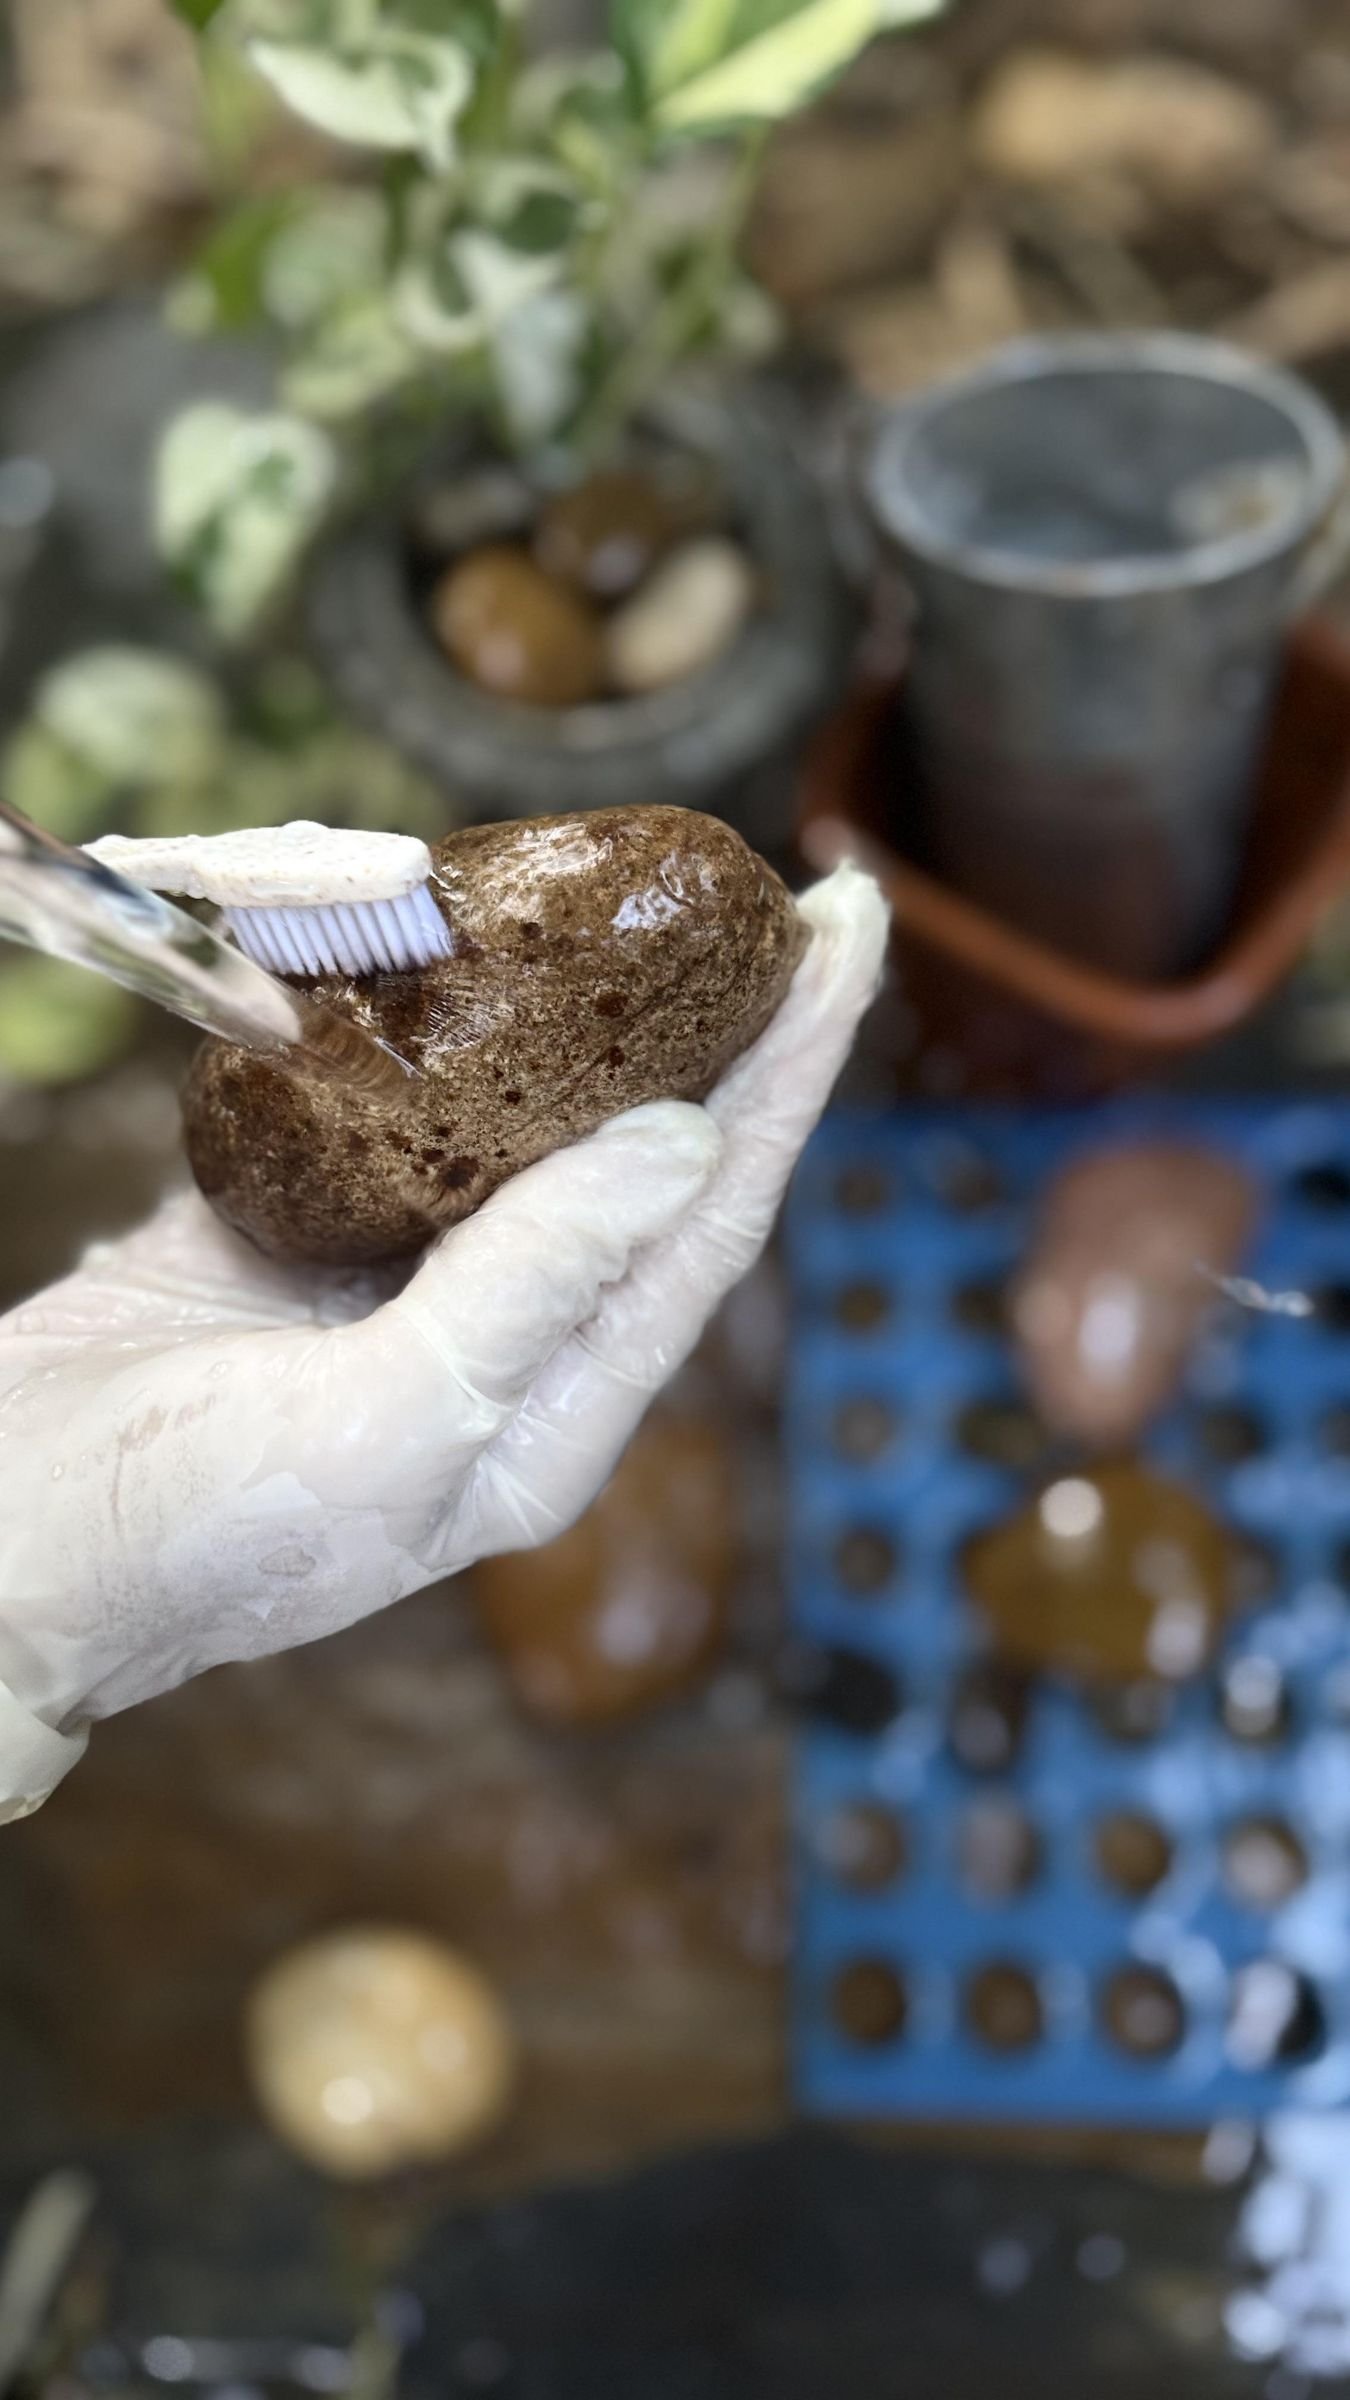
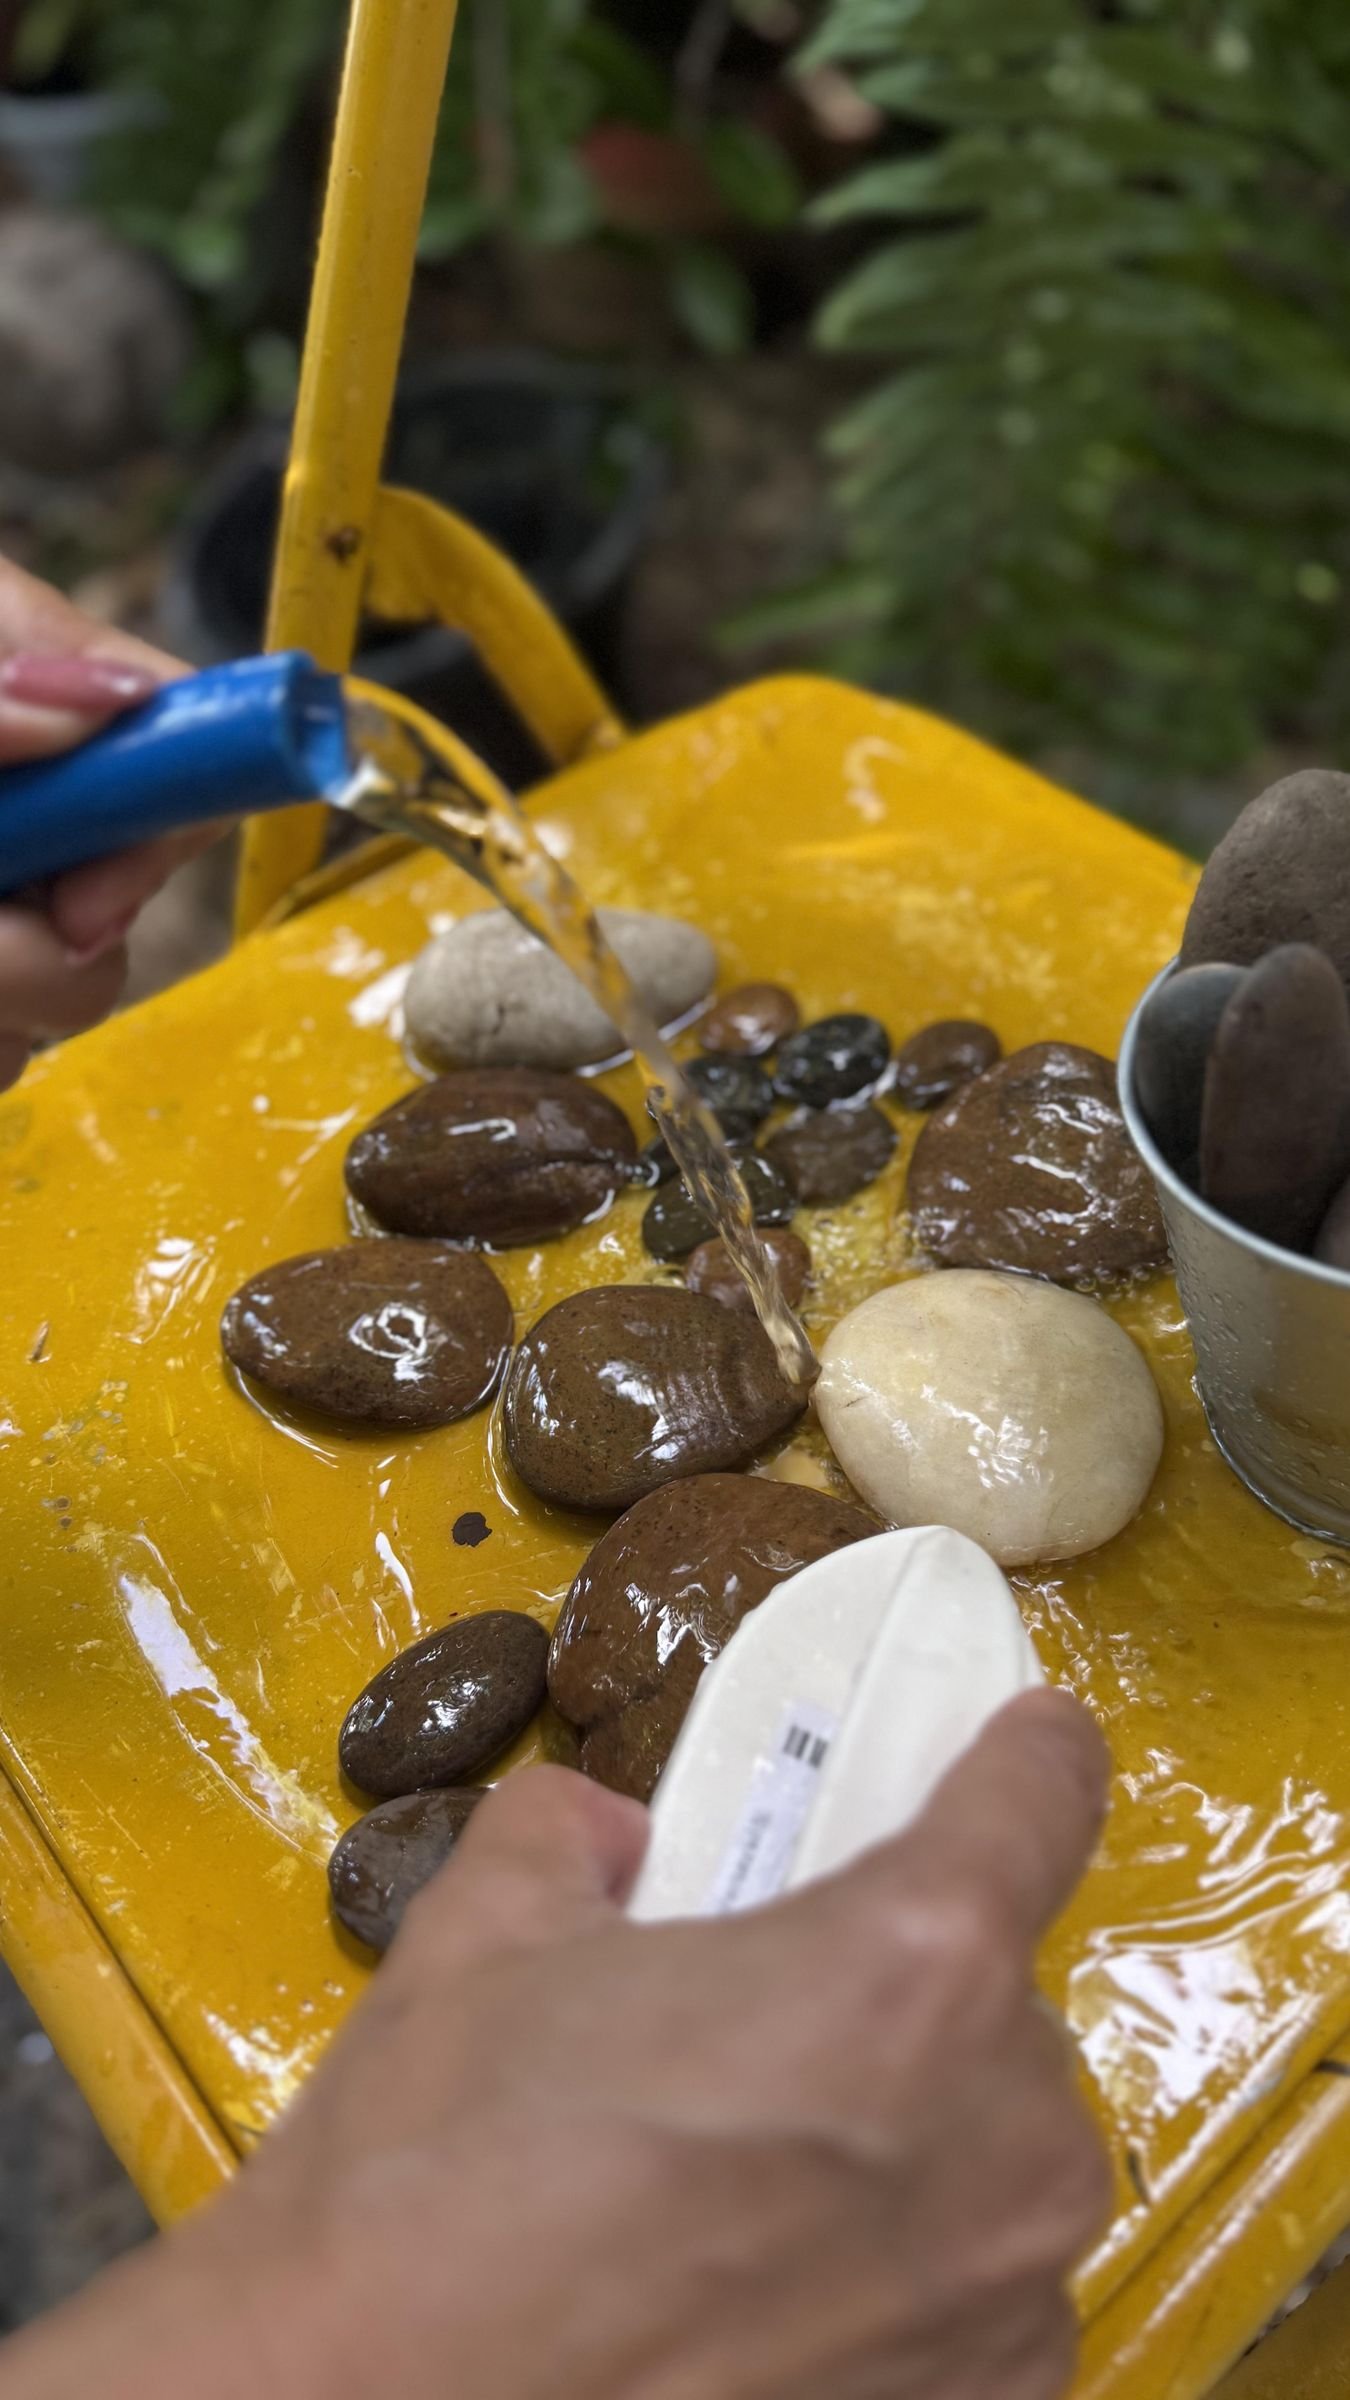
Wash every rock and pot with water and a scrub brush, paying attention to crevices where grit can hide. Rinse well, then let everything dry completely. Removing soil and dust gives the primer a clean surface and reveals each stone’s real texture before you choose the palette.
3. Give the Surface a Primer Coat
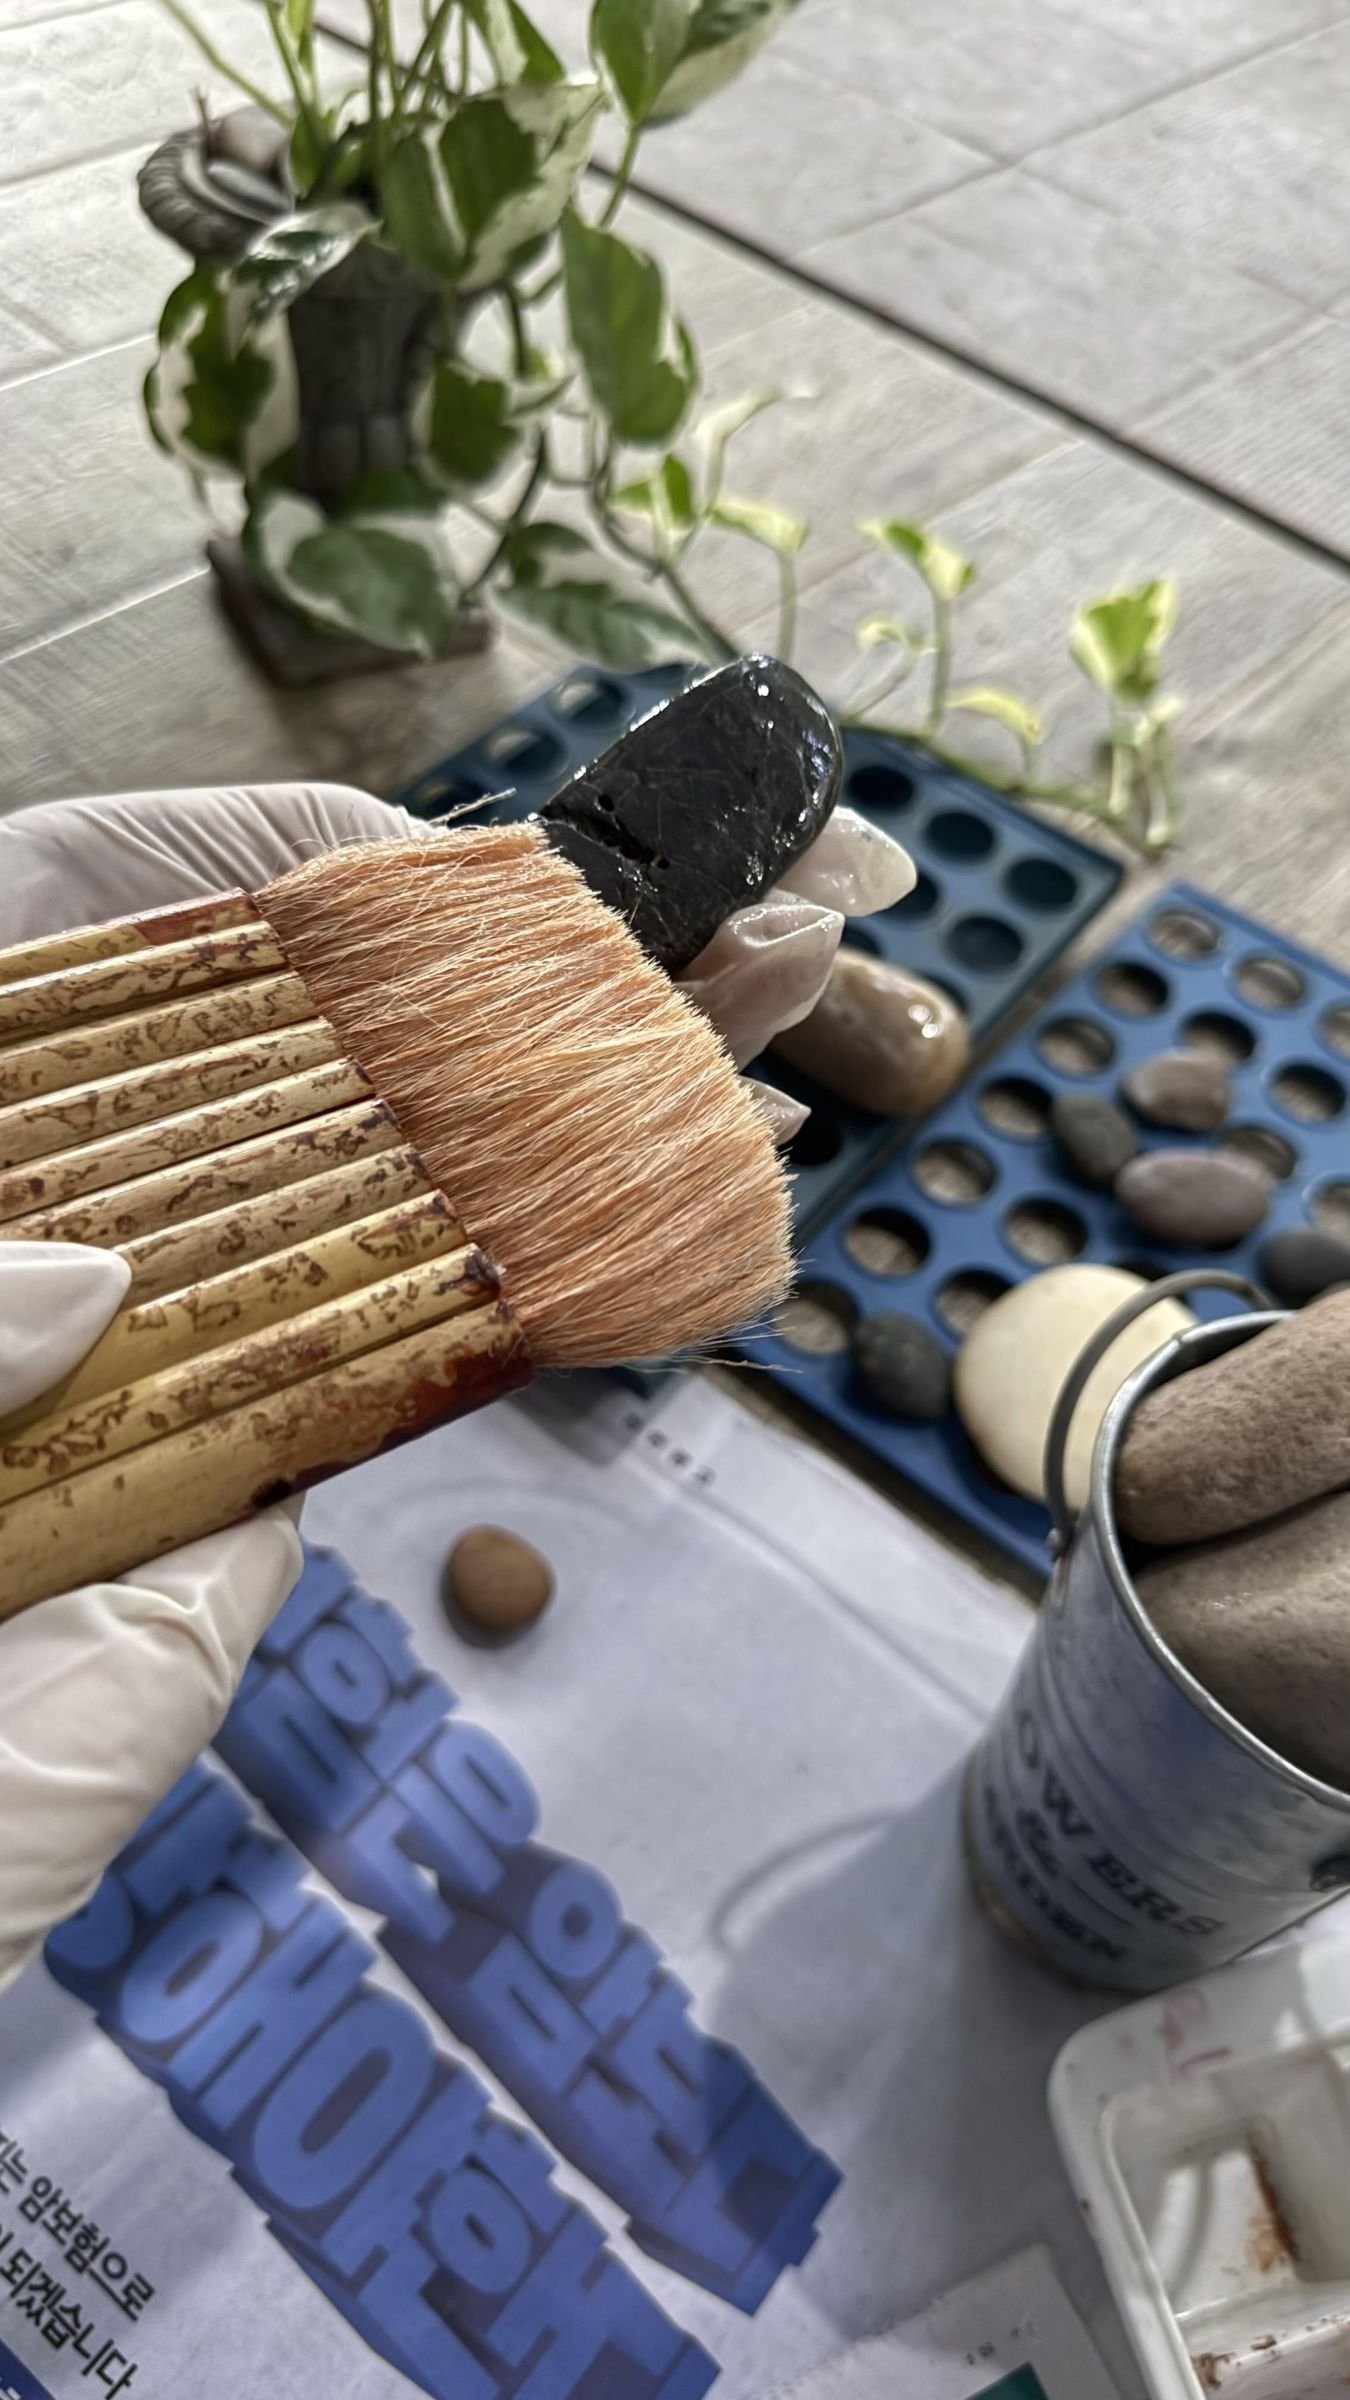
Bare stone may not hold the decorative layers reliably—the source project found that paint applied directly to rock scratched away. Cover the stones with concrete primer instead, working around the sides and over the visible top. Prime the pot too if you intend to paint it.
Let the primer dry for the time specified on its container. In the original project, that meant several hours, and the pieces were left overnight. Keep the stones separated while they dry so they do not stick together or lose coverage at the edges.
4. Rehearse the Whole Arrangement
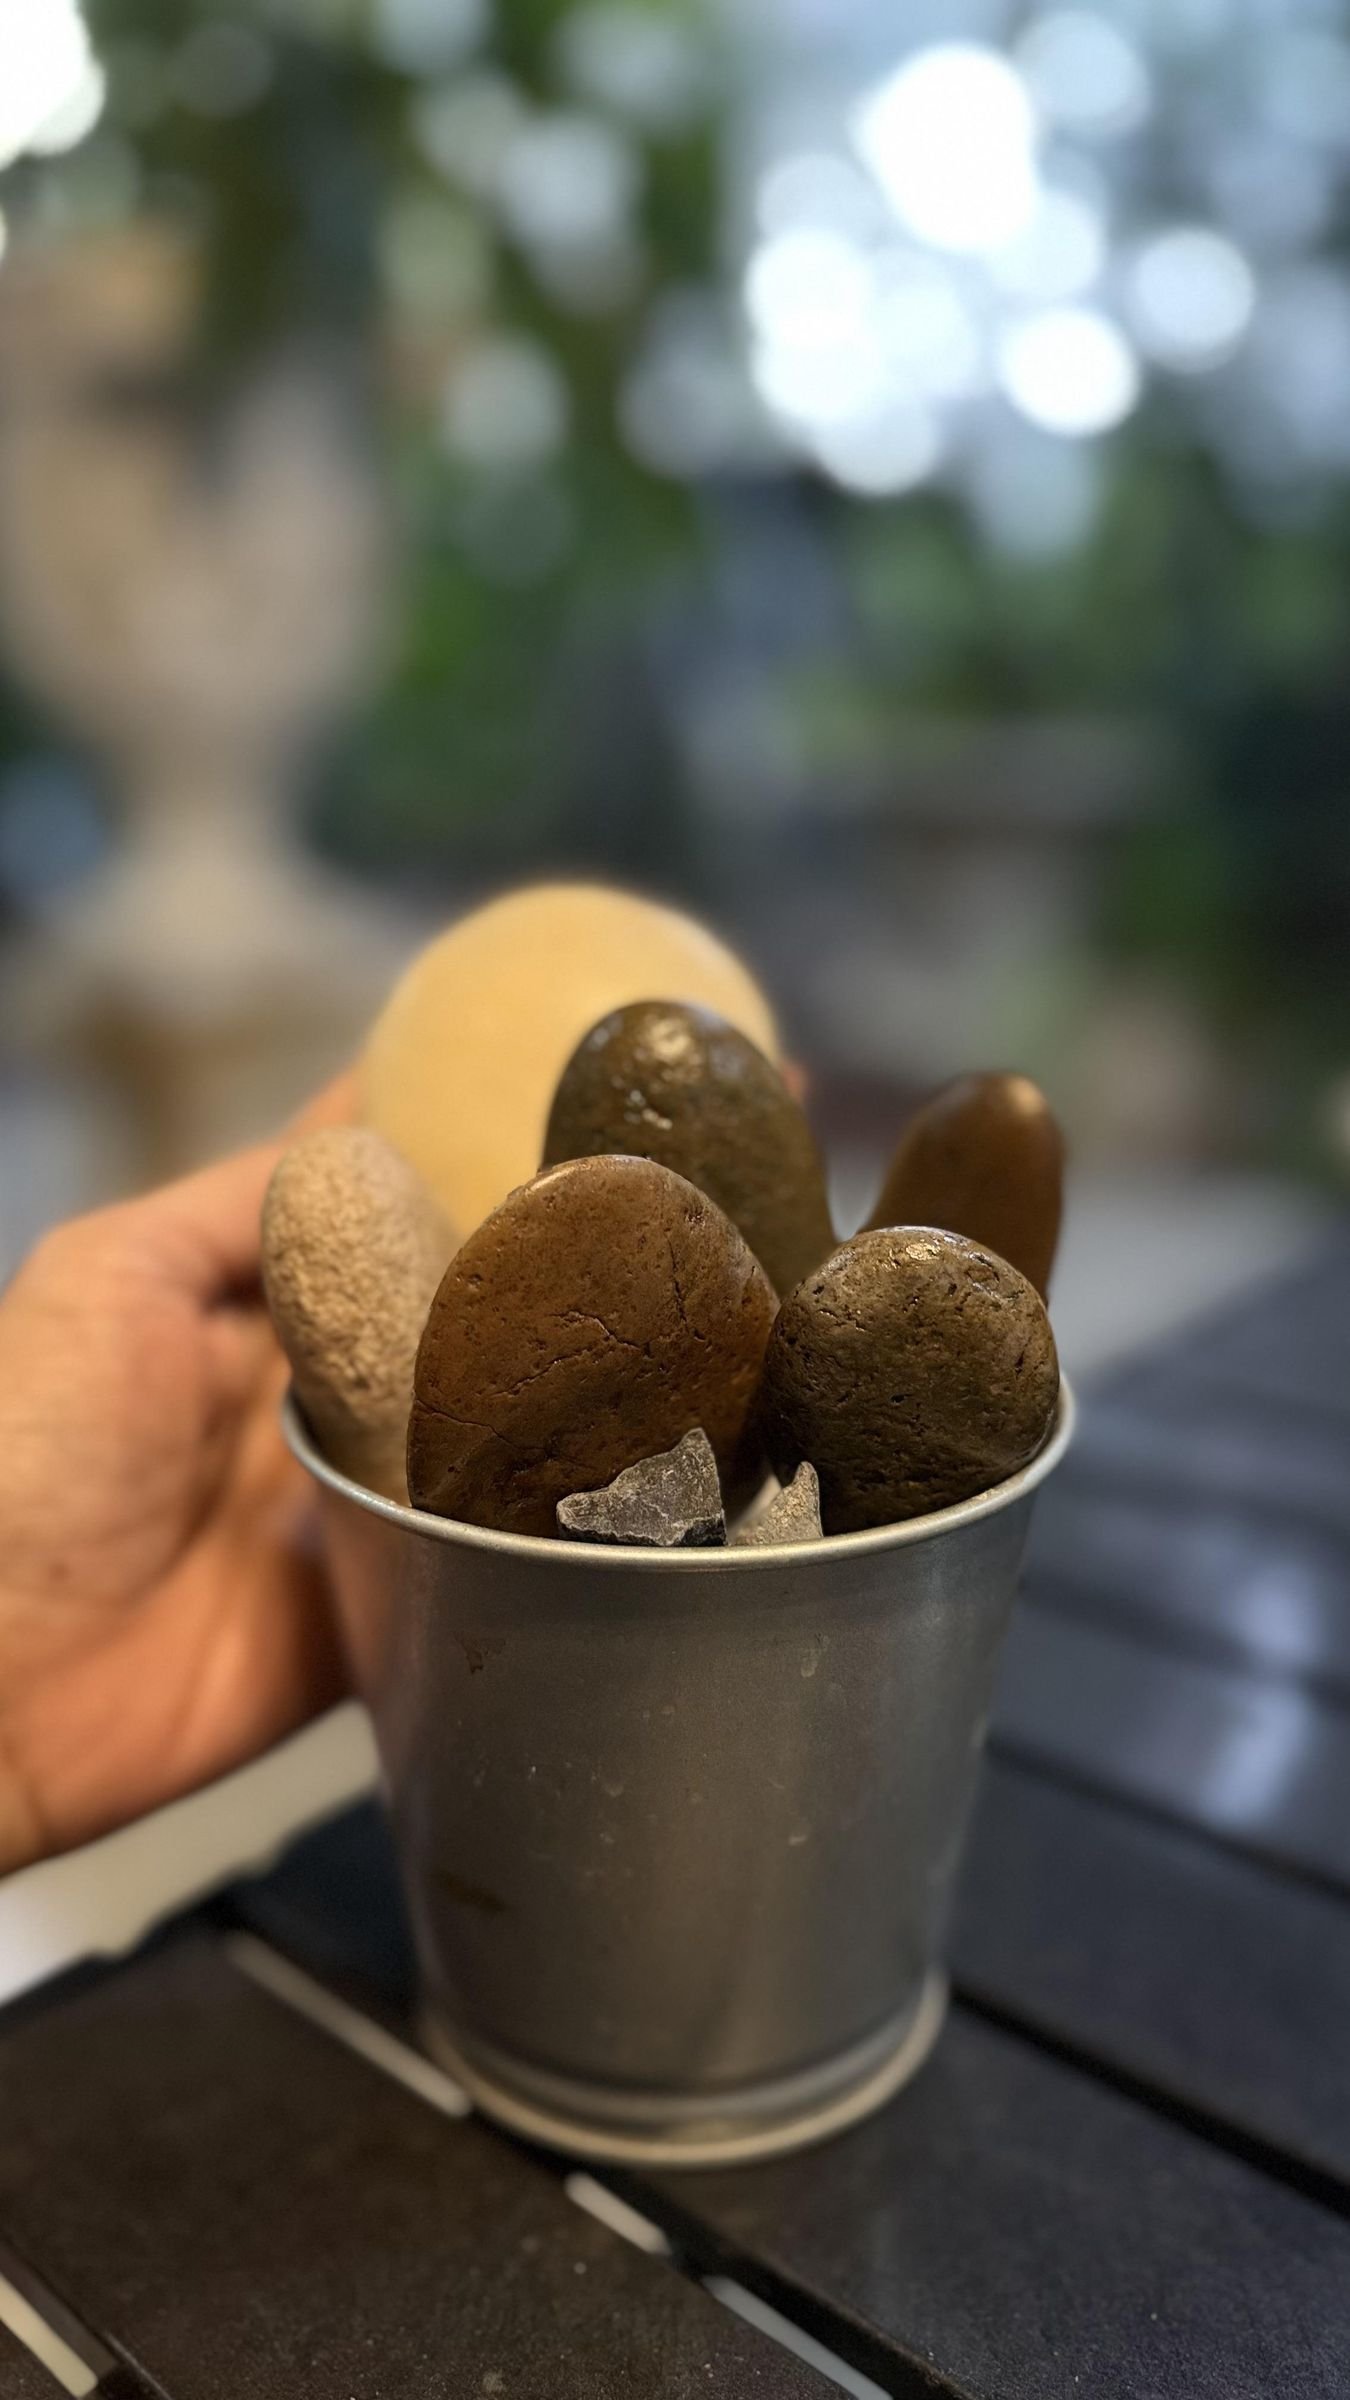
Set each primed stone into its intended pot and pour in enough sand to hold it temporarily. Try different heights, angles, and pairings. A mix of tall and short shapes usually creates a livelier silhouette than a row of equal pieces, but the pot should still feel stable rather than crowded.
This dry run is also the moment to plan color. Decide whether the group will share one green or use several greens, and note which pieces might receive lighter ridges or darker edges. If you want branching forms, hold the small “bud” stones against the larger bodies and mark comfortable contact points. Photographing or sketching the arrangement now will make the final assembly easier after the pieces leave the pots.
5. Build Optional Branches With Epoxy
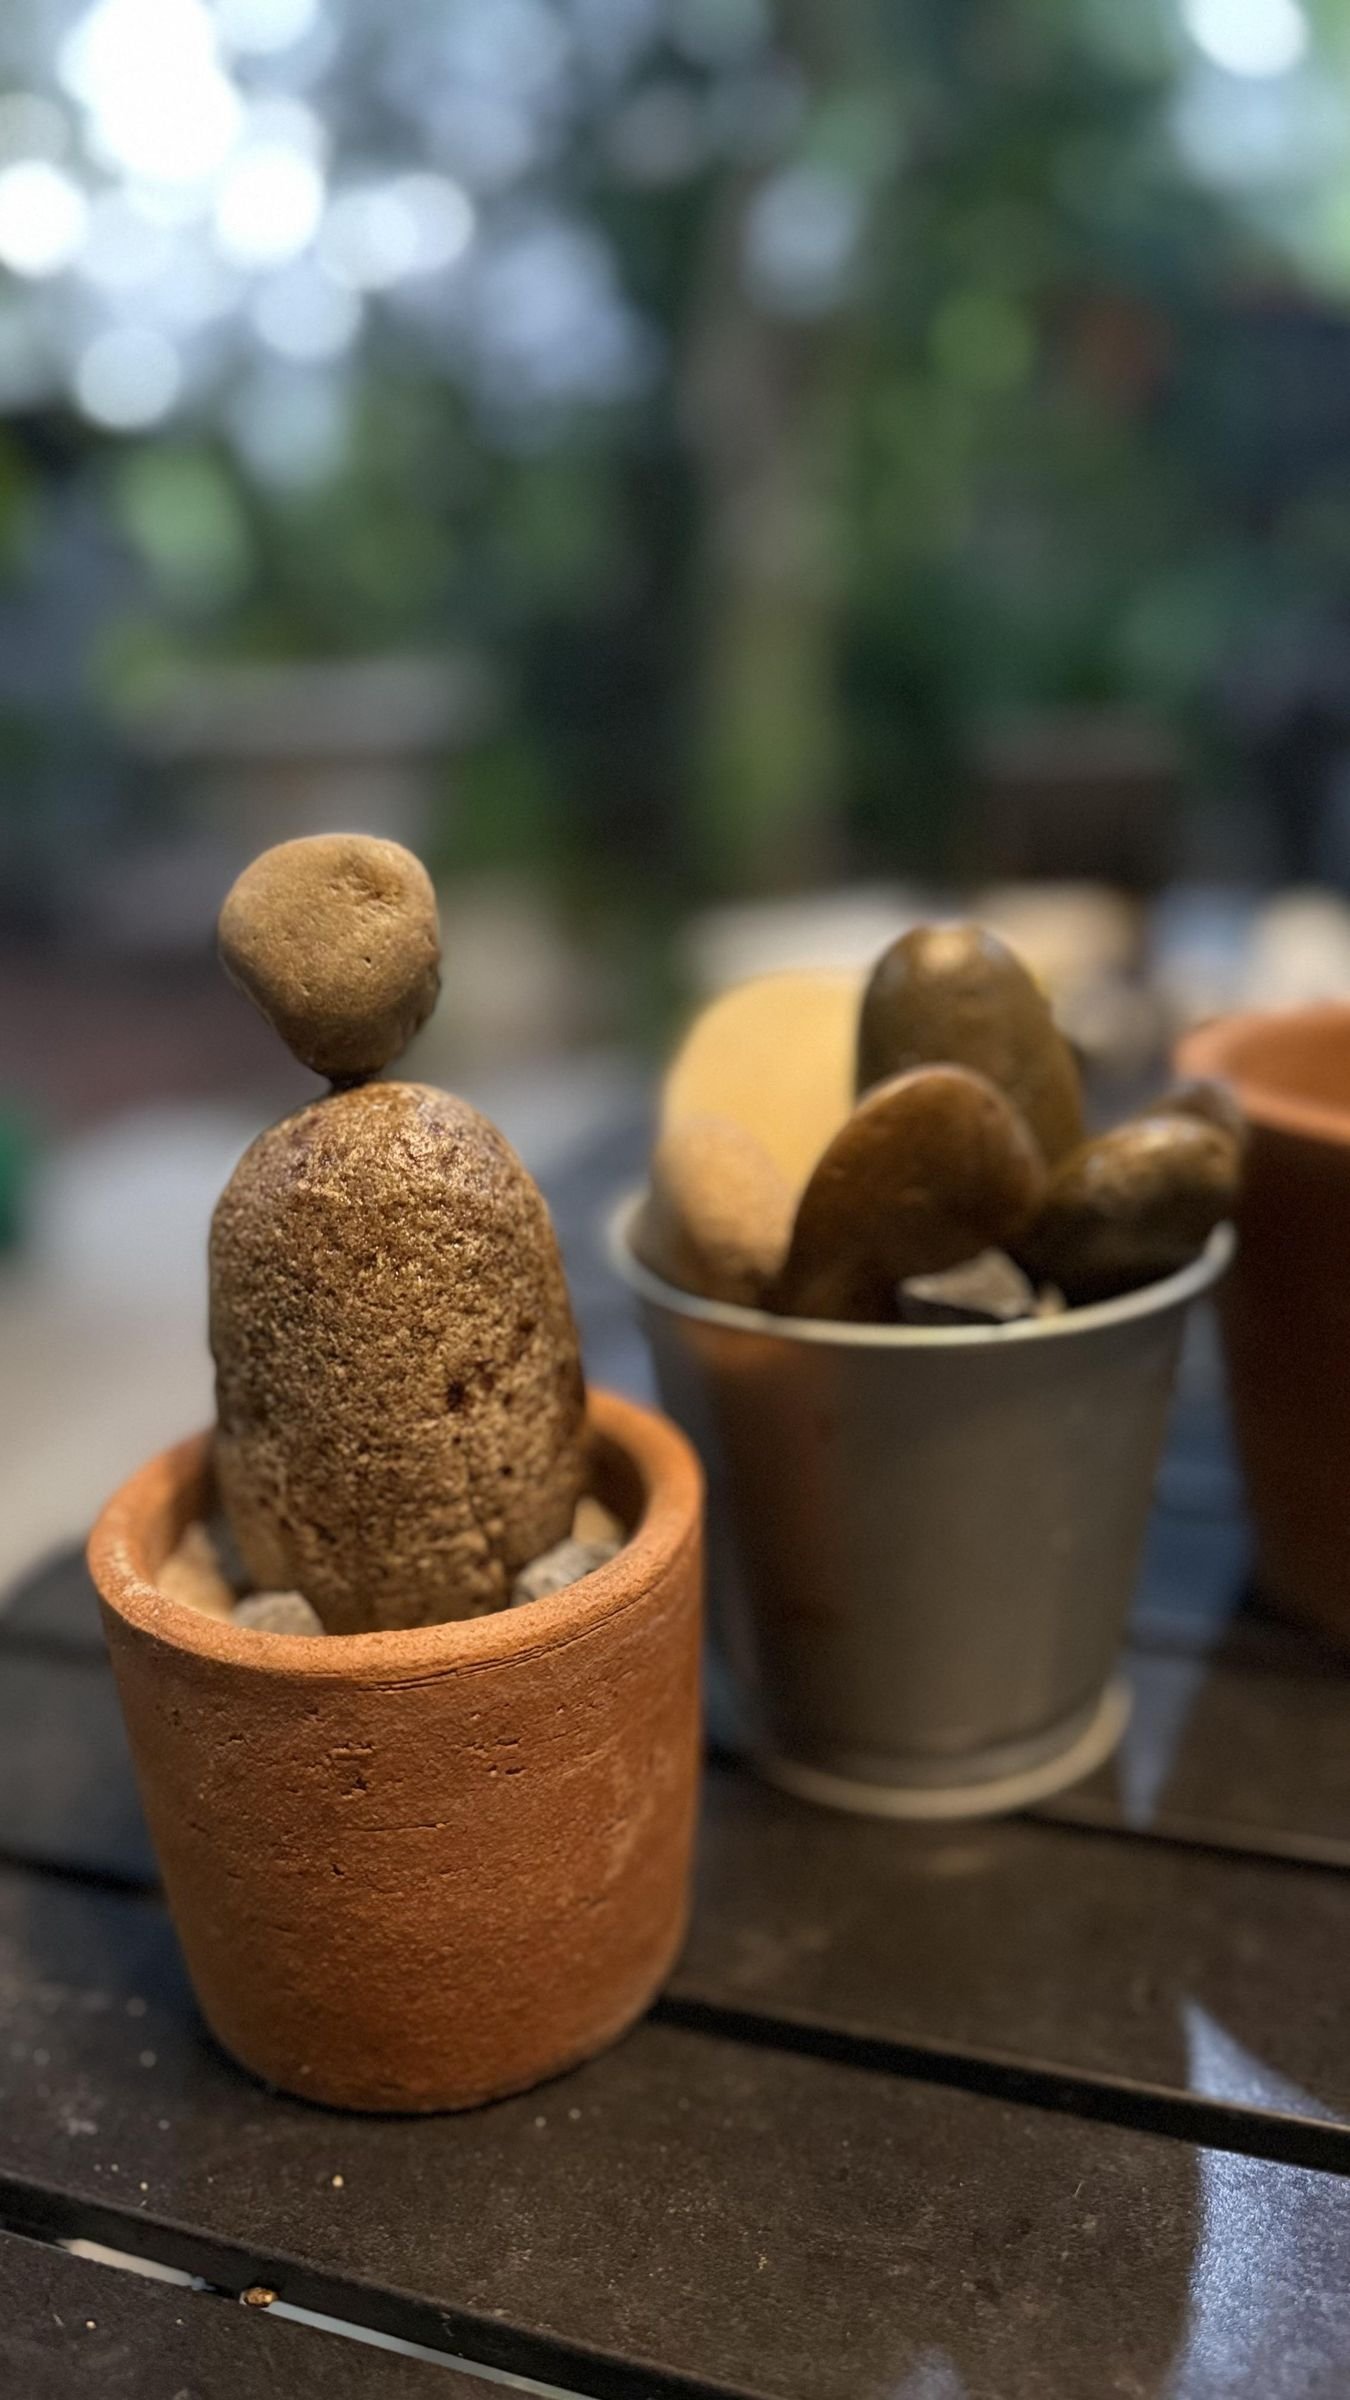
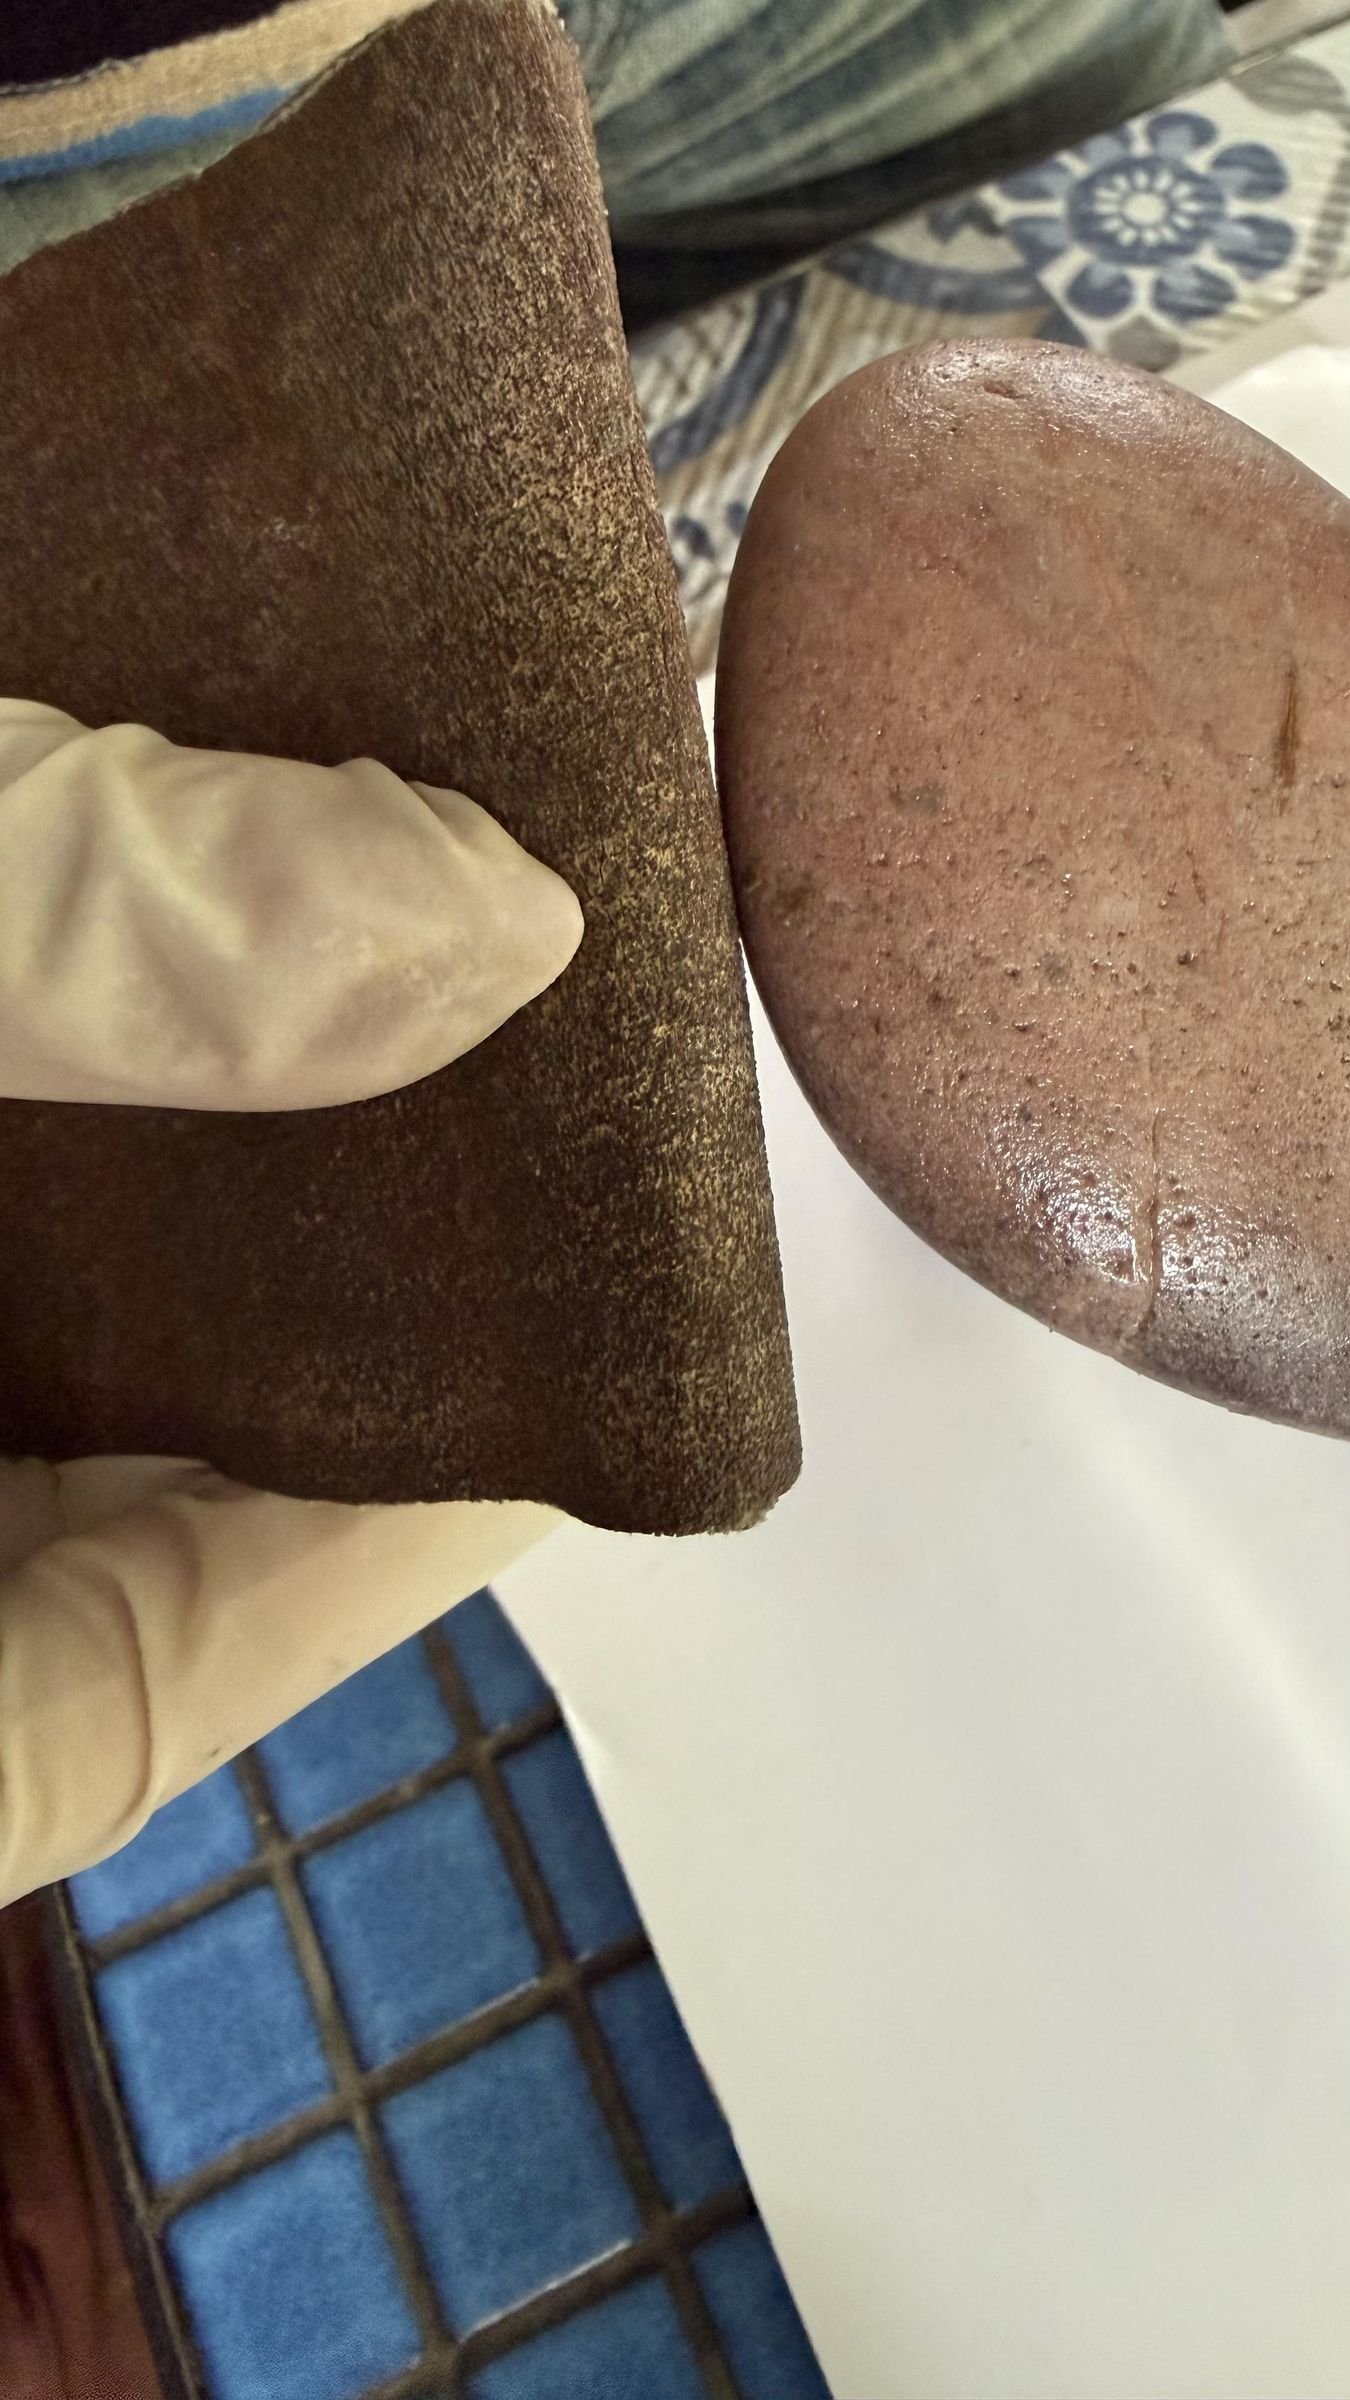
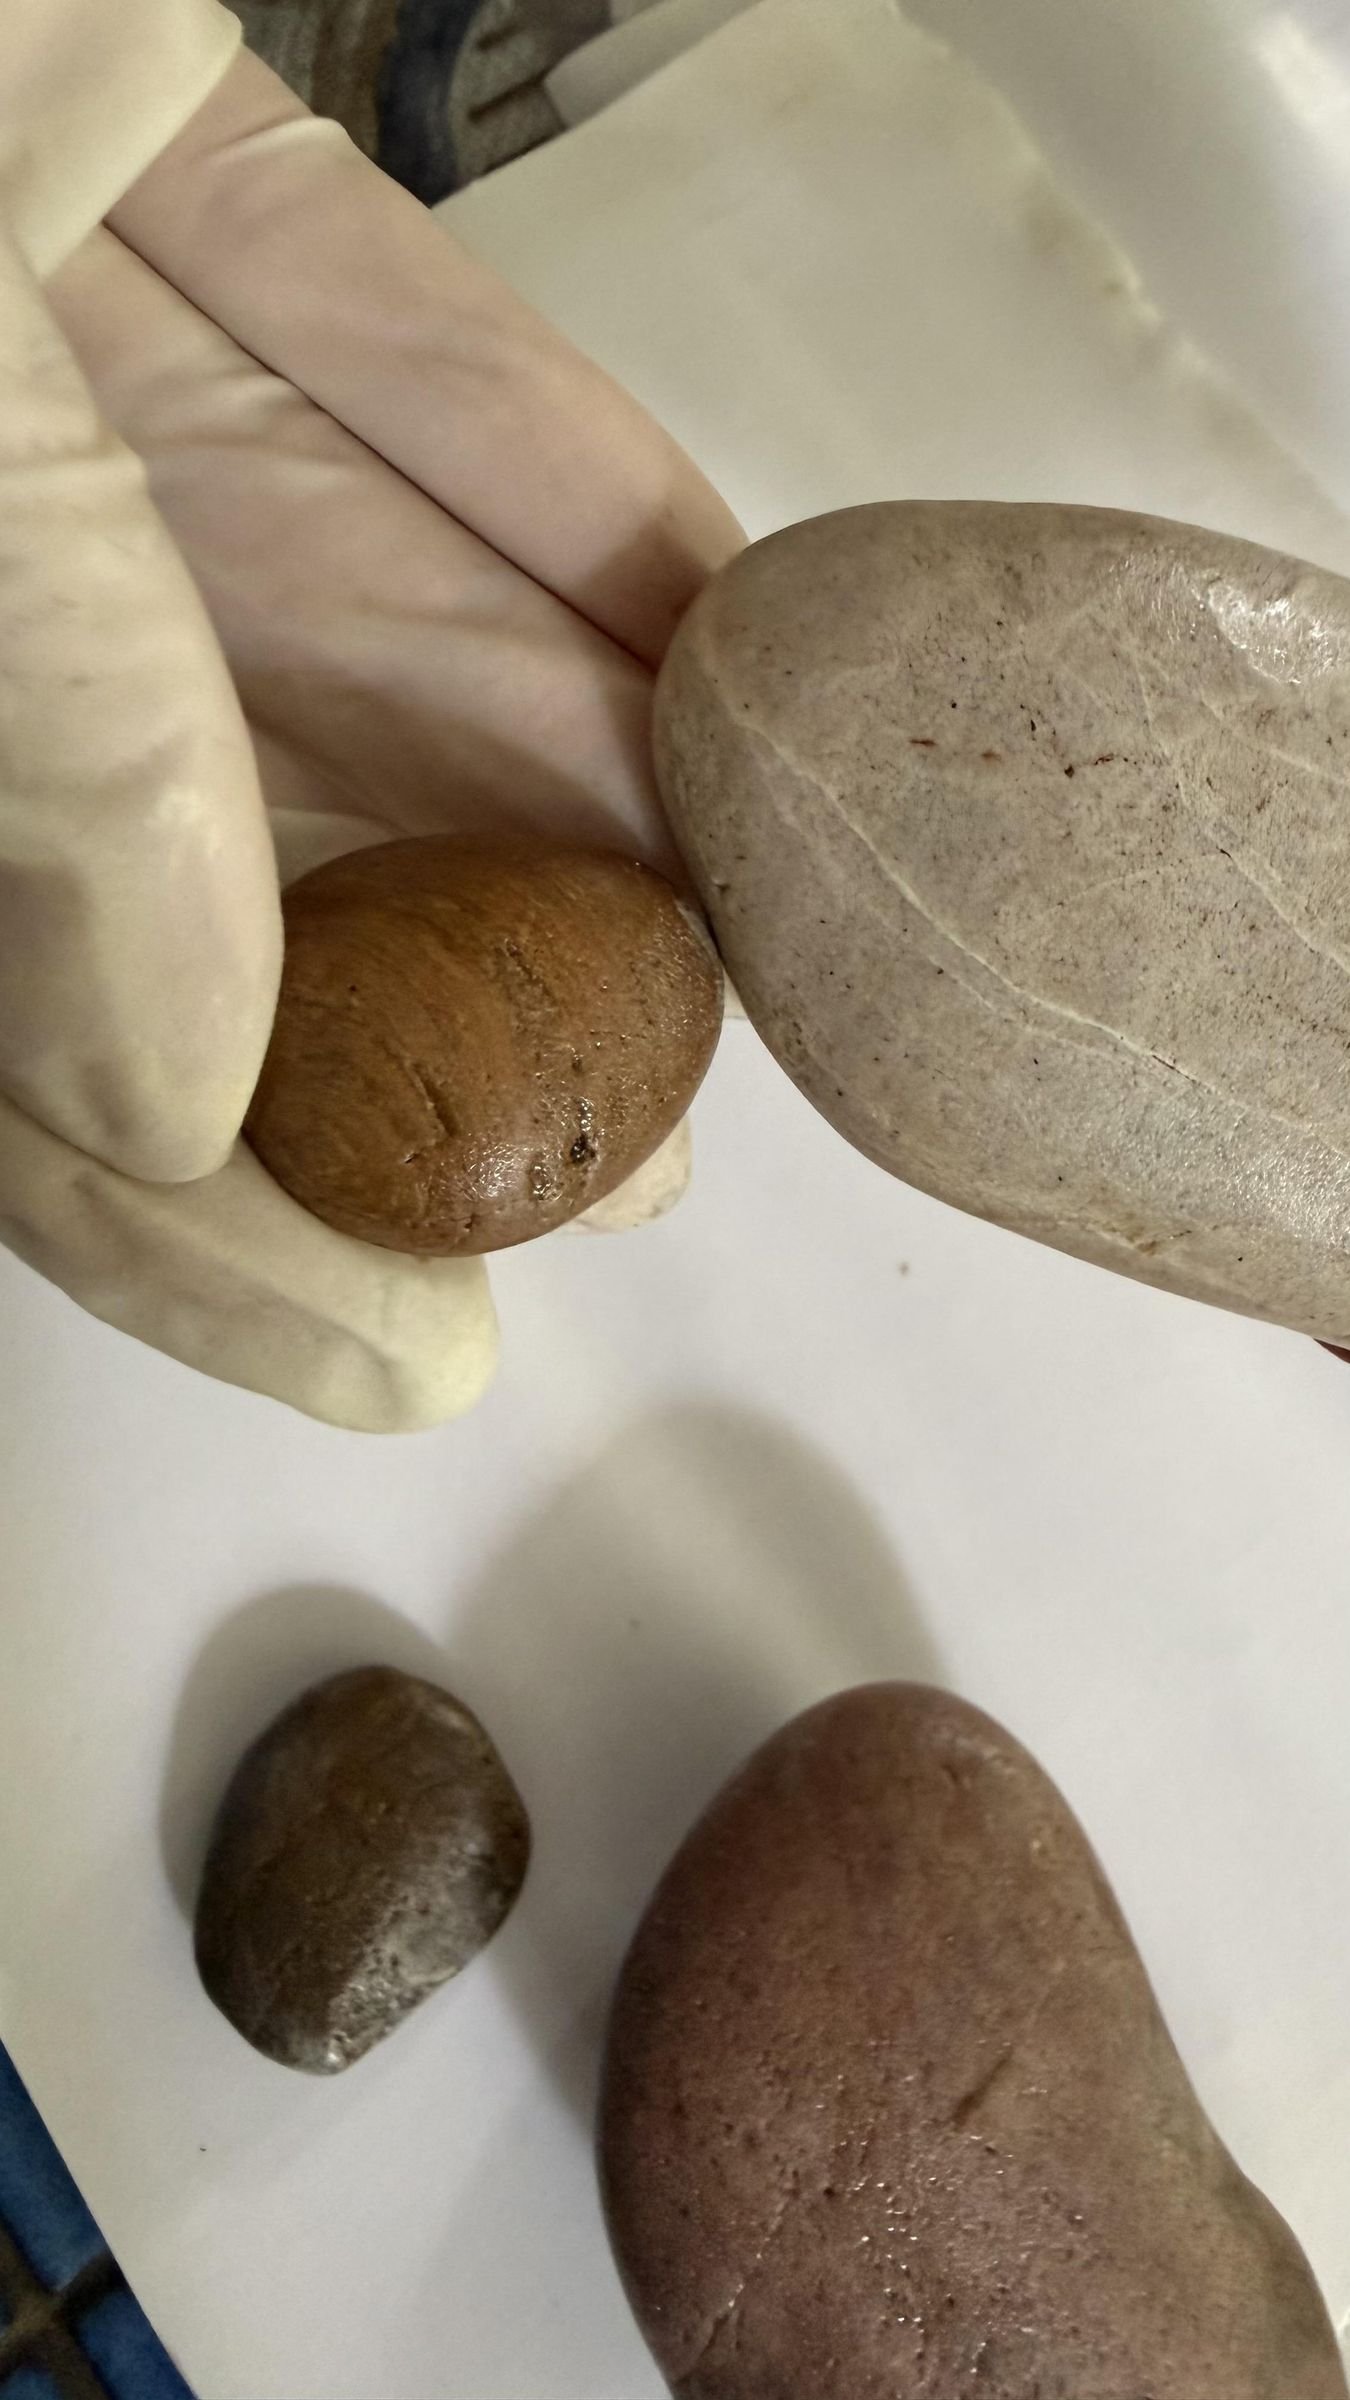
Before mixing any adhesive, decide which stones truly need an attached bud. The project works without them, and adding only one or two can keep the forms clear. Lightly roughen the two contact areas with sandpaper so the surfaces meet more securely.
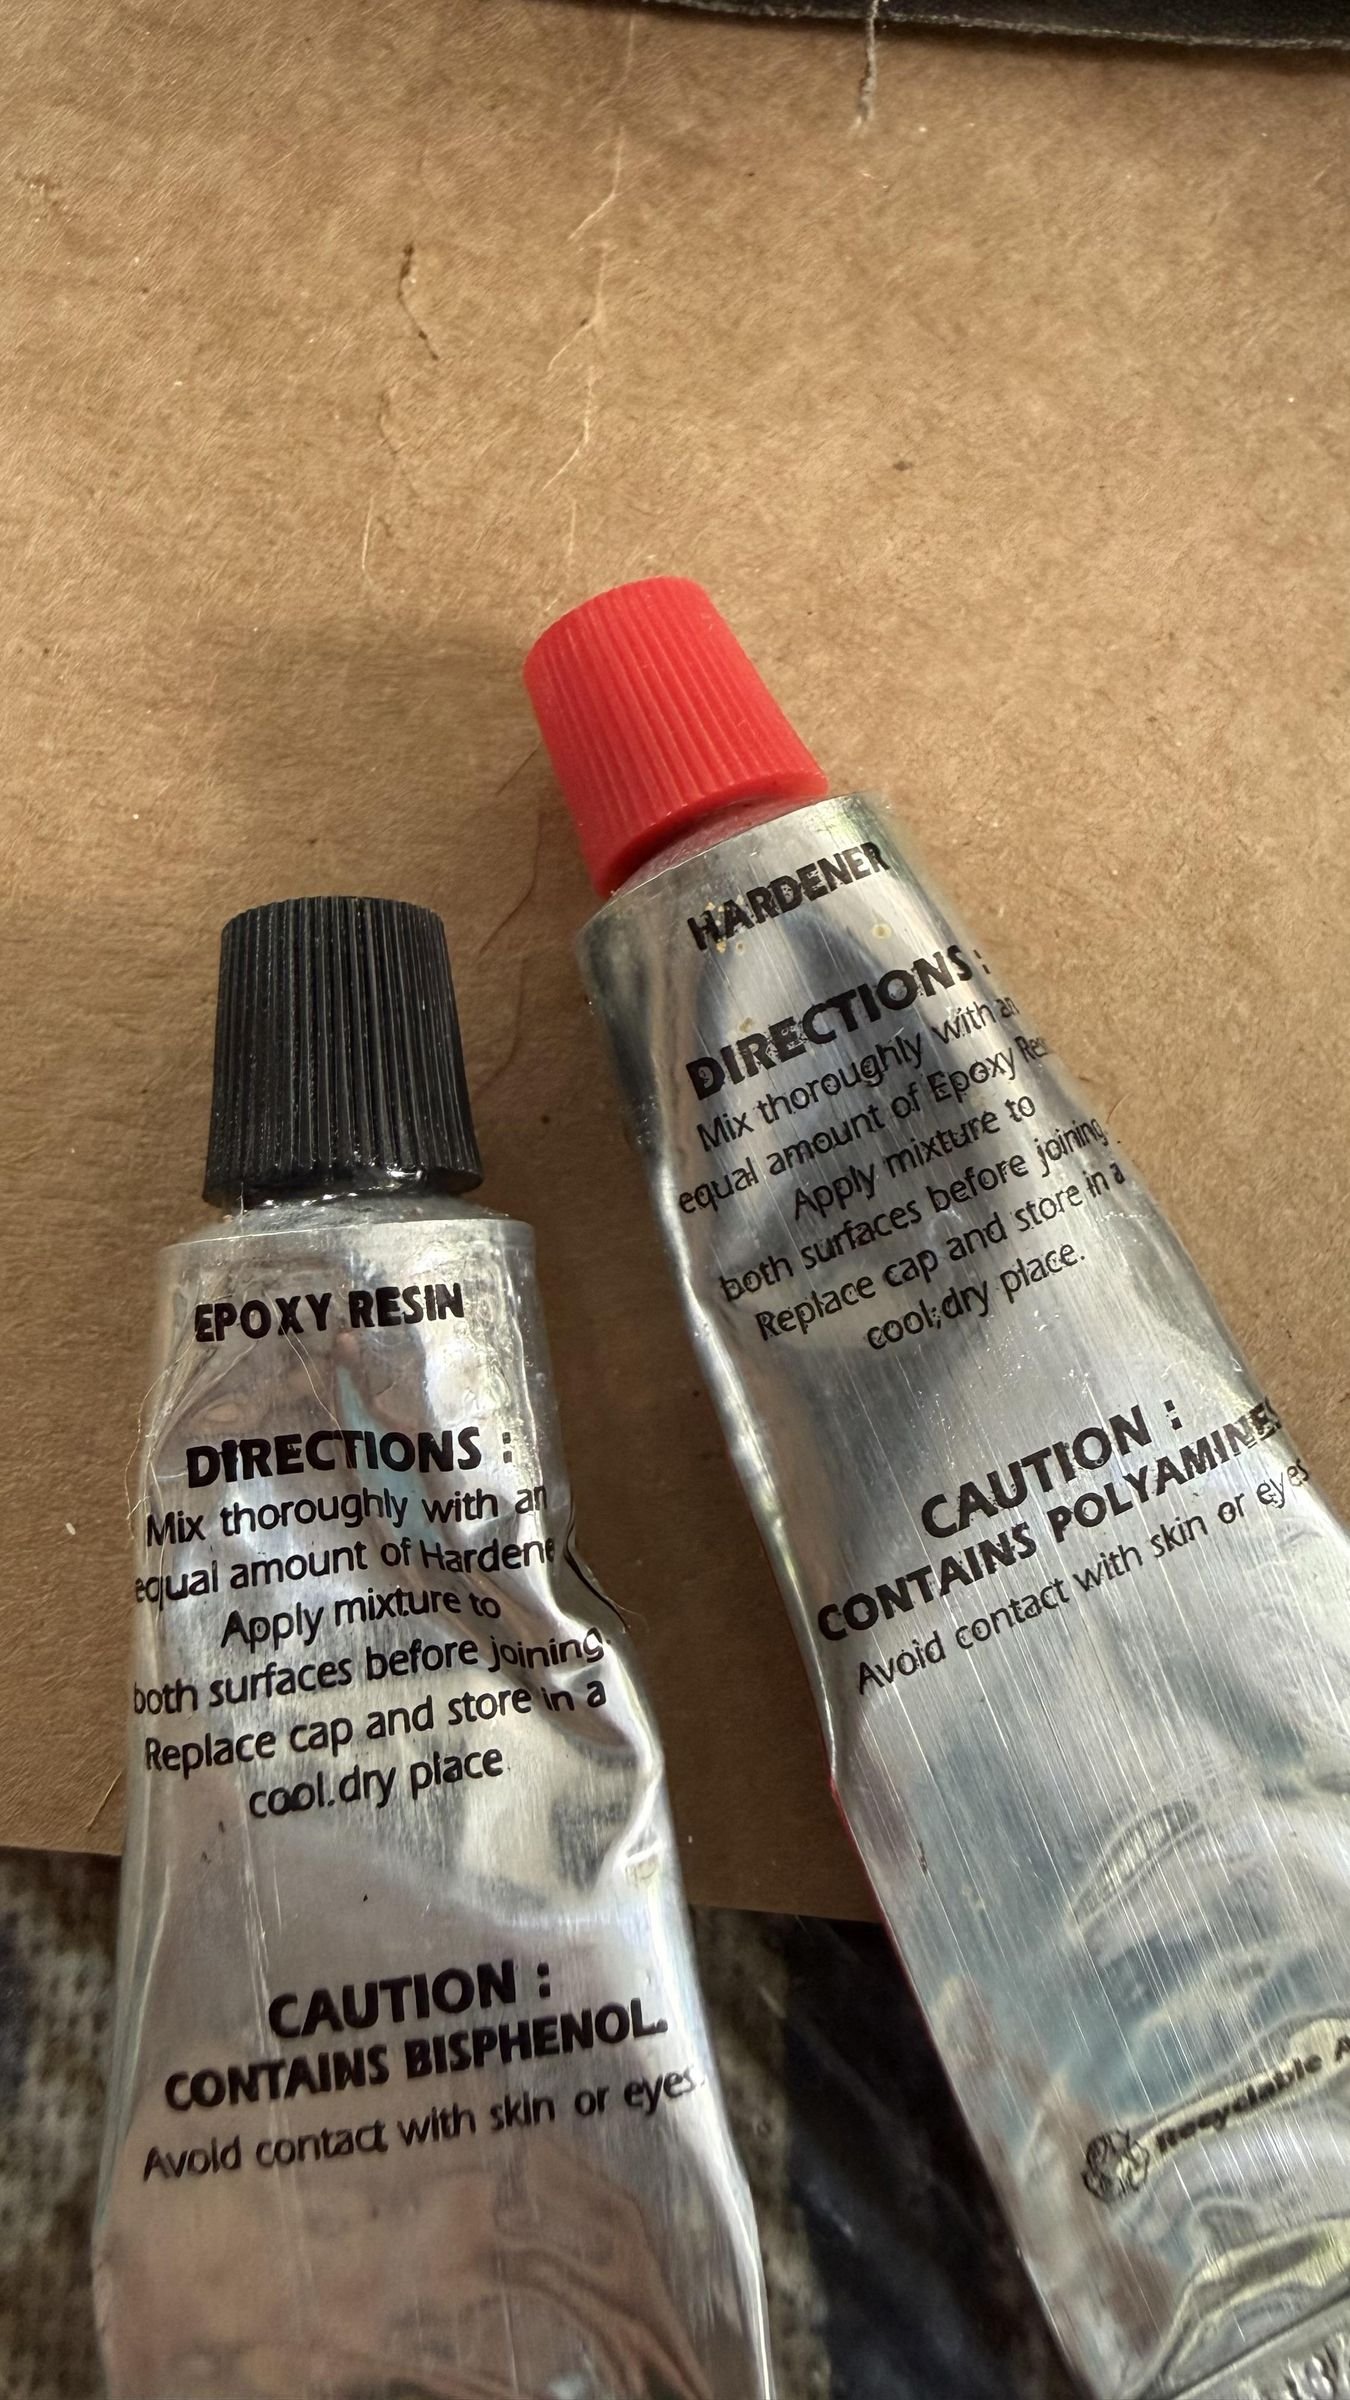
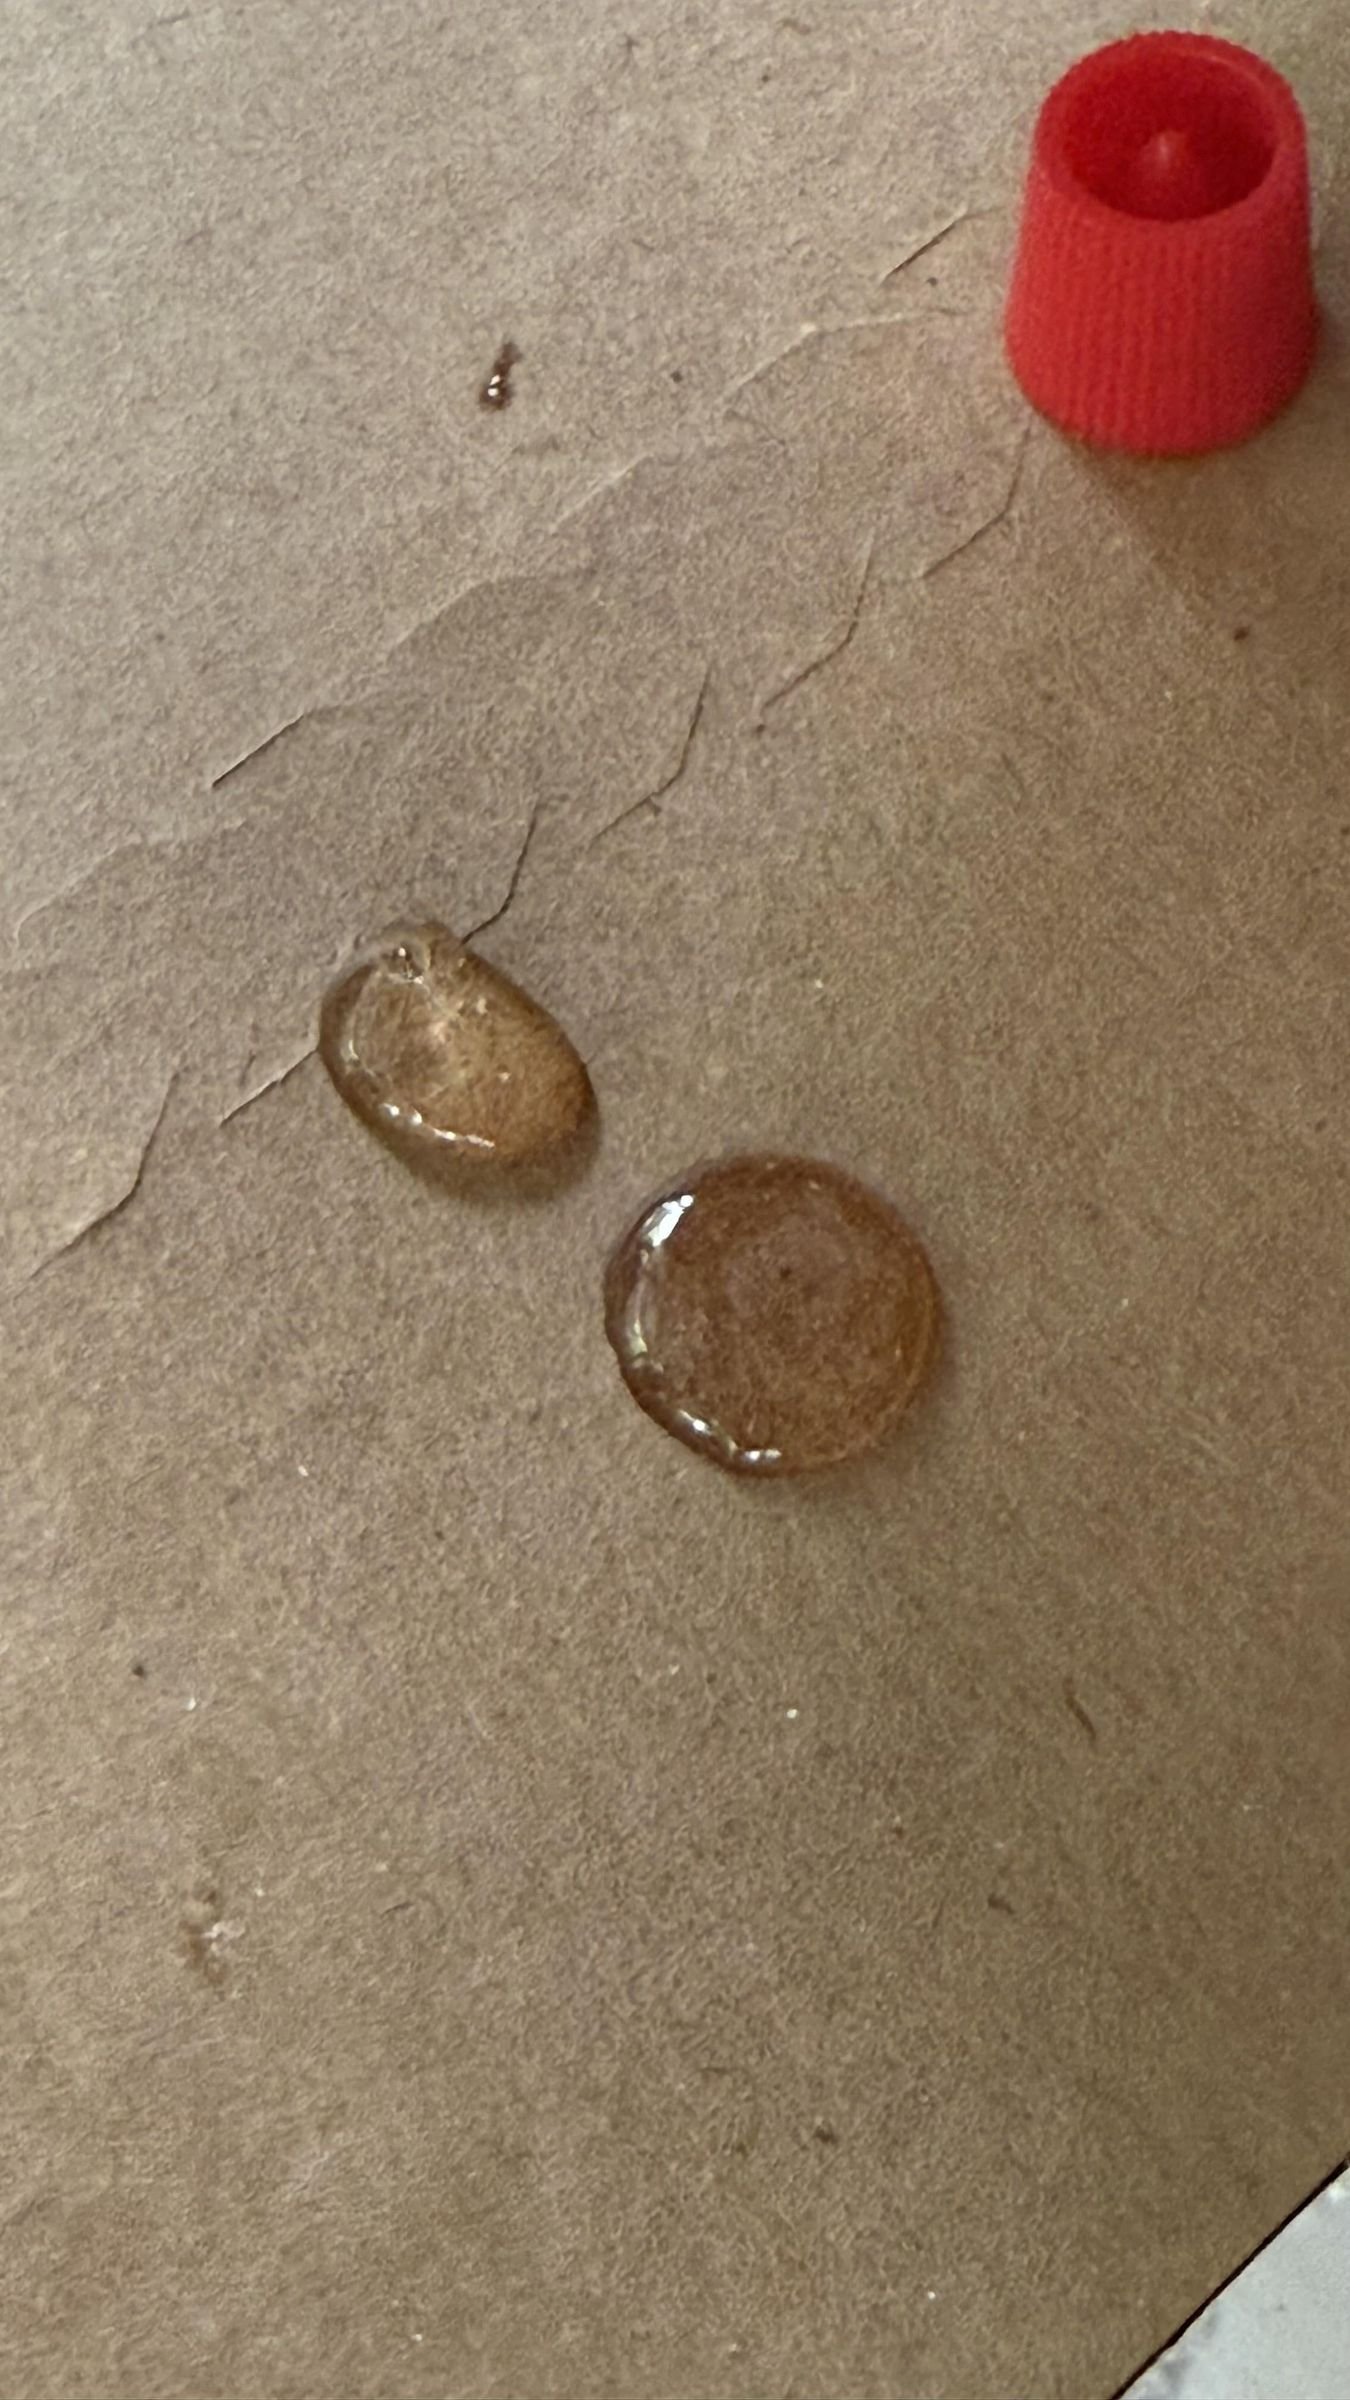
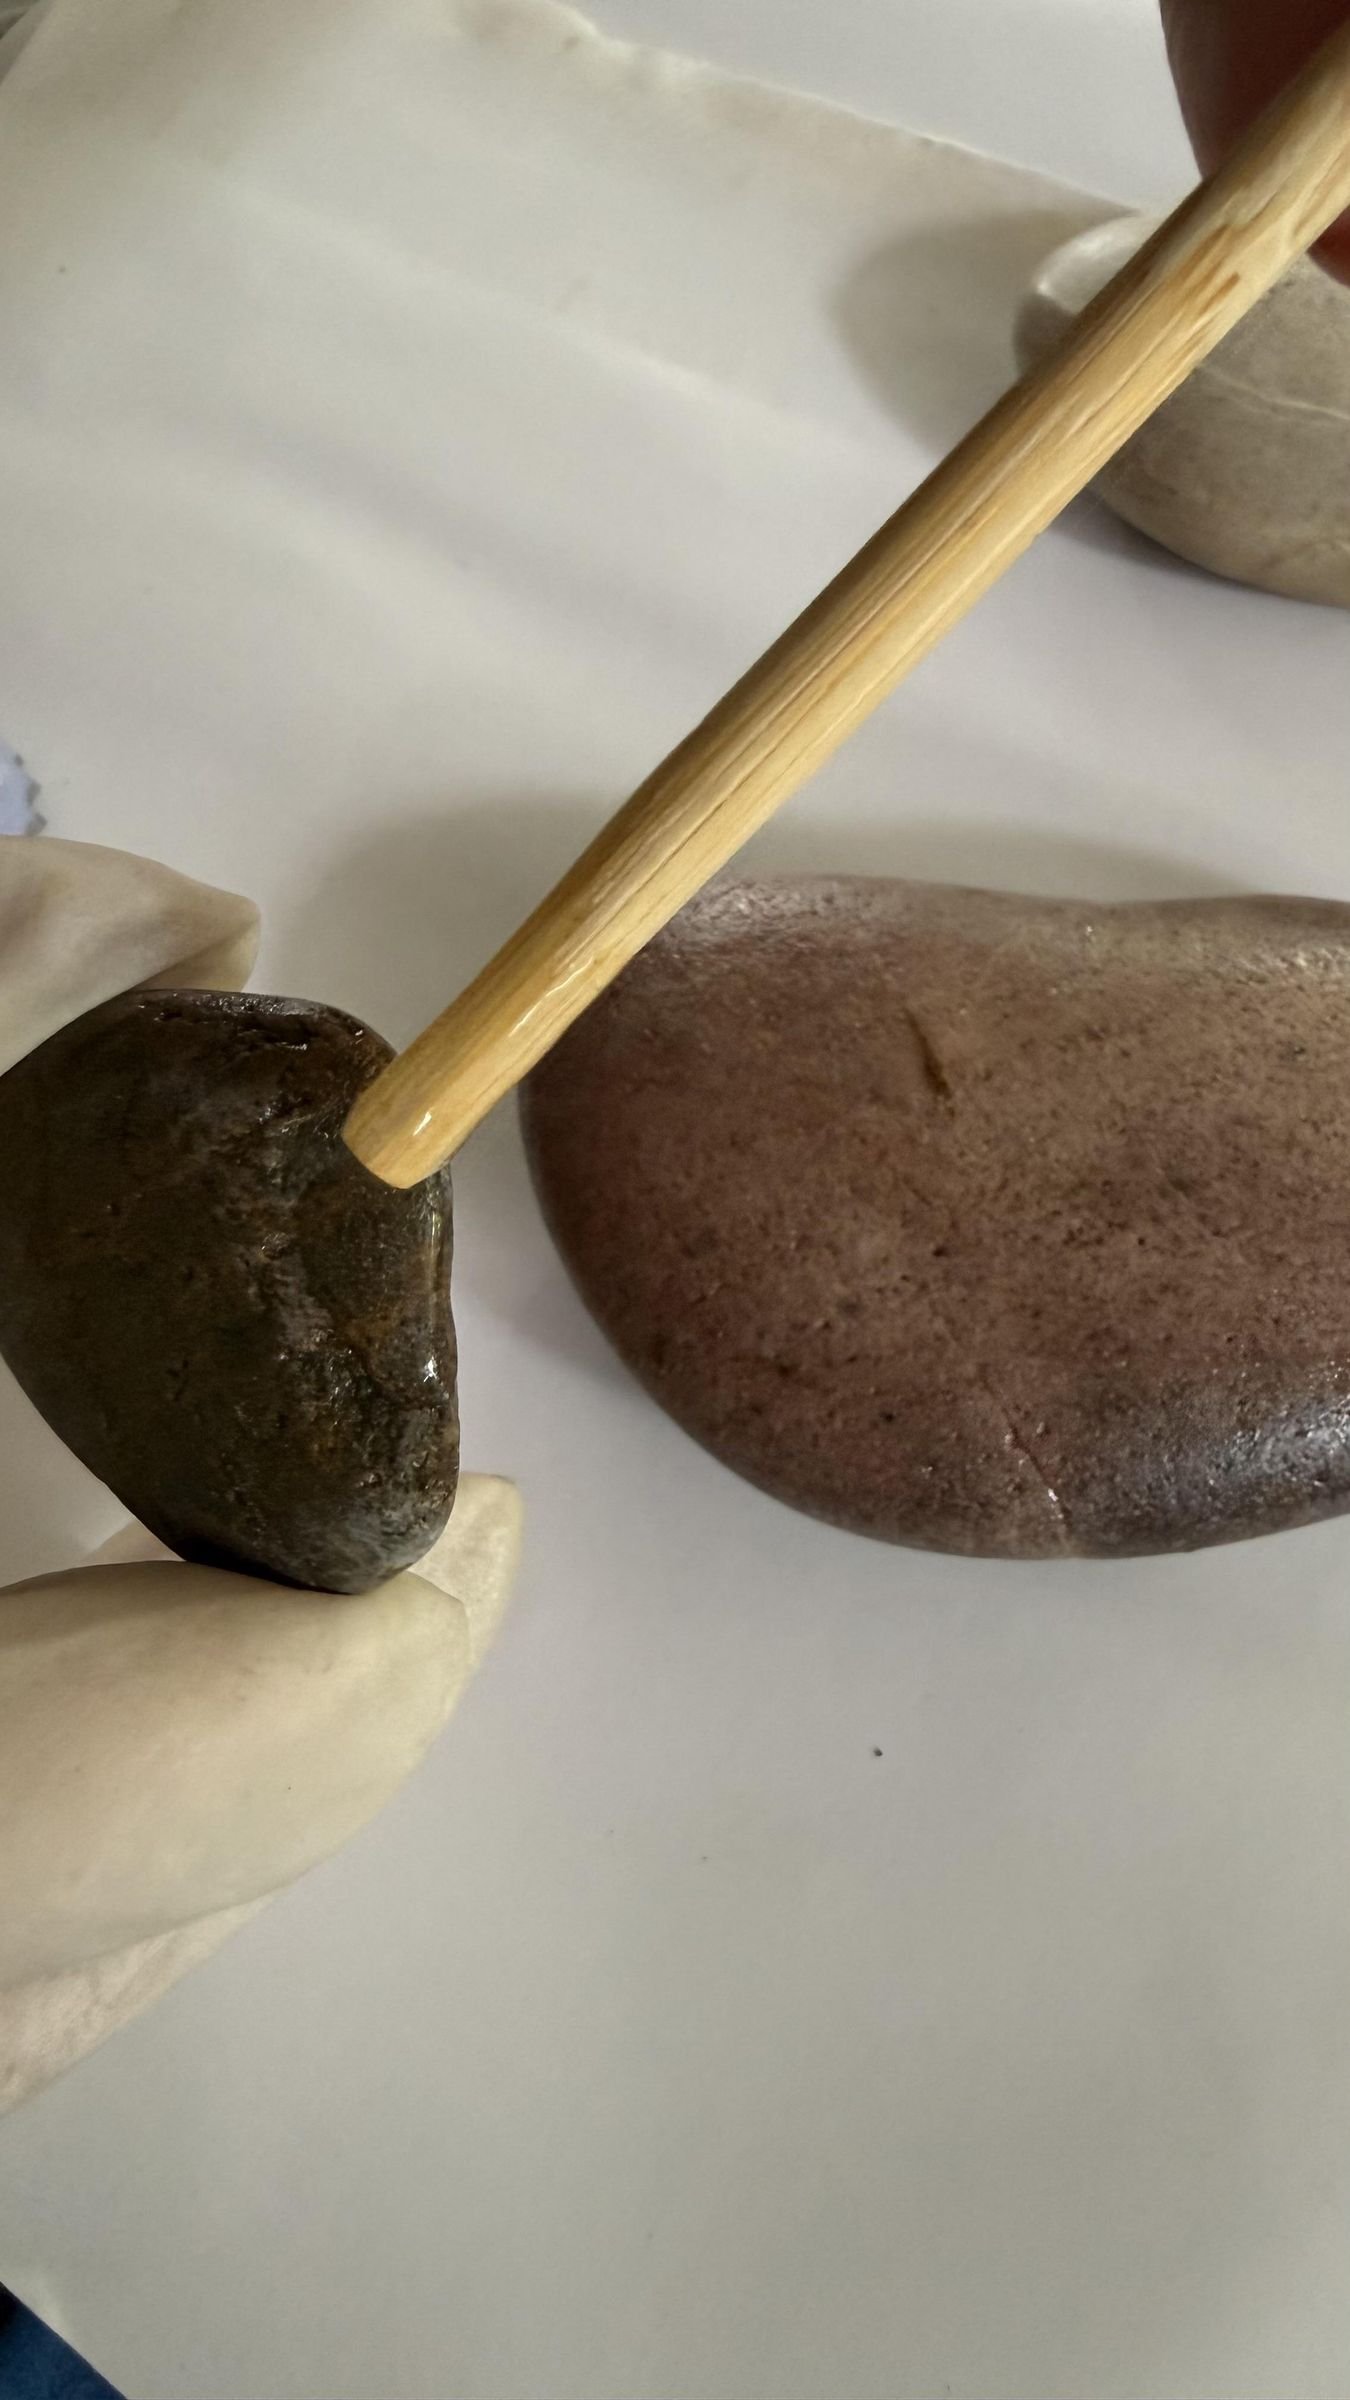
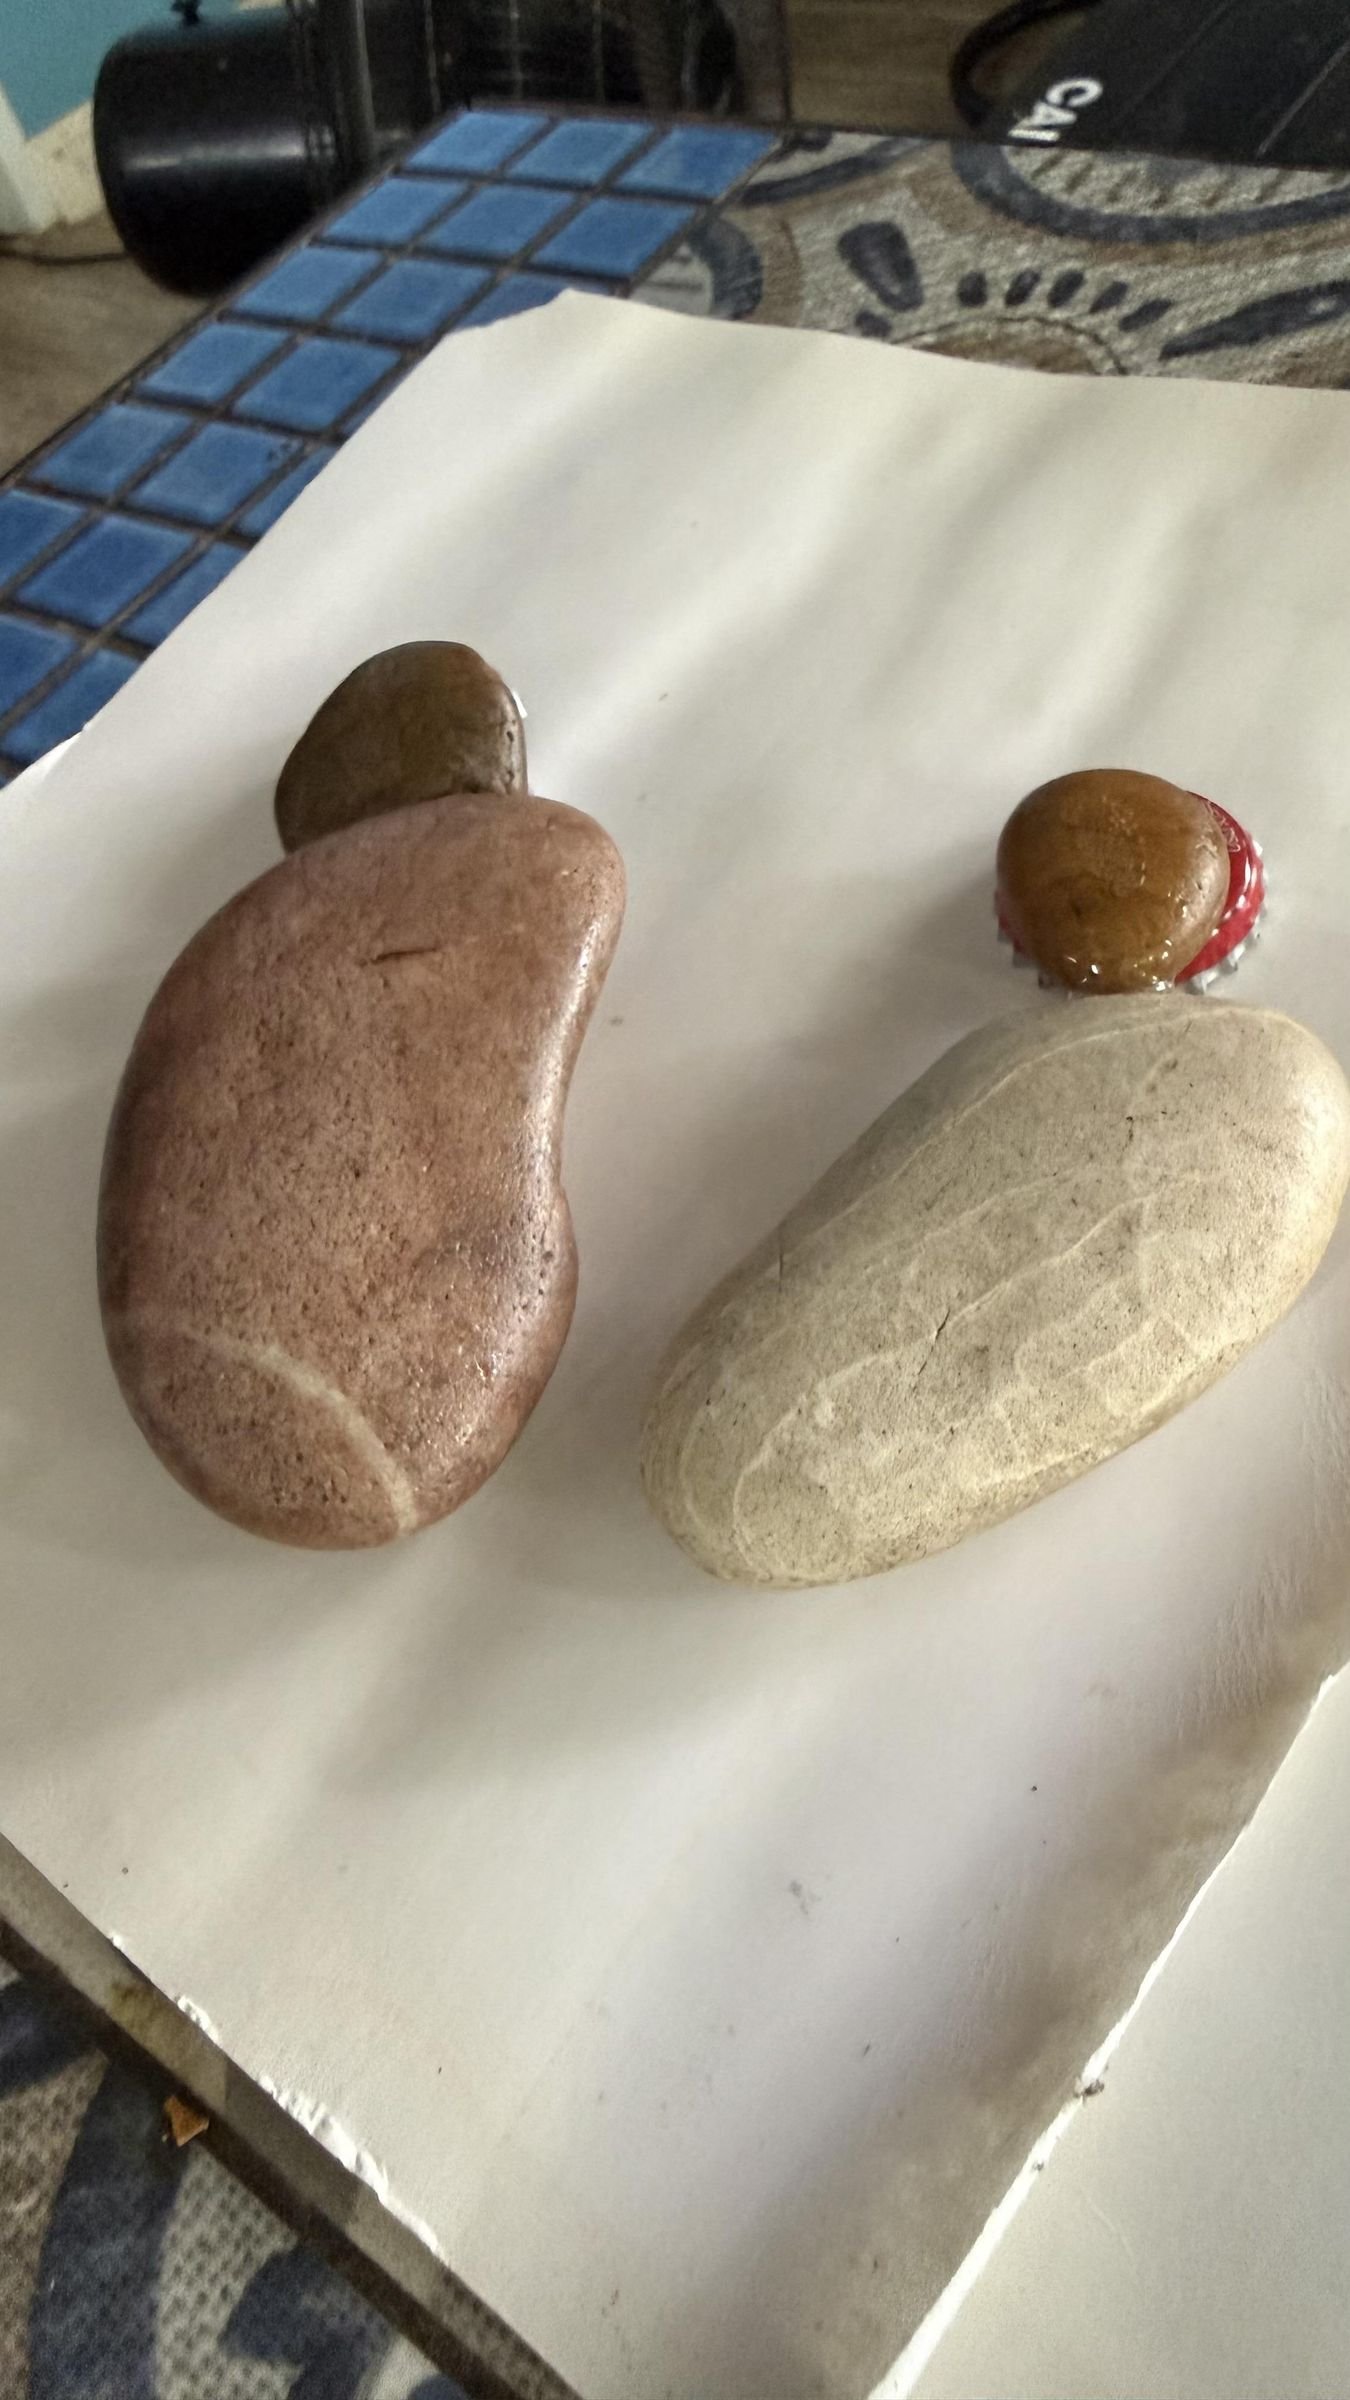
The source project used a fast-setting two-part epoxy after superglue failed. It combined equal drops of parts A and B on a disposable mixing card, stirred them with a chopstick, and applied the mixture to the joint. That particular epoxy began setting in about three minutes and had a strong smell, so the maker worked quickly and used bottle caps as temporary props. Products differ: follow your adhesive’s own directions for mixing, handling, ventilation, set time, and cleanup.
Leave the assembly untouched until the epoxy is hard. The original pieces rested for roughly an hour before painting, but the label on your product should determine when it is ready.
6. Paint the Cactus Bodies
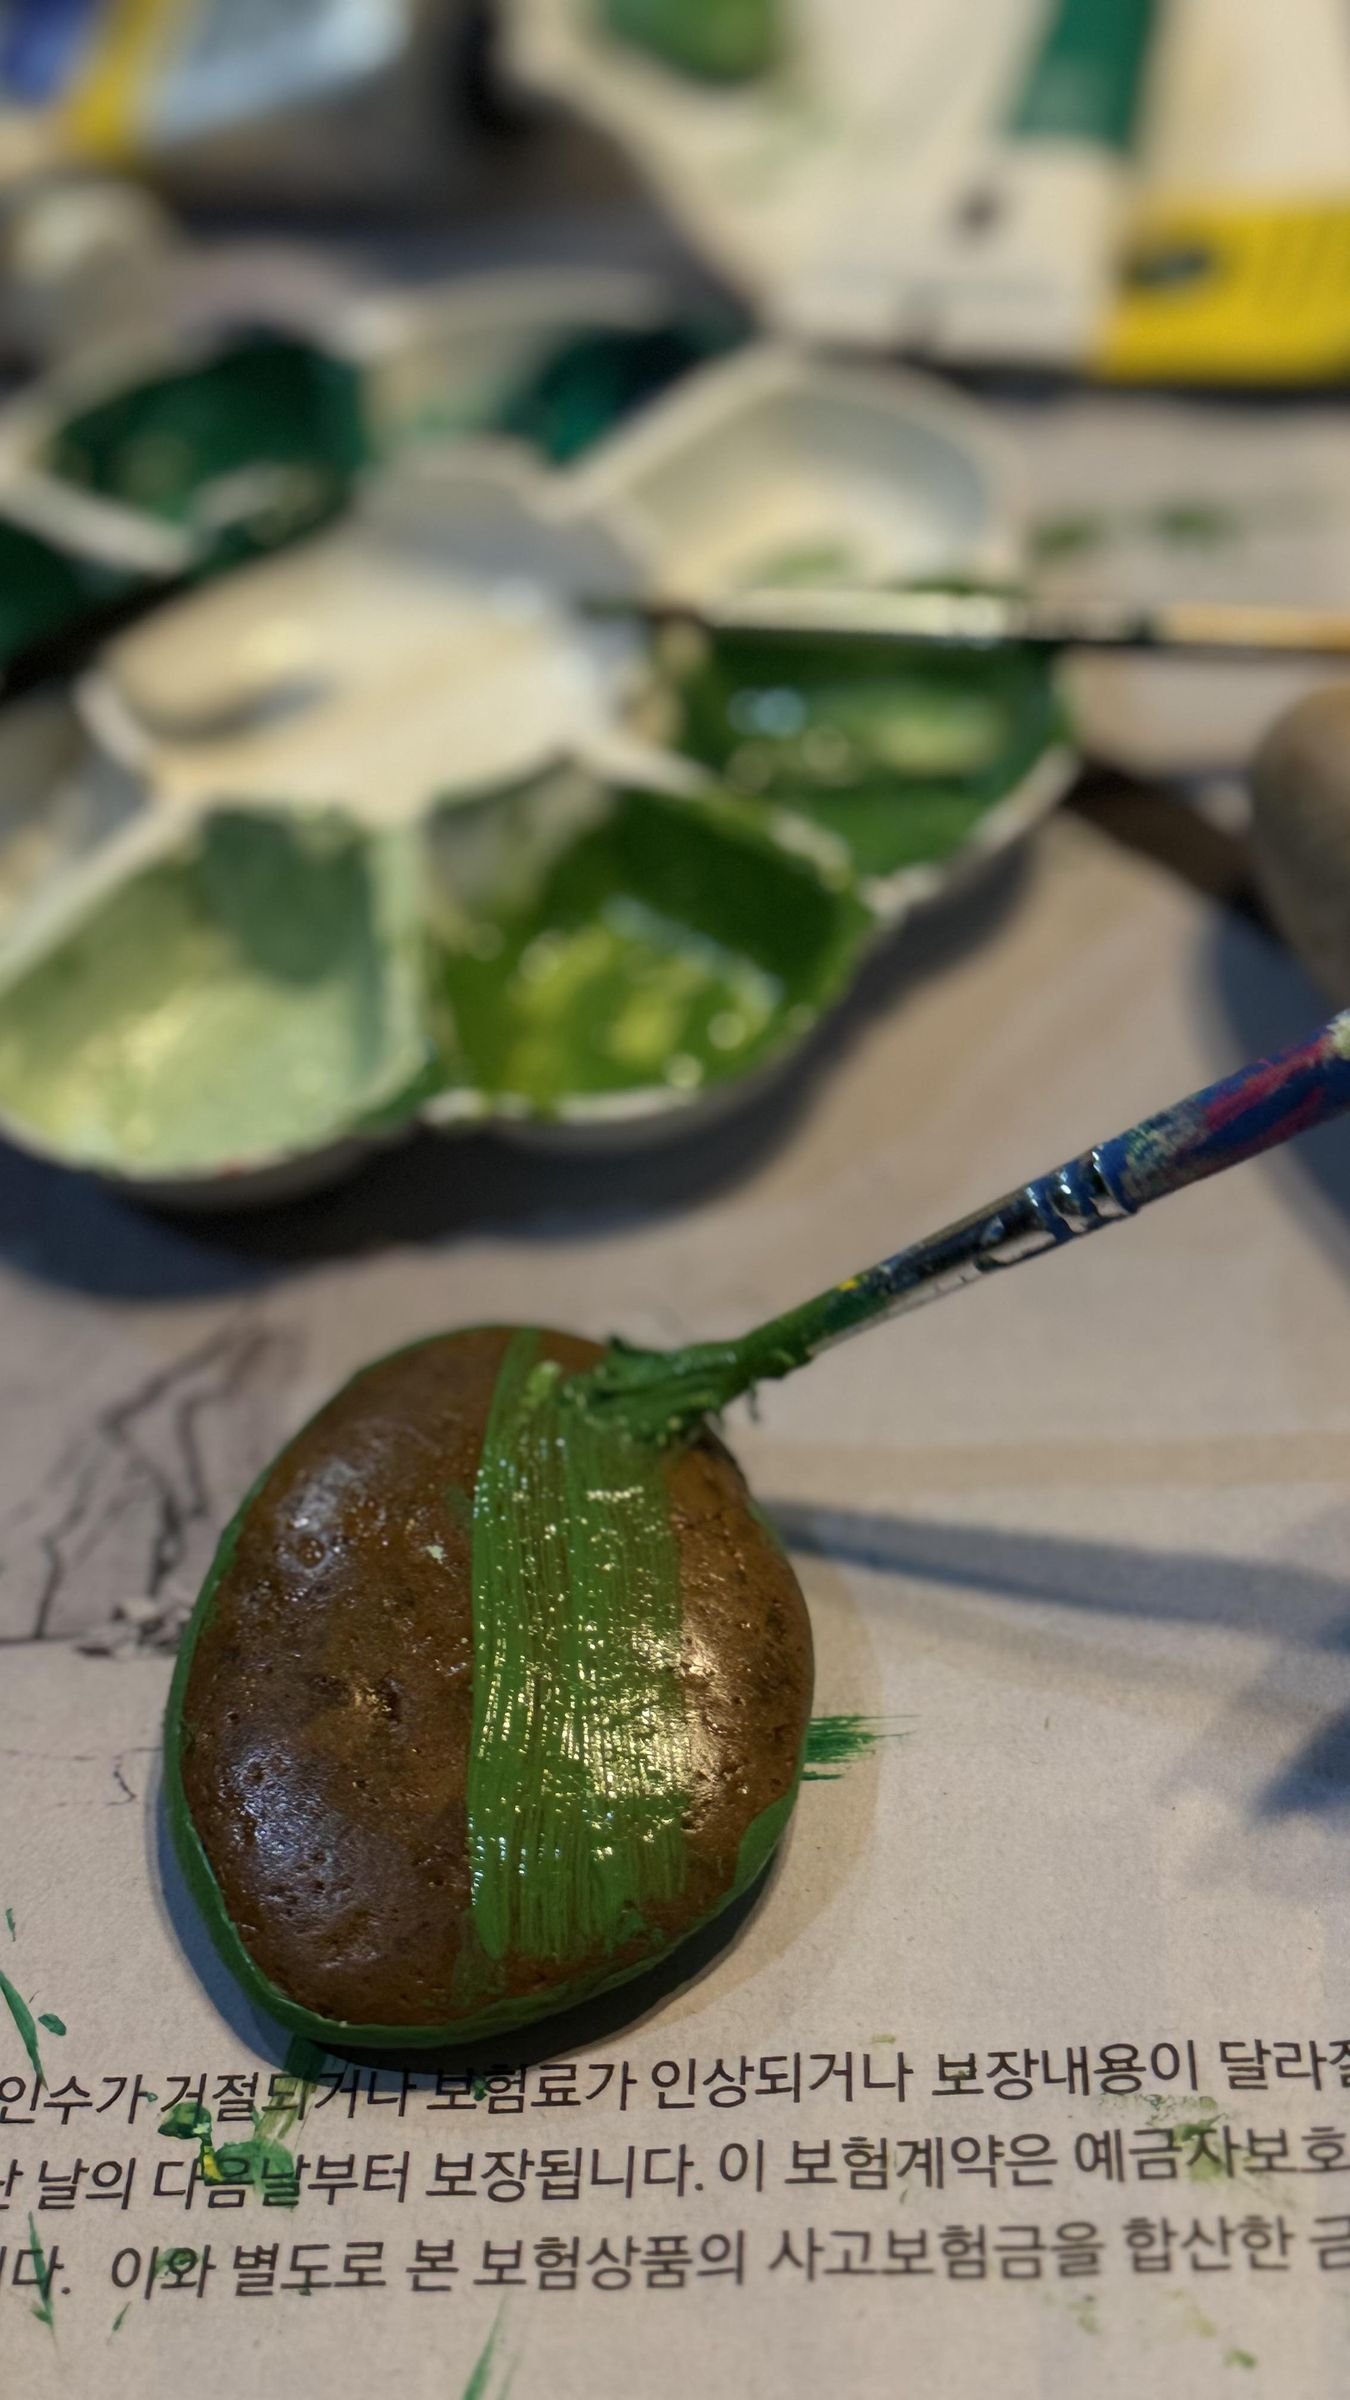
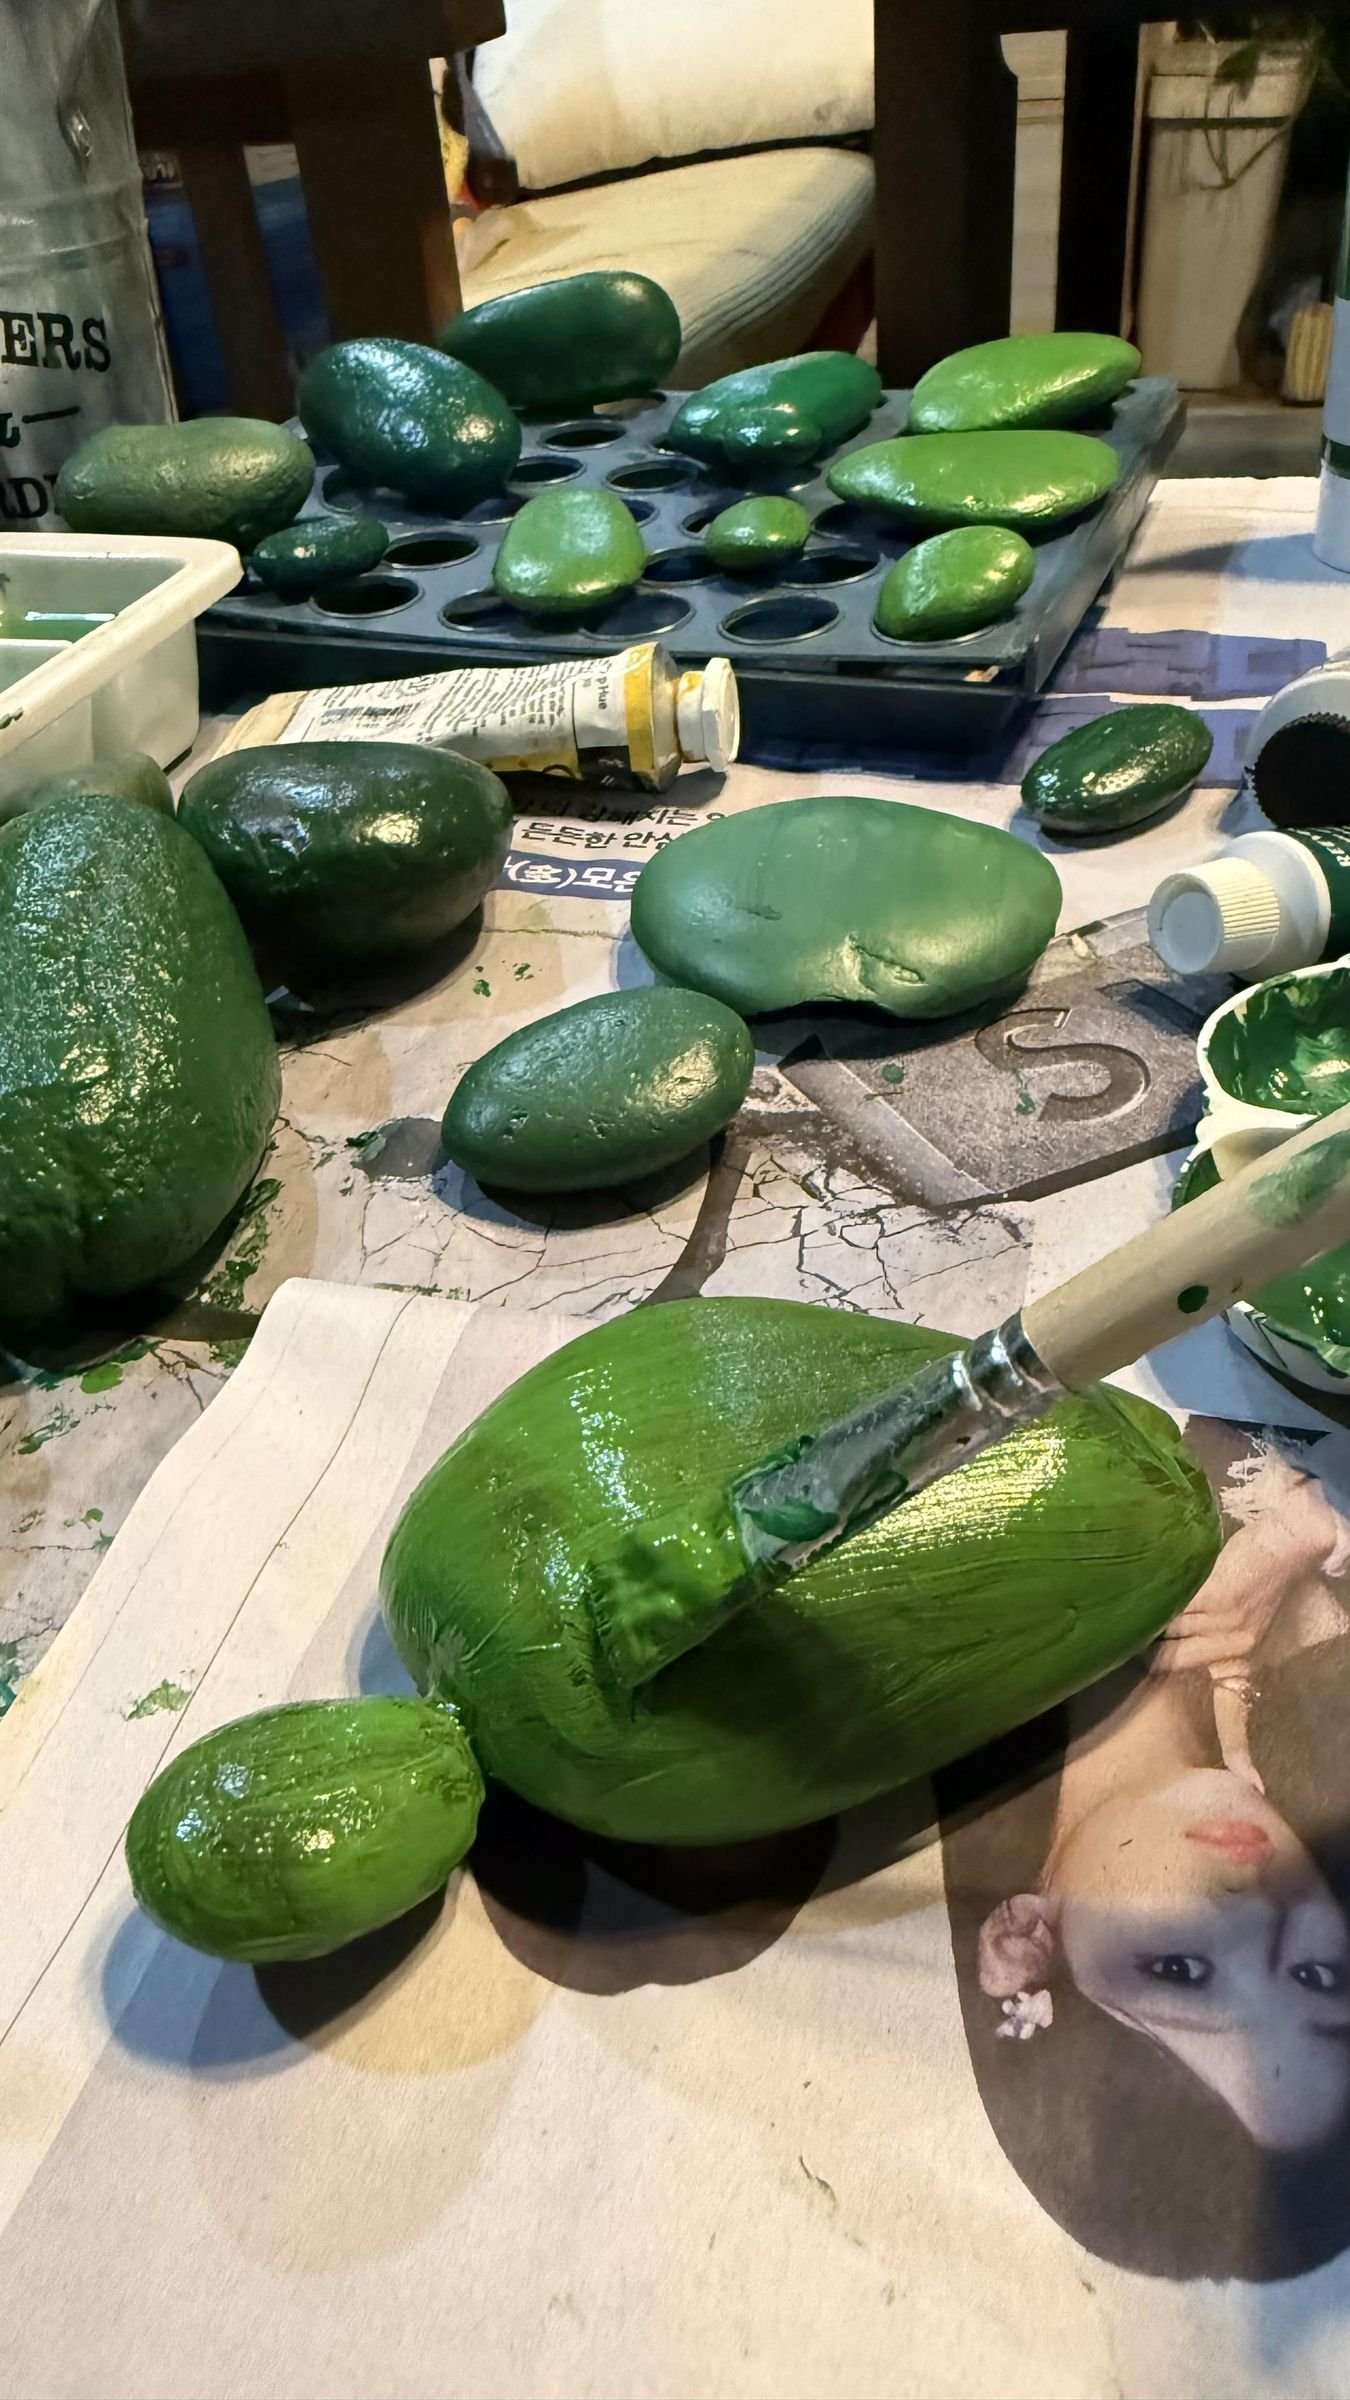
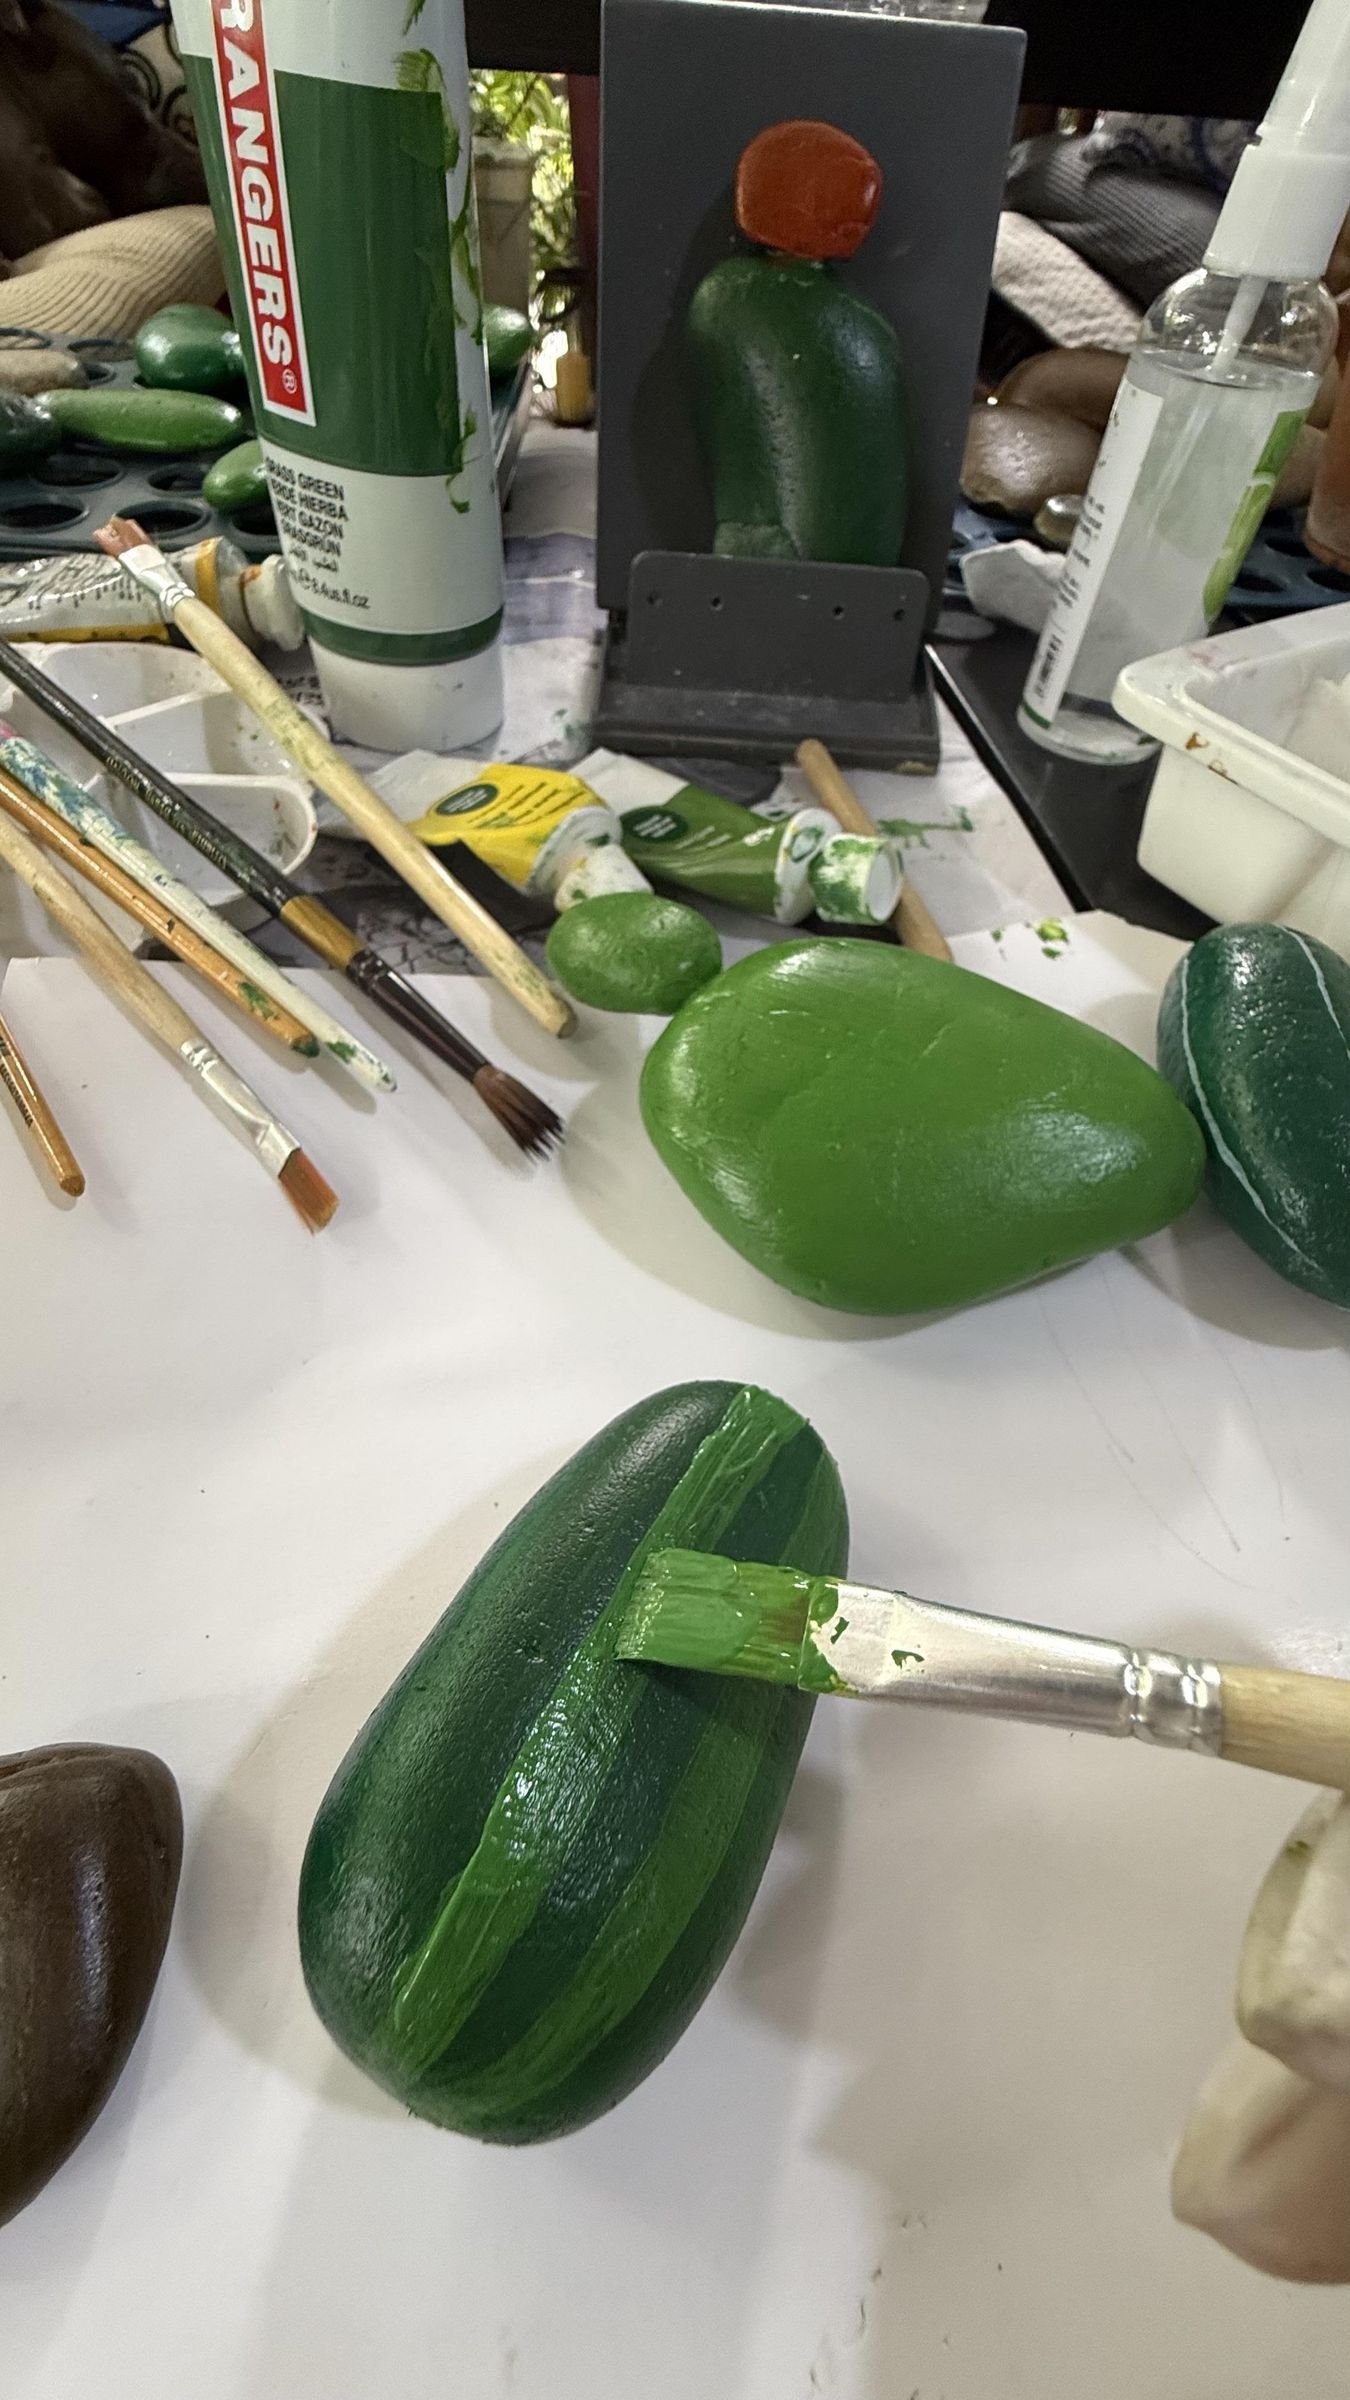
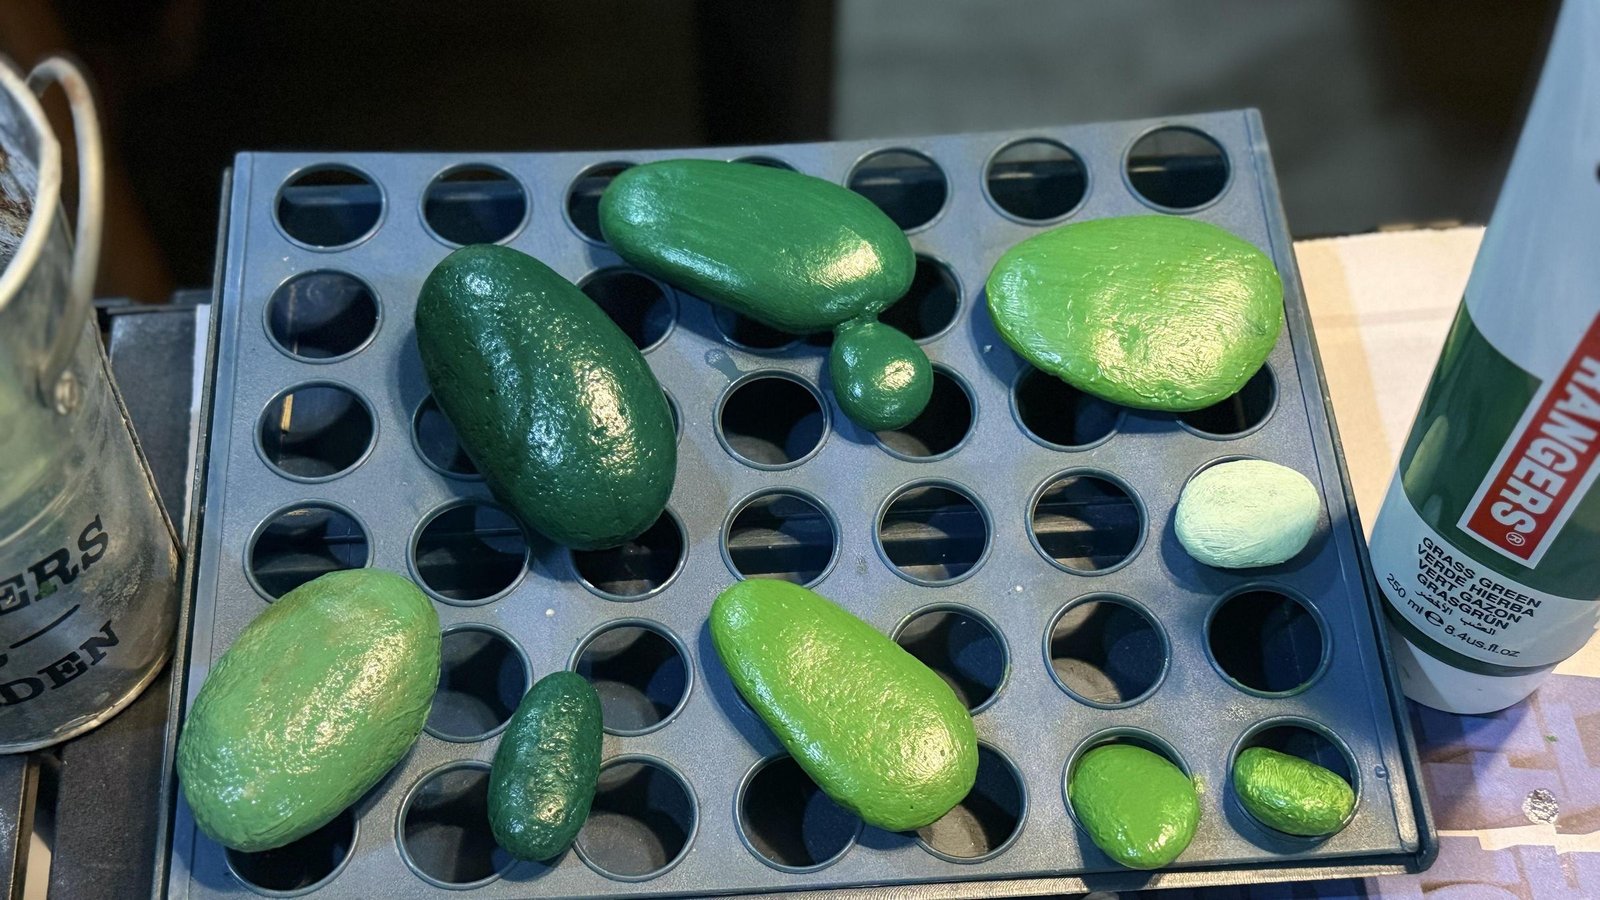
Once every glued joint is firm, cover the primed stones with acrylic paint. Two coats were needed in the source project for an even finish, with drying time between layers. Paint around attached buds carefully so the joint becomes part of the cactus silhouette rather than a separate lump.
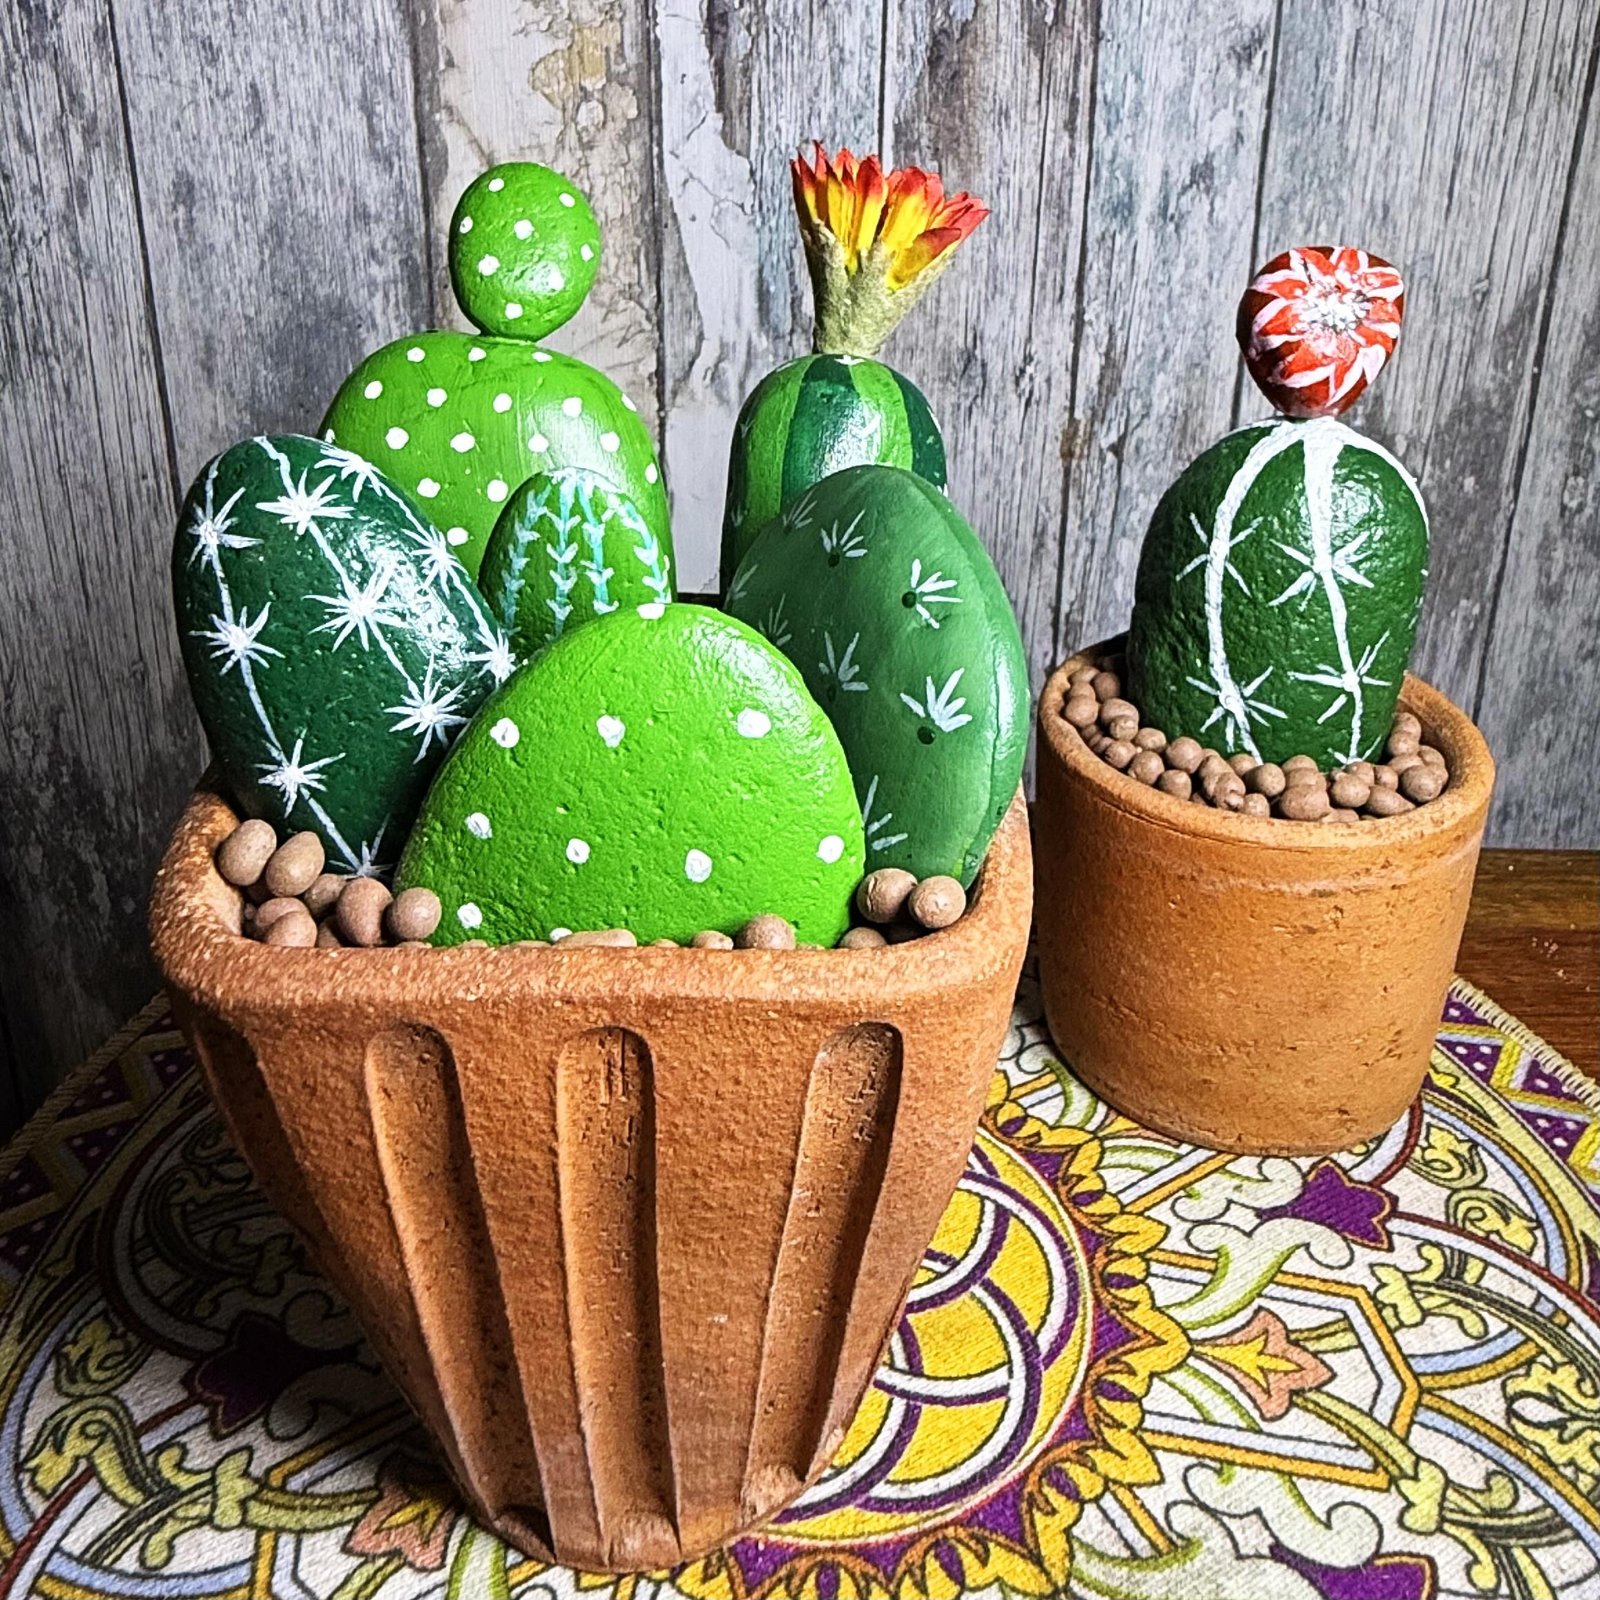
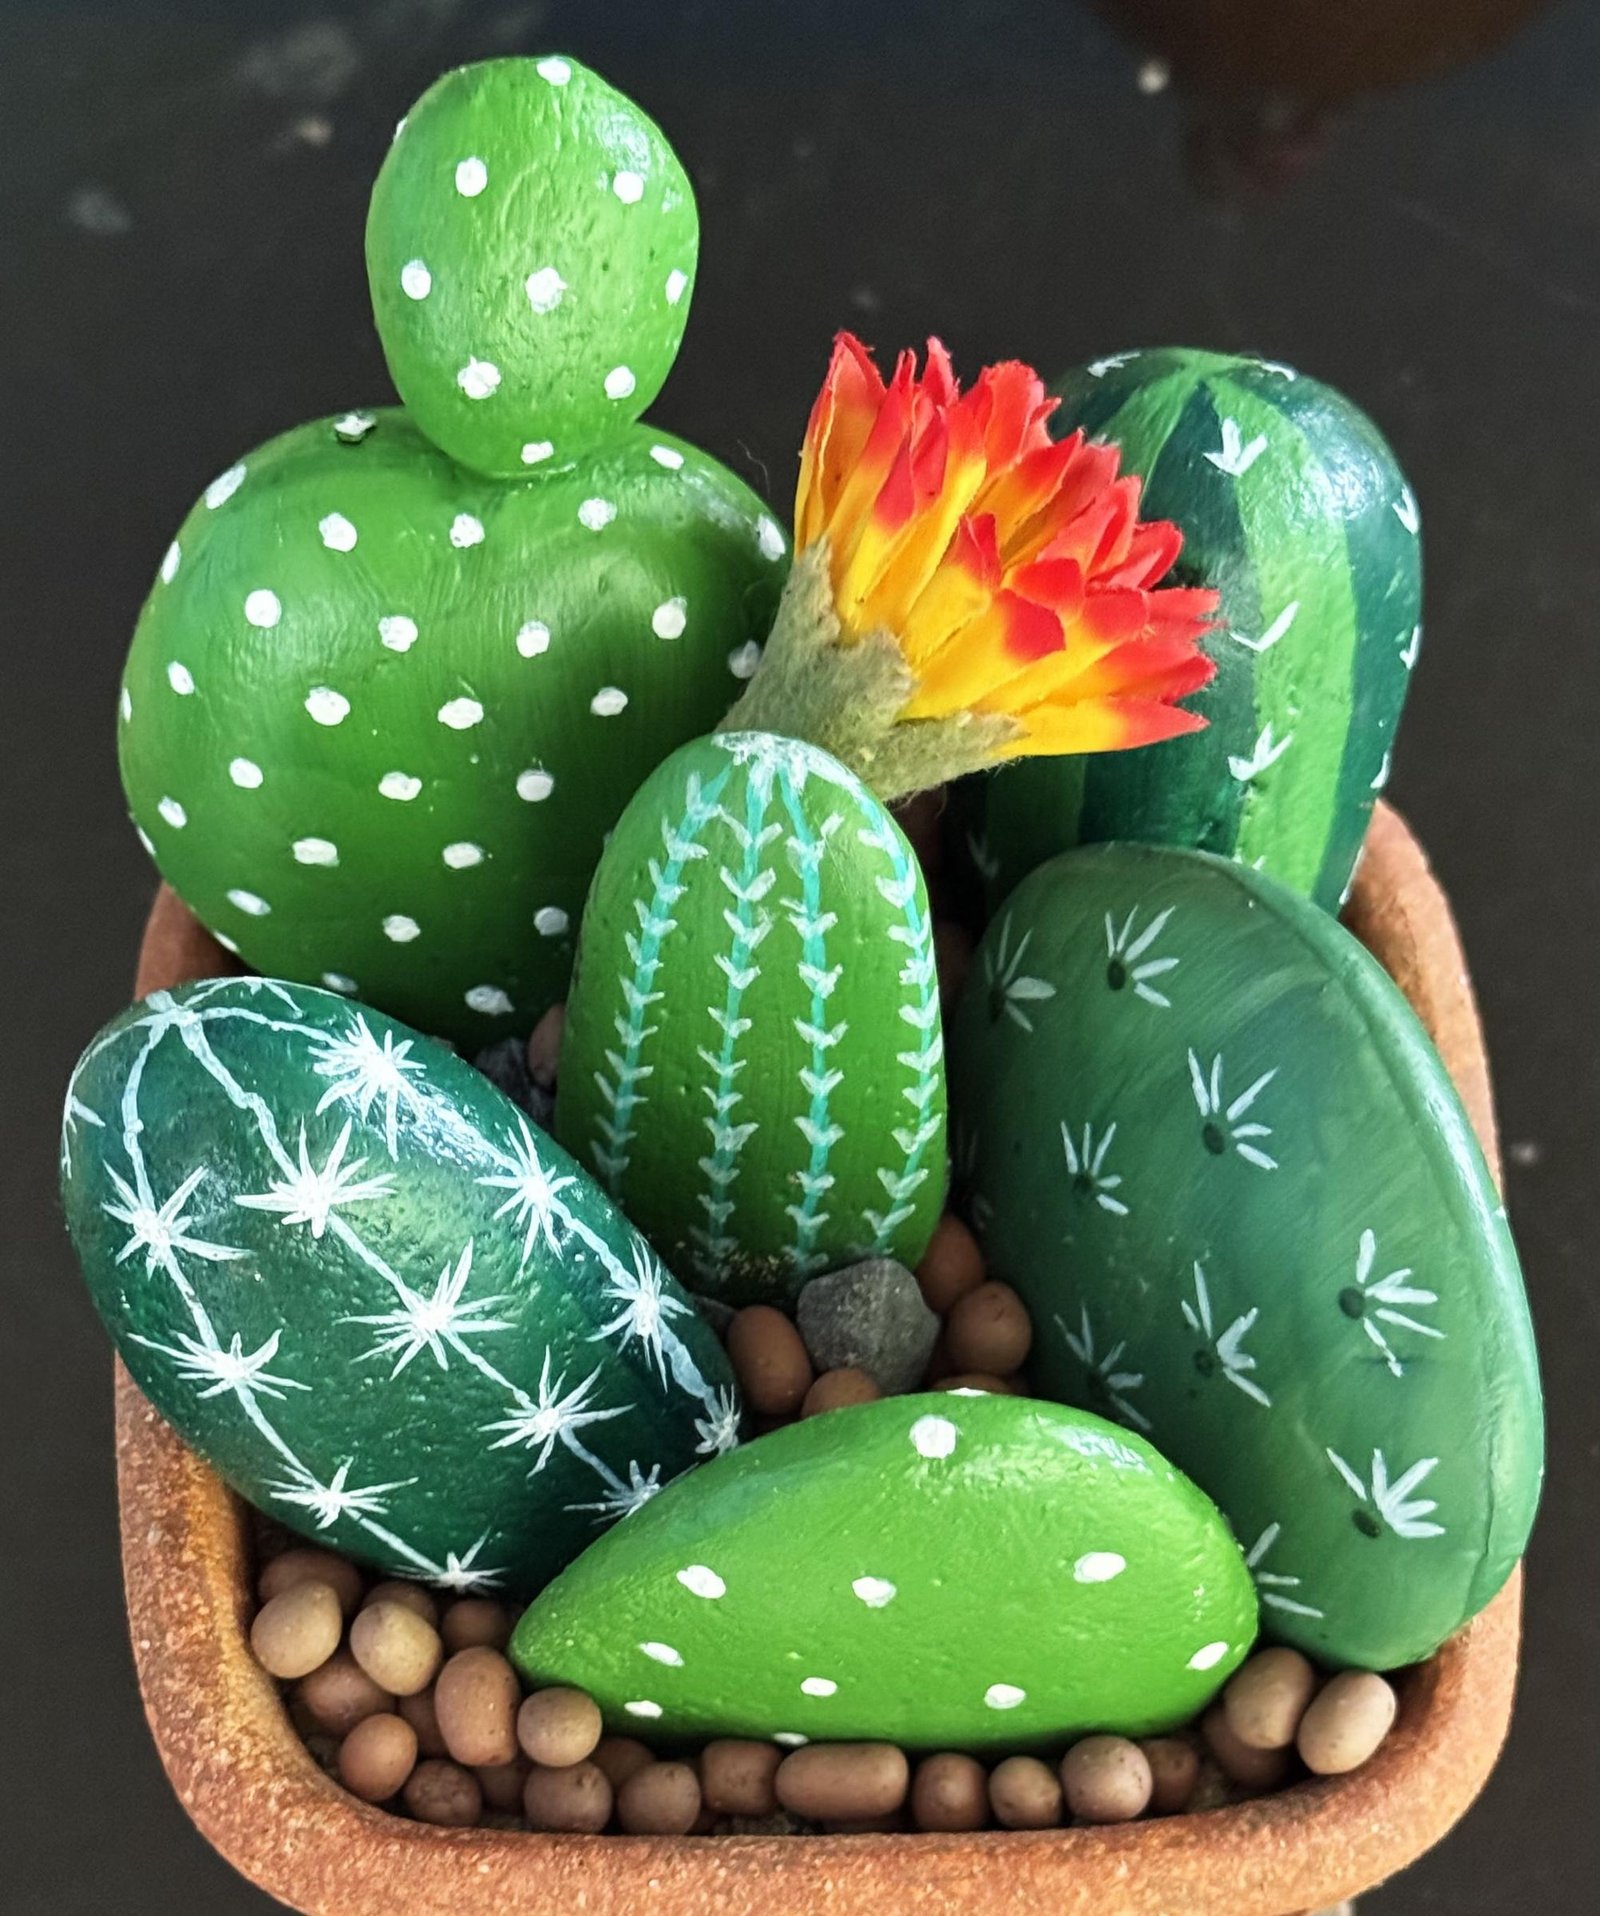
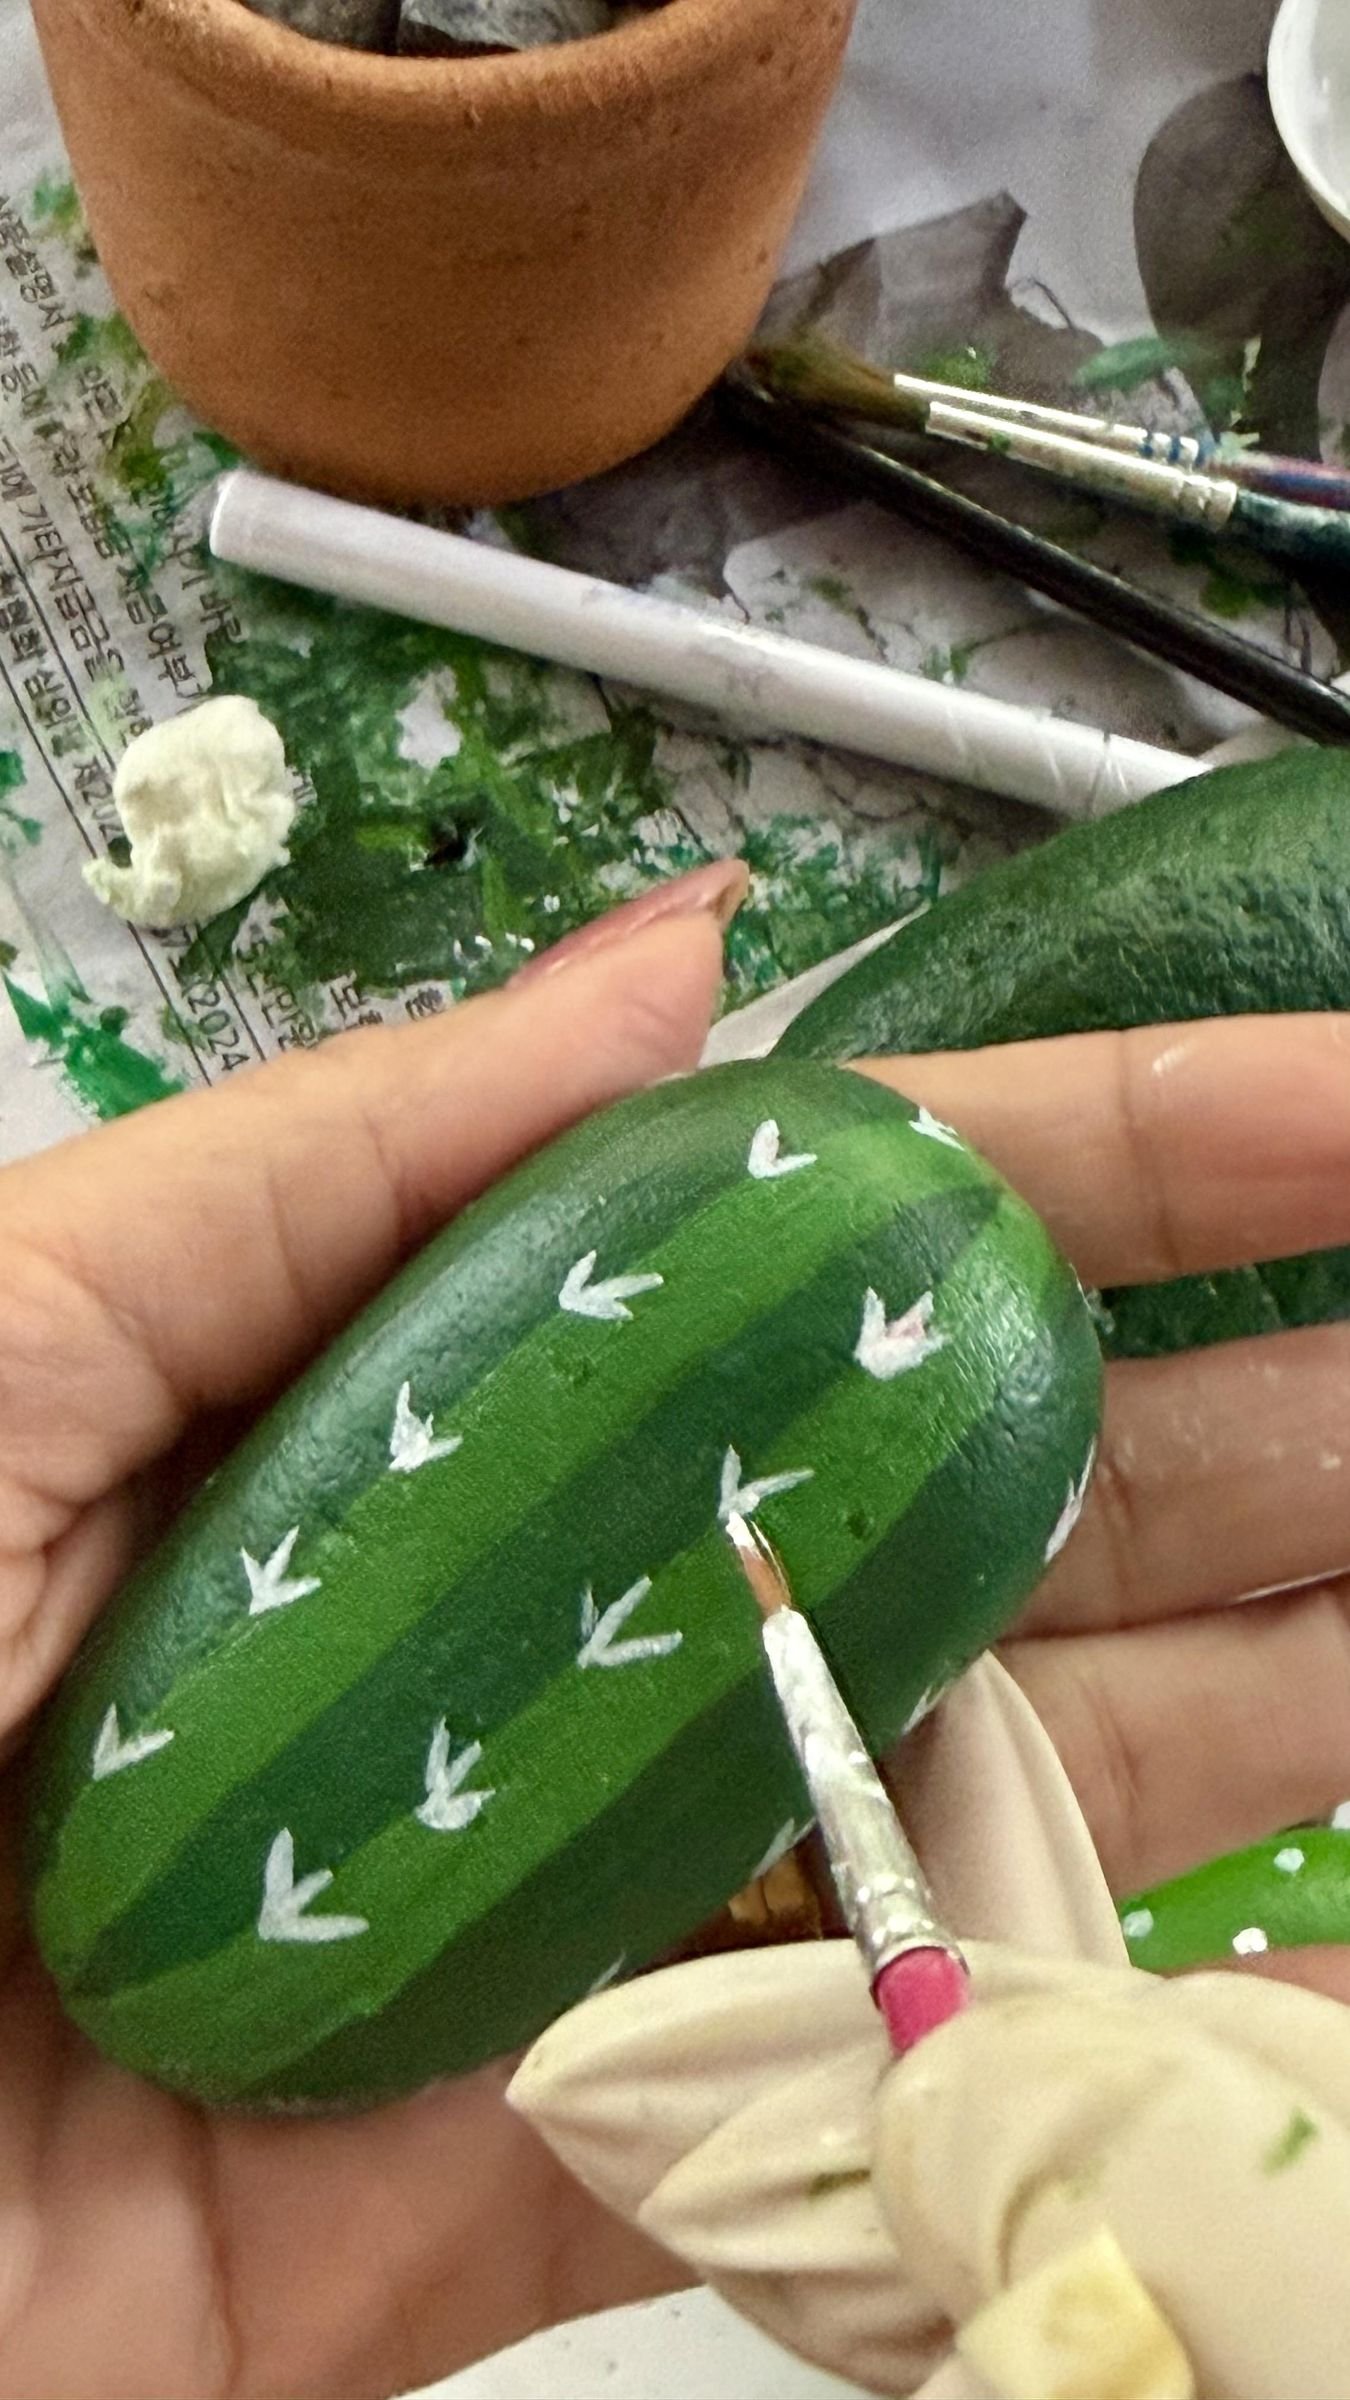
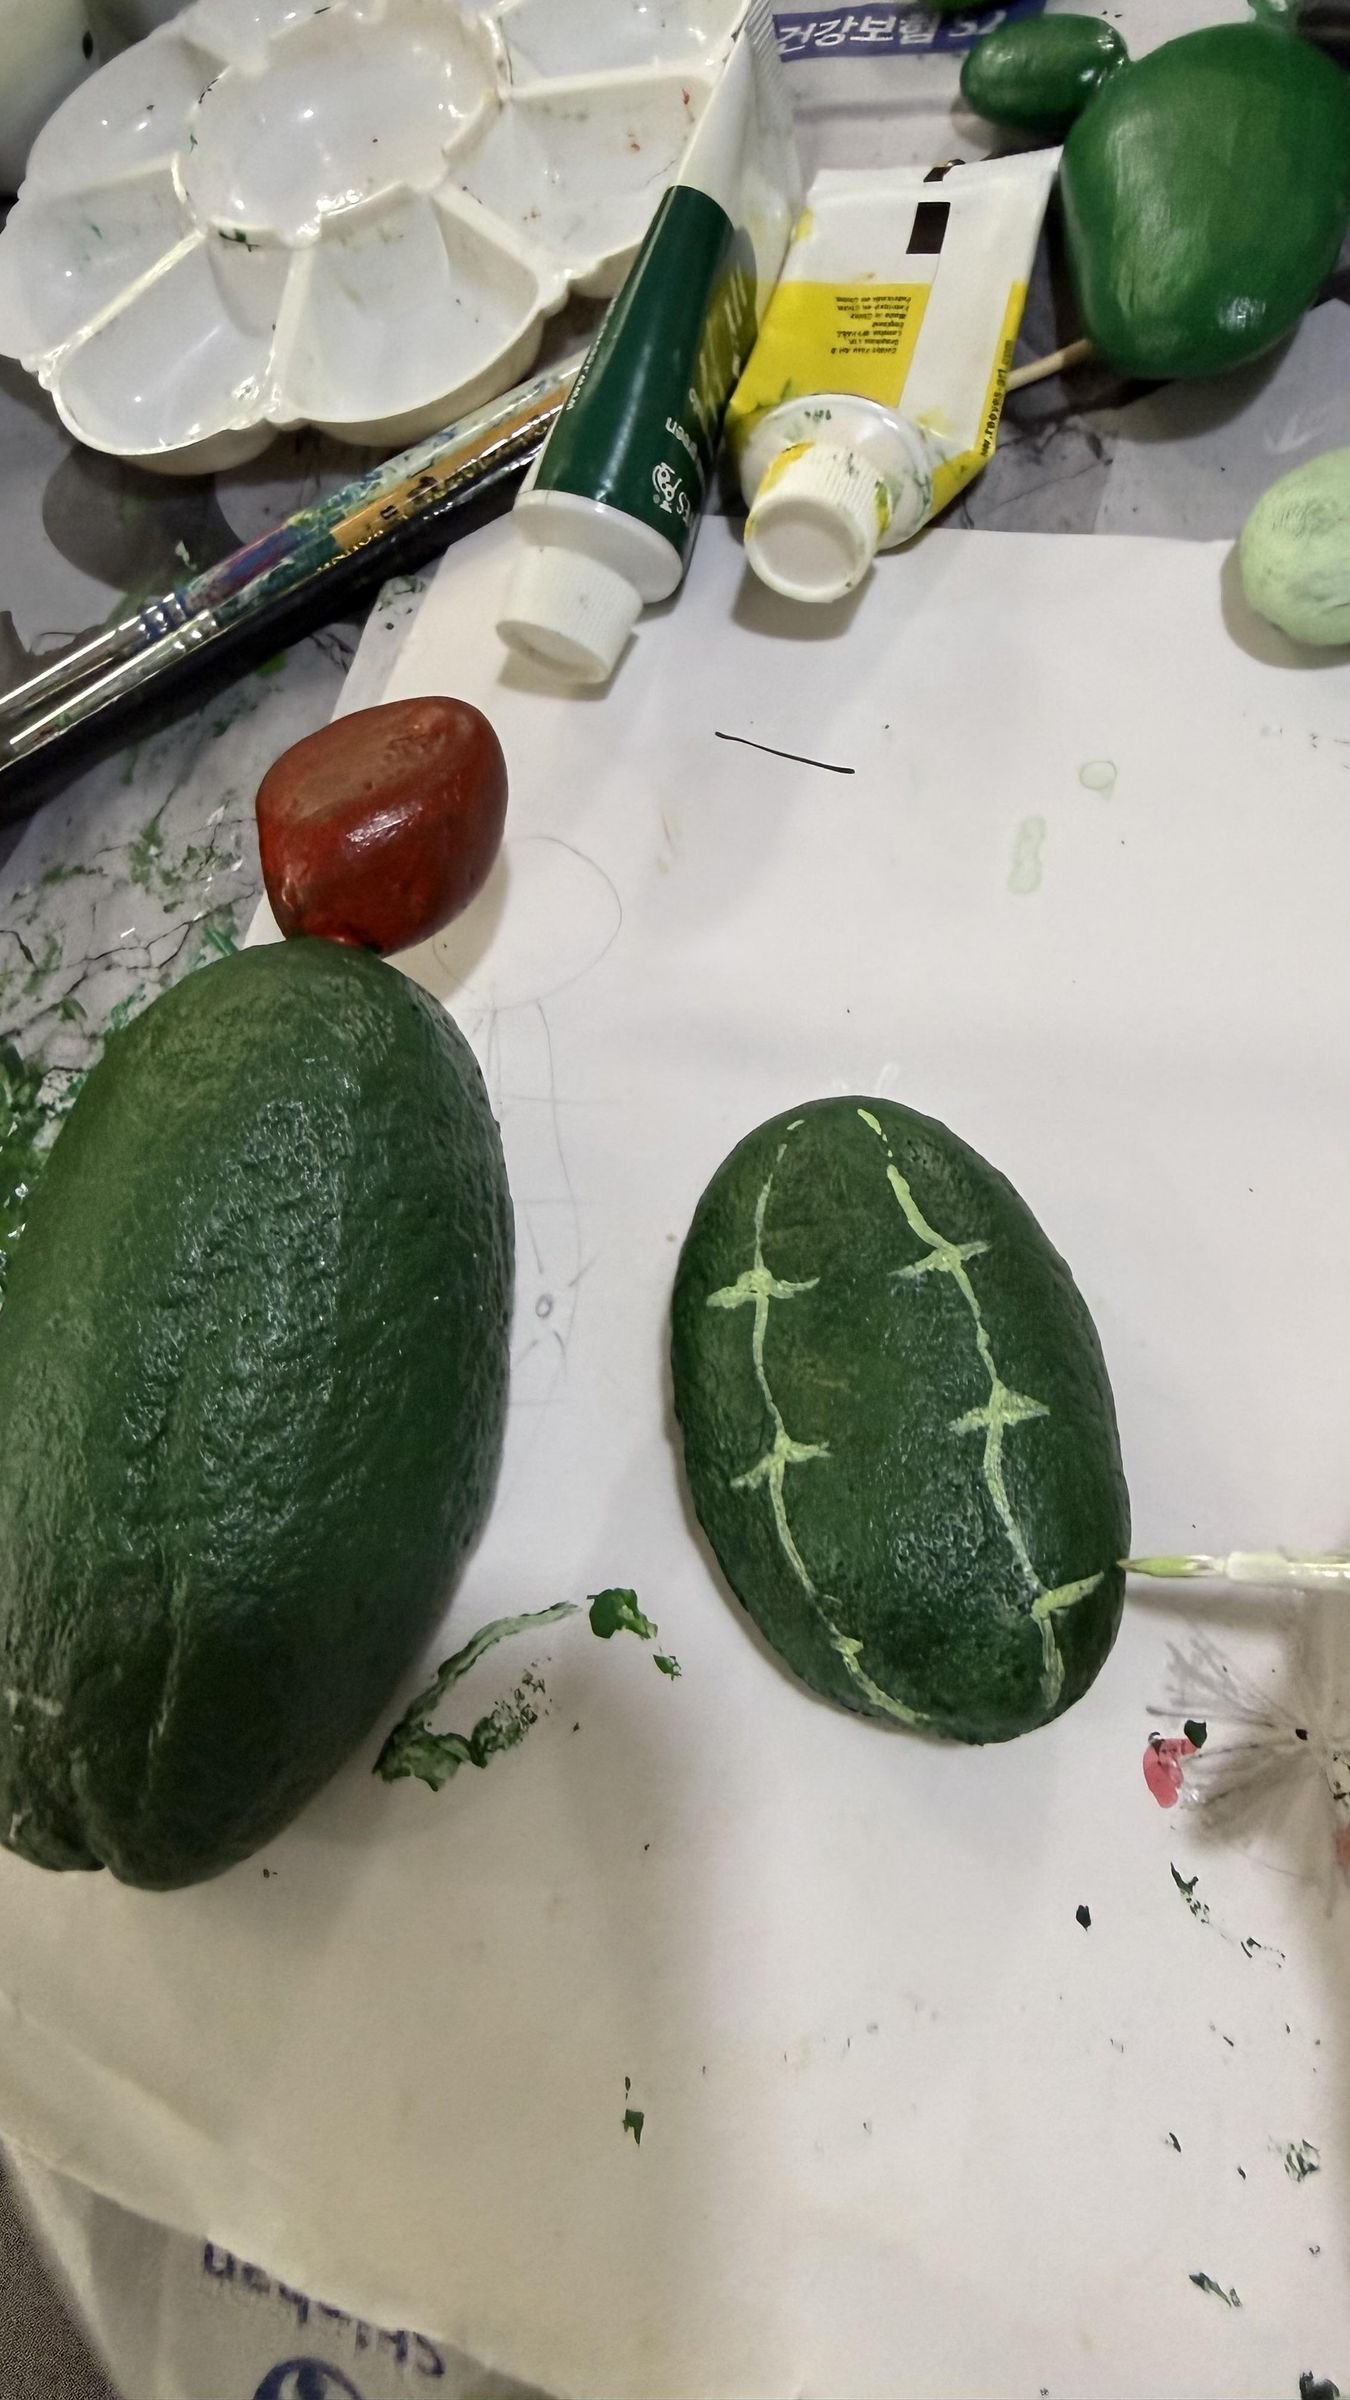
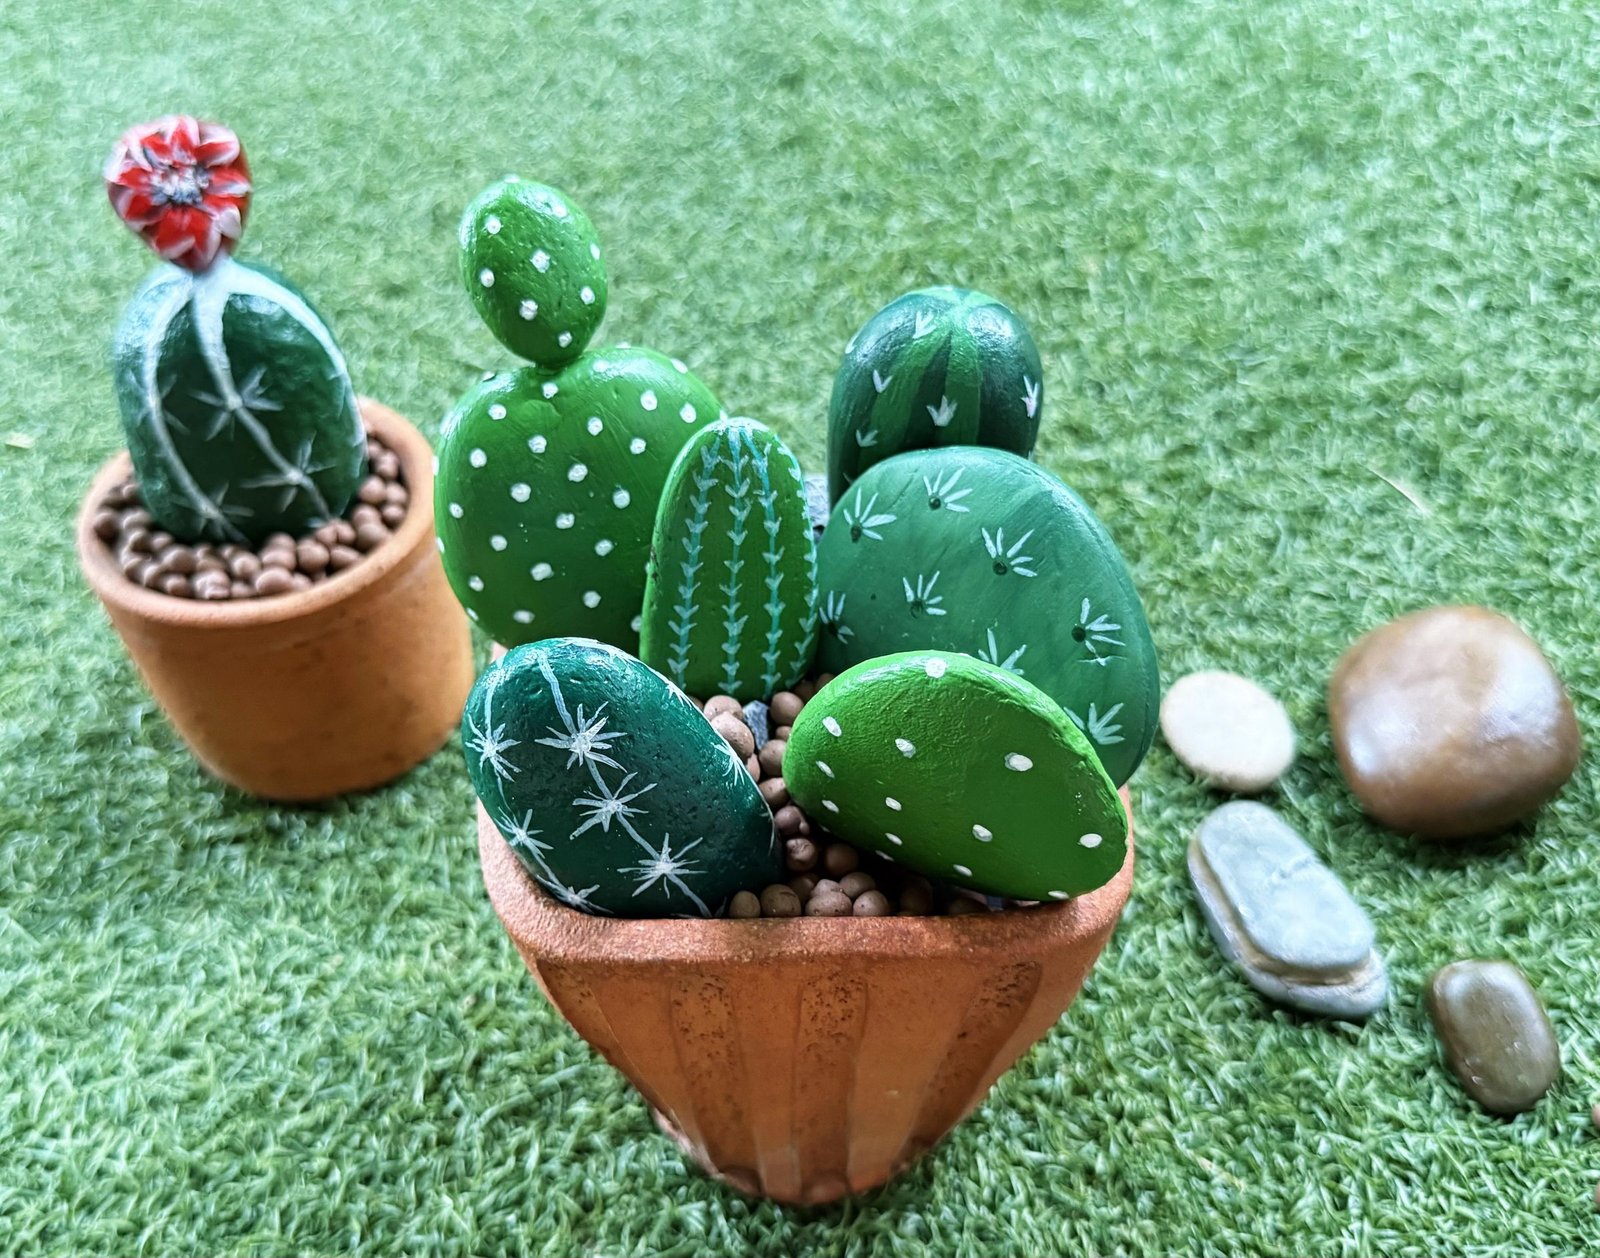
A flat green is enough, but subtle variation adds dimension. Try a darker green on one stone and a lighter one beside it, or divide a tall cactus into vertical bands. A second tone along the ridges can make a rounded rock appear fluted. Keep the pot coordinated or let it remain a simple frame for the brighter stones.
7. Add Spines, Lines, and Small Marks
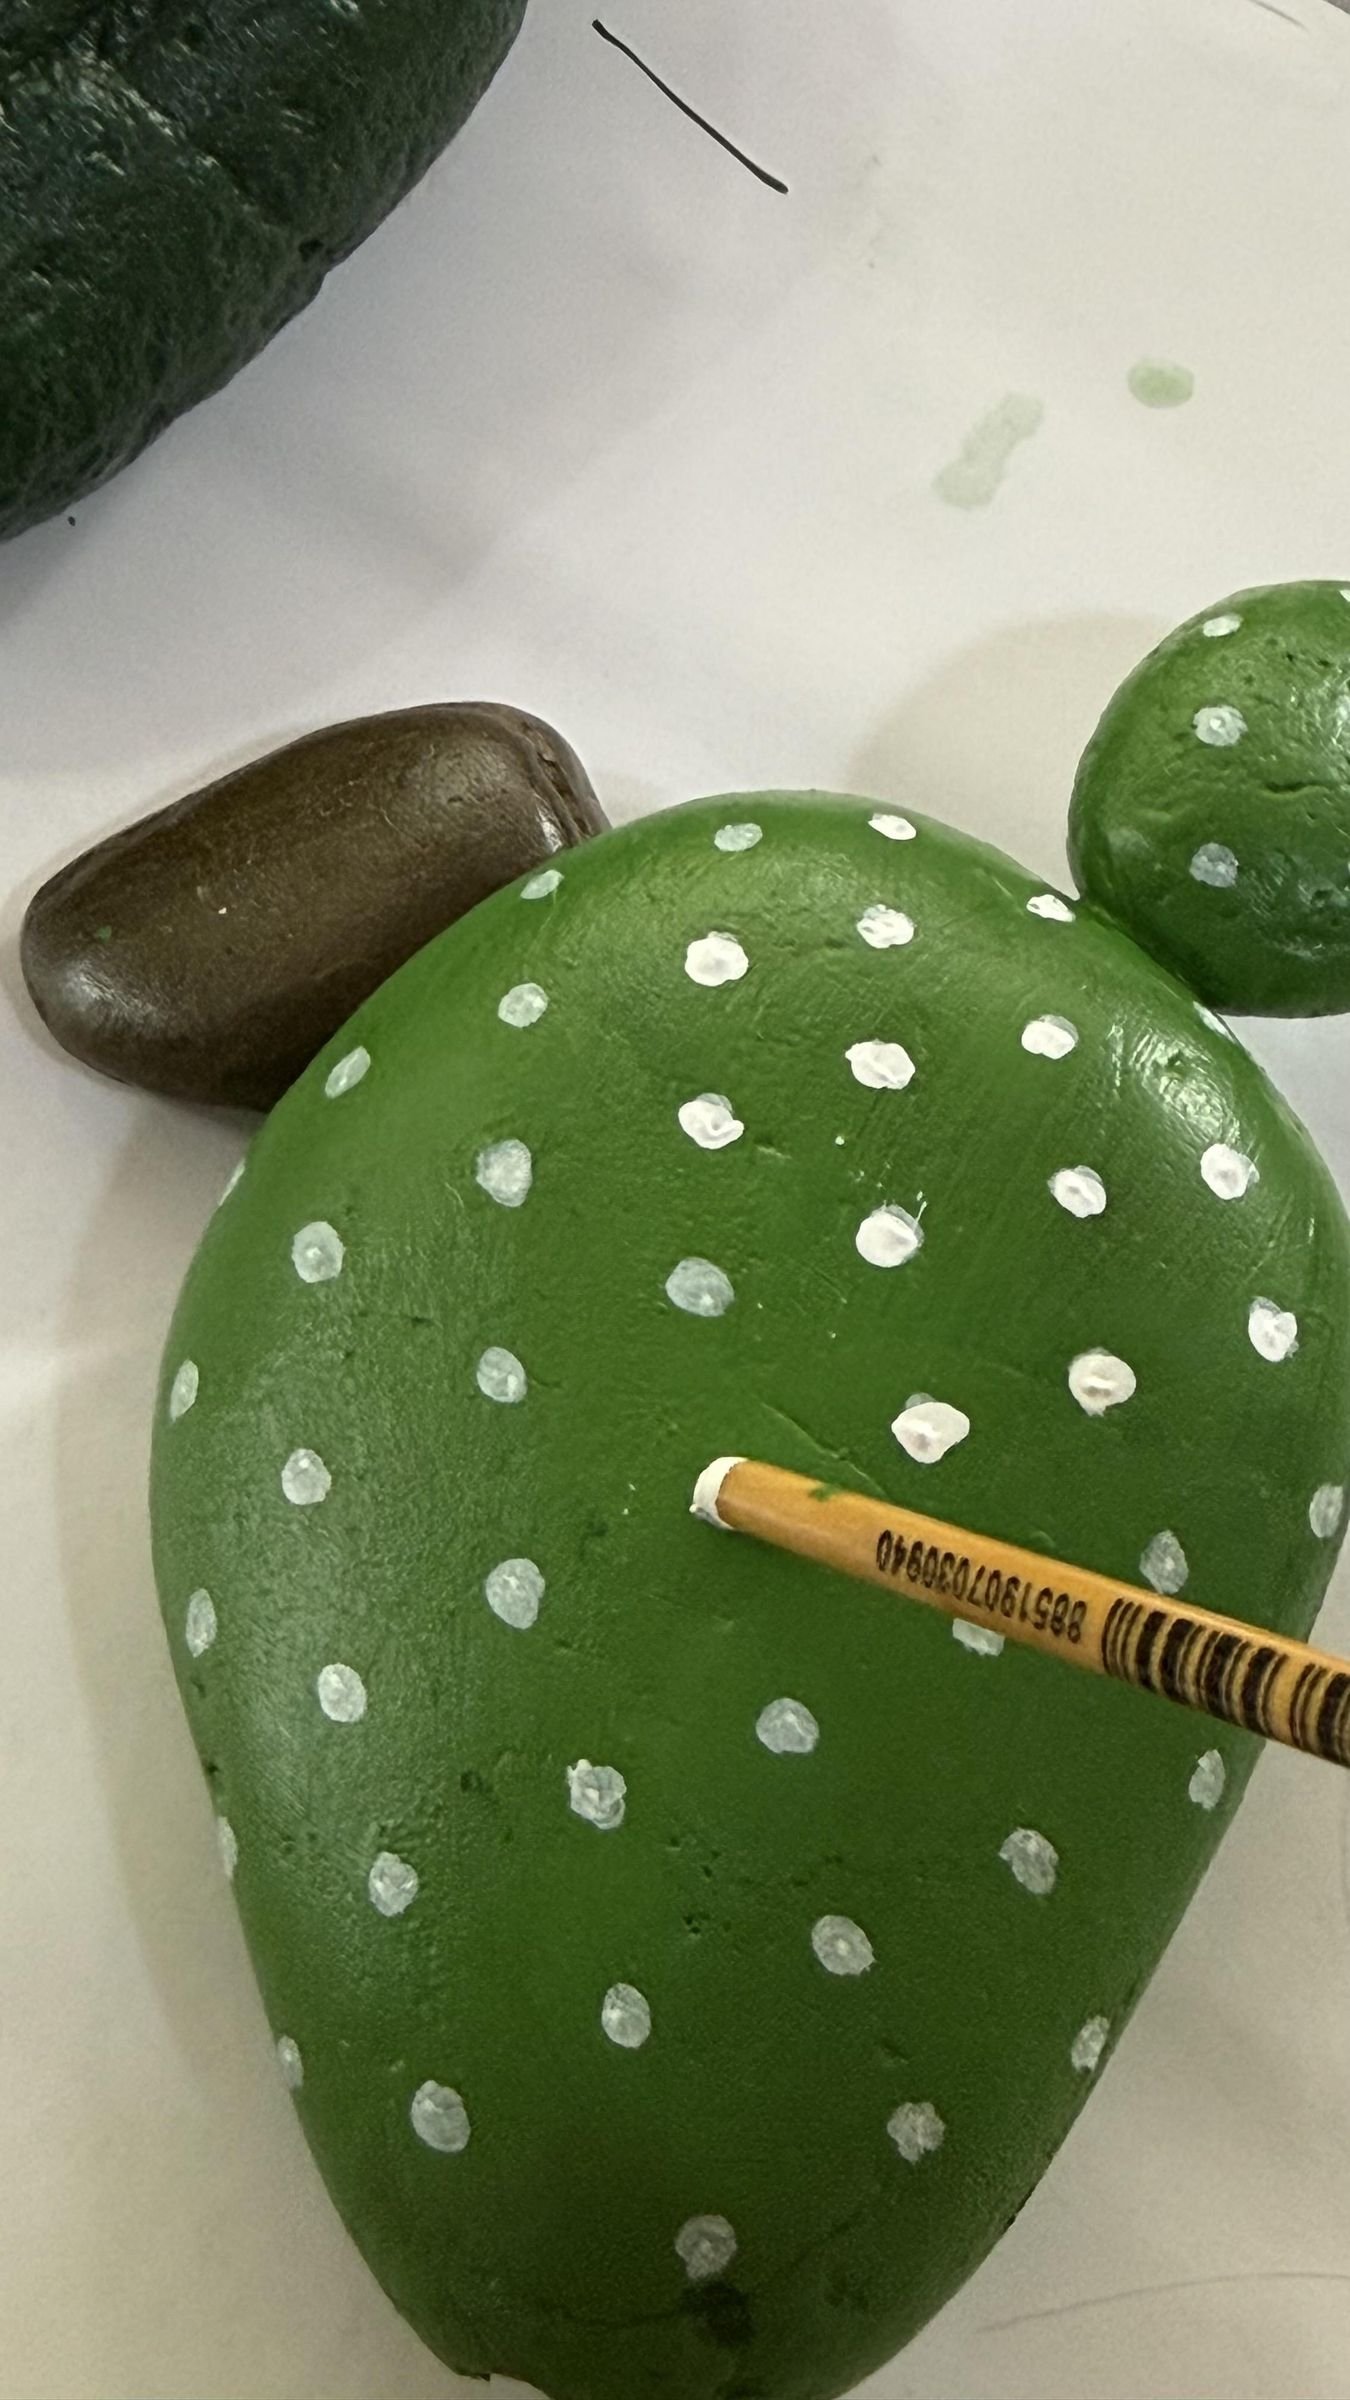
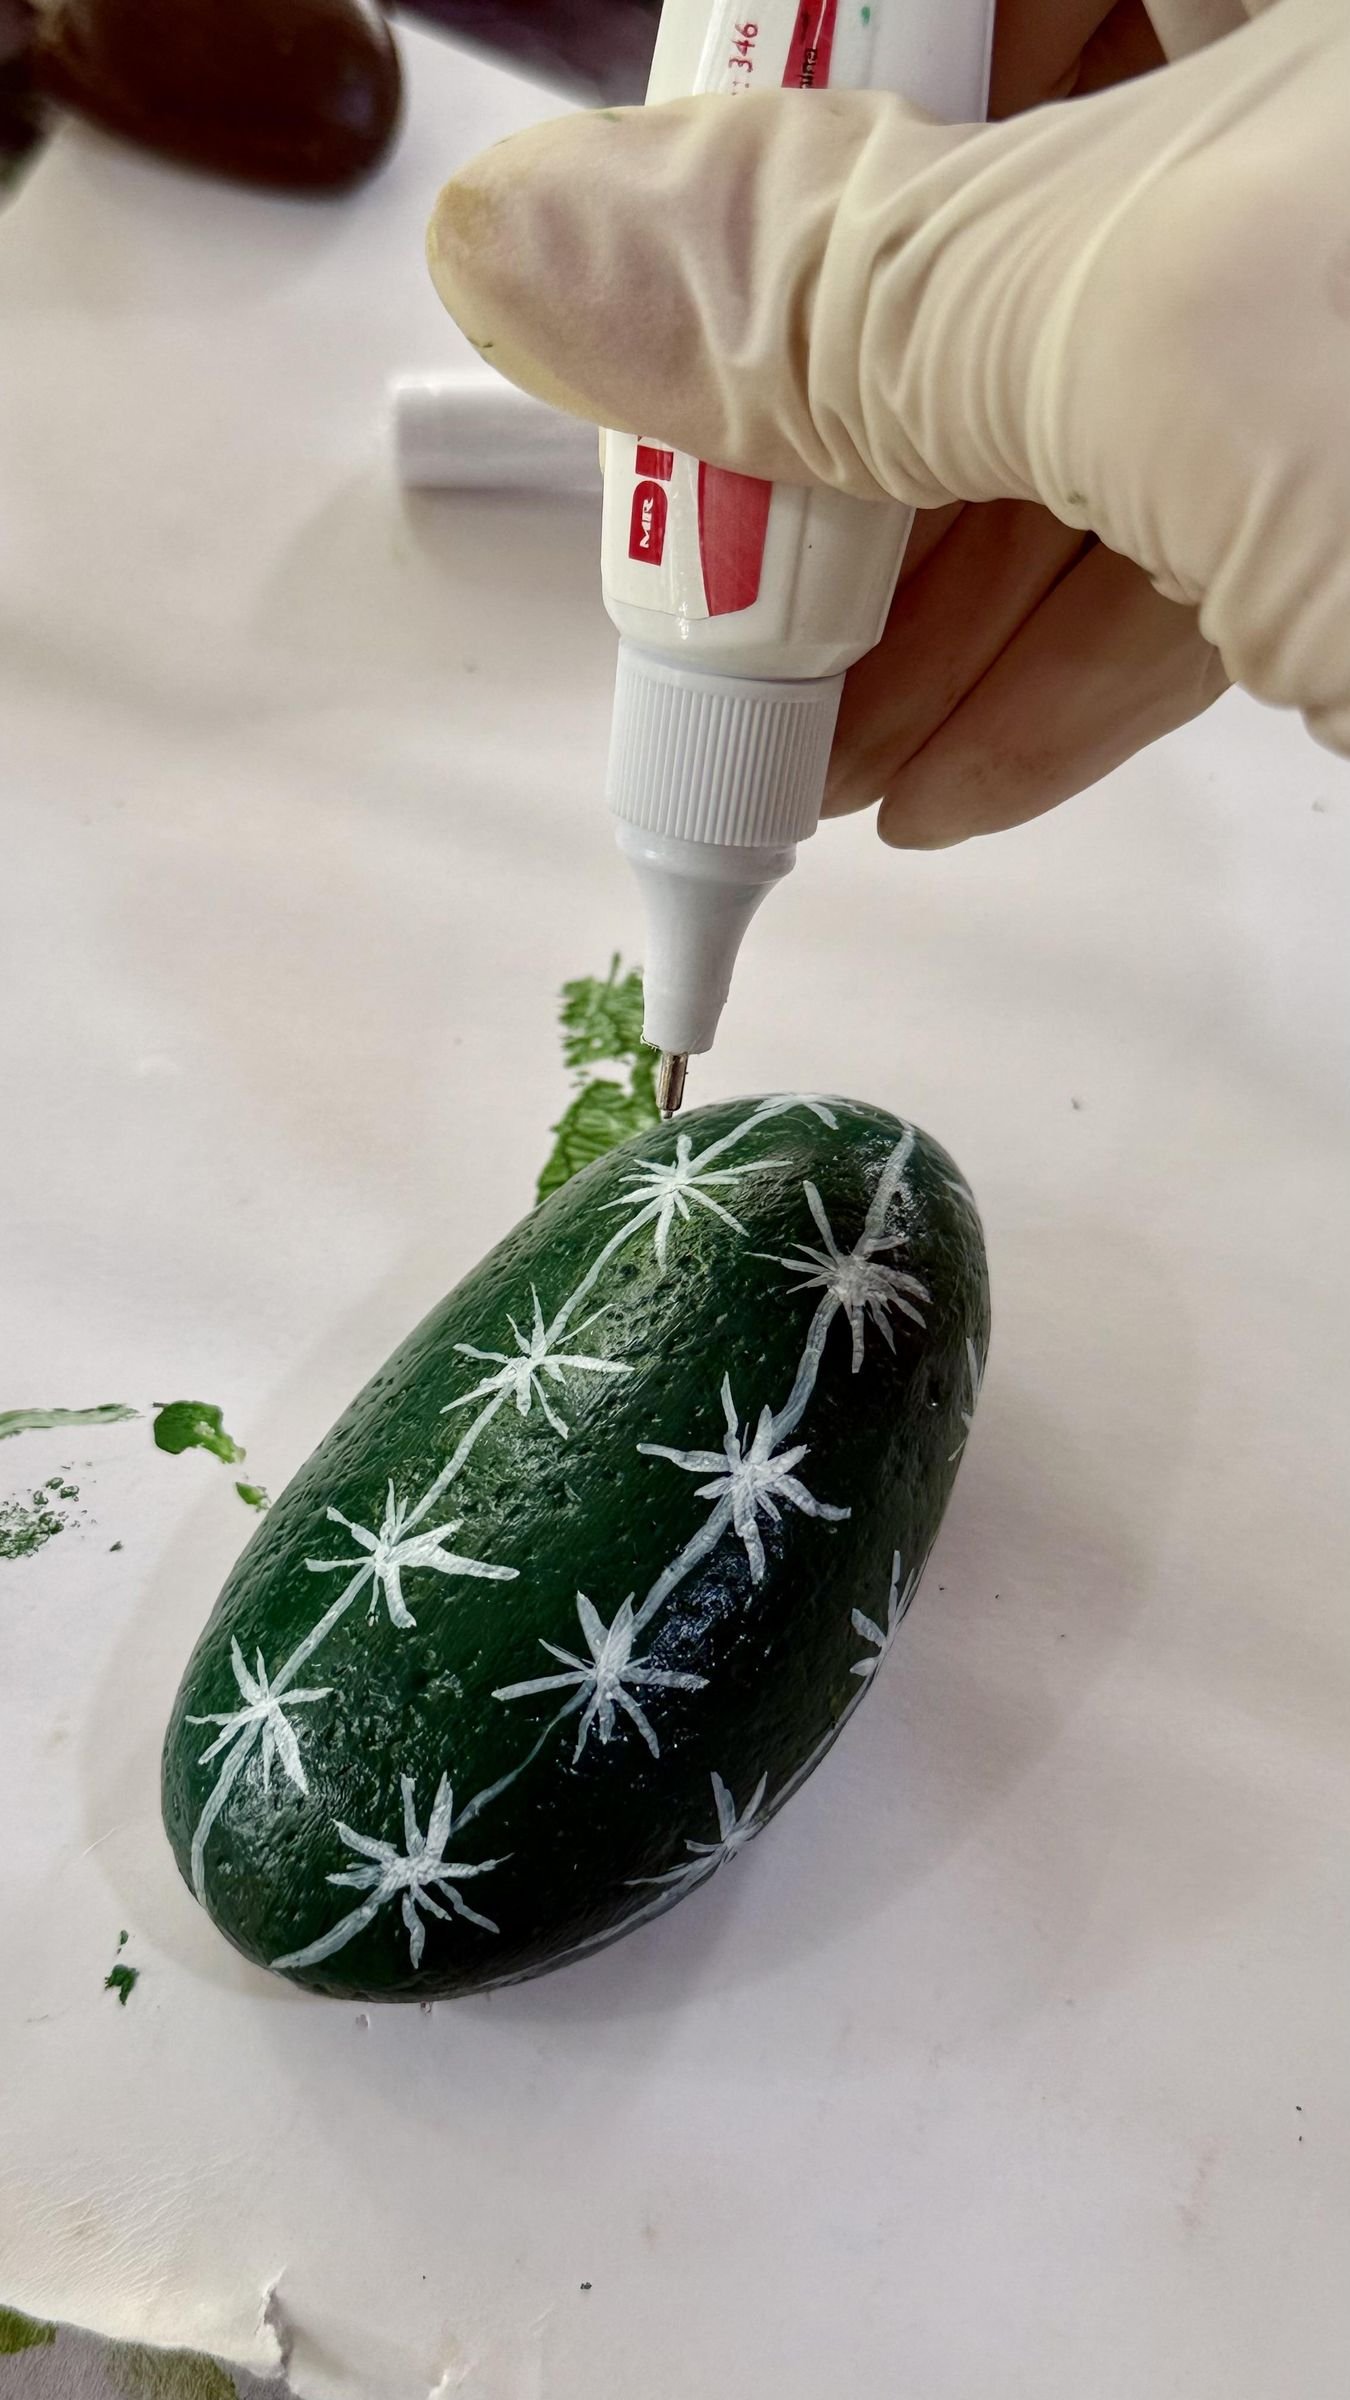
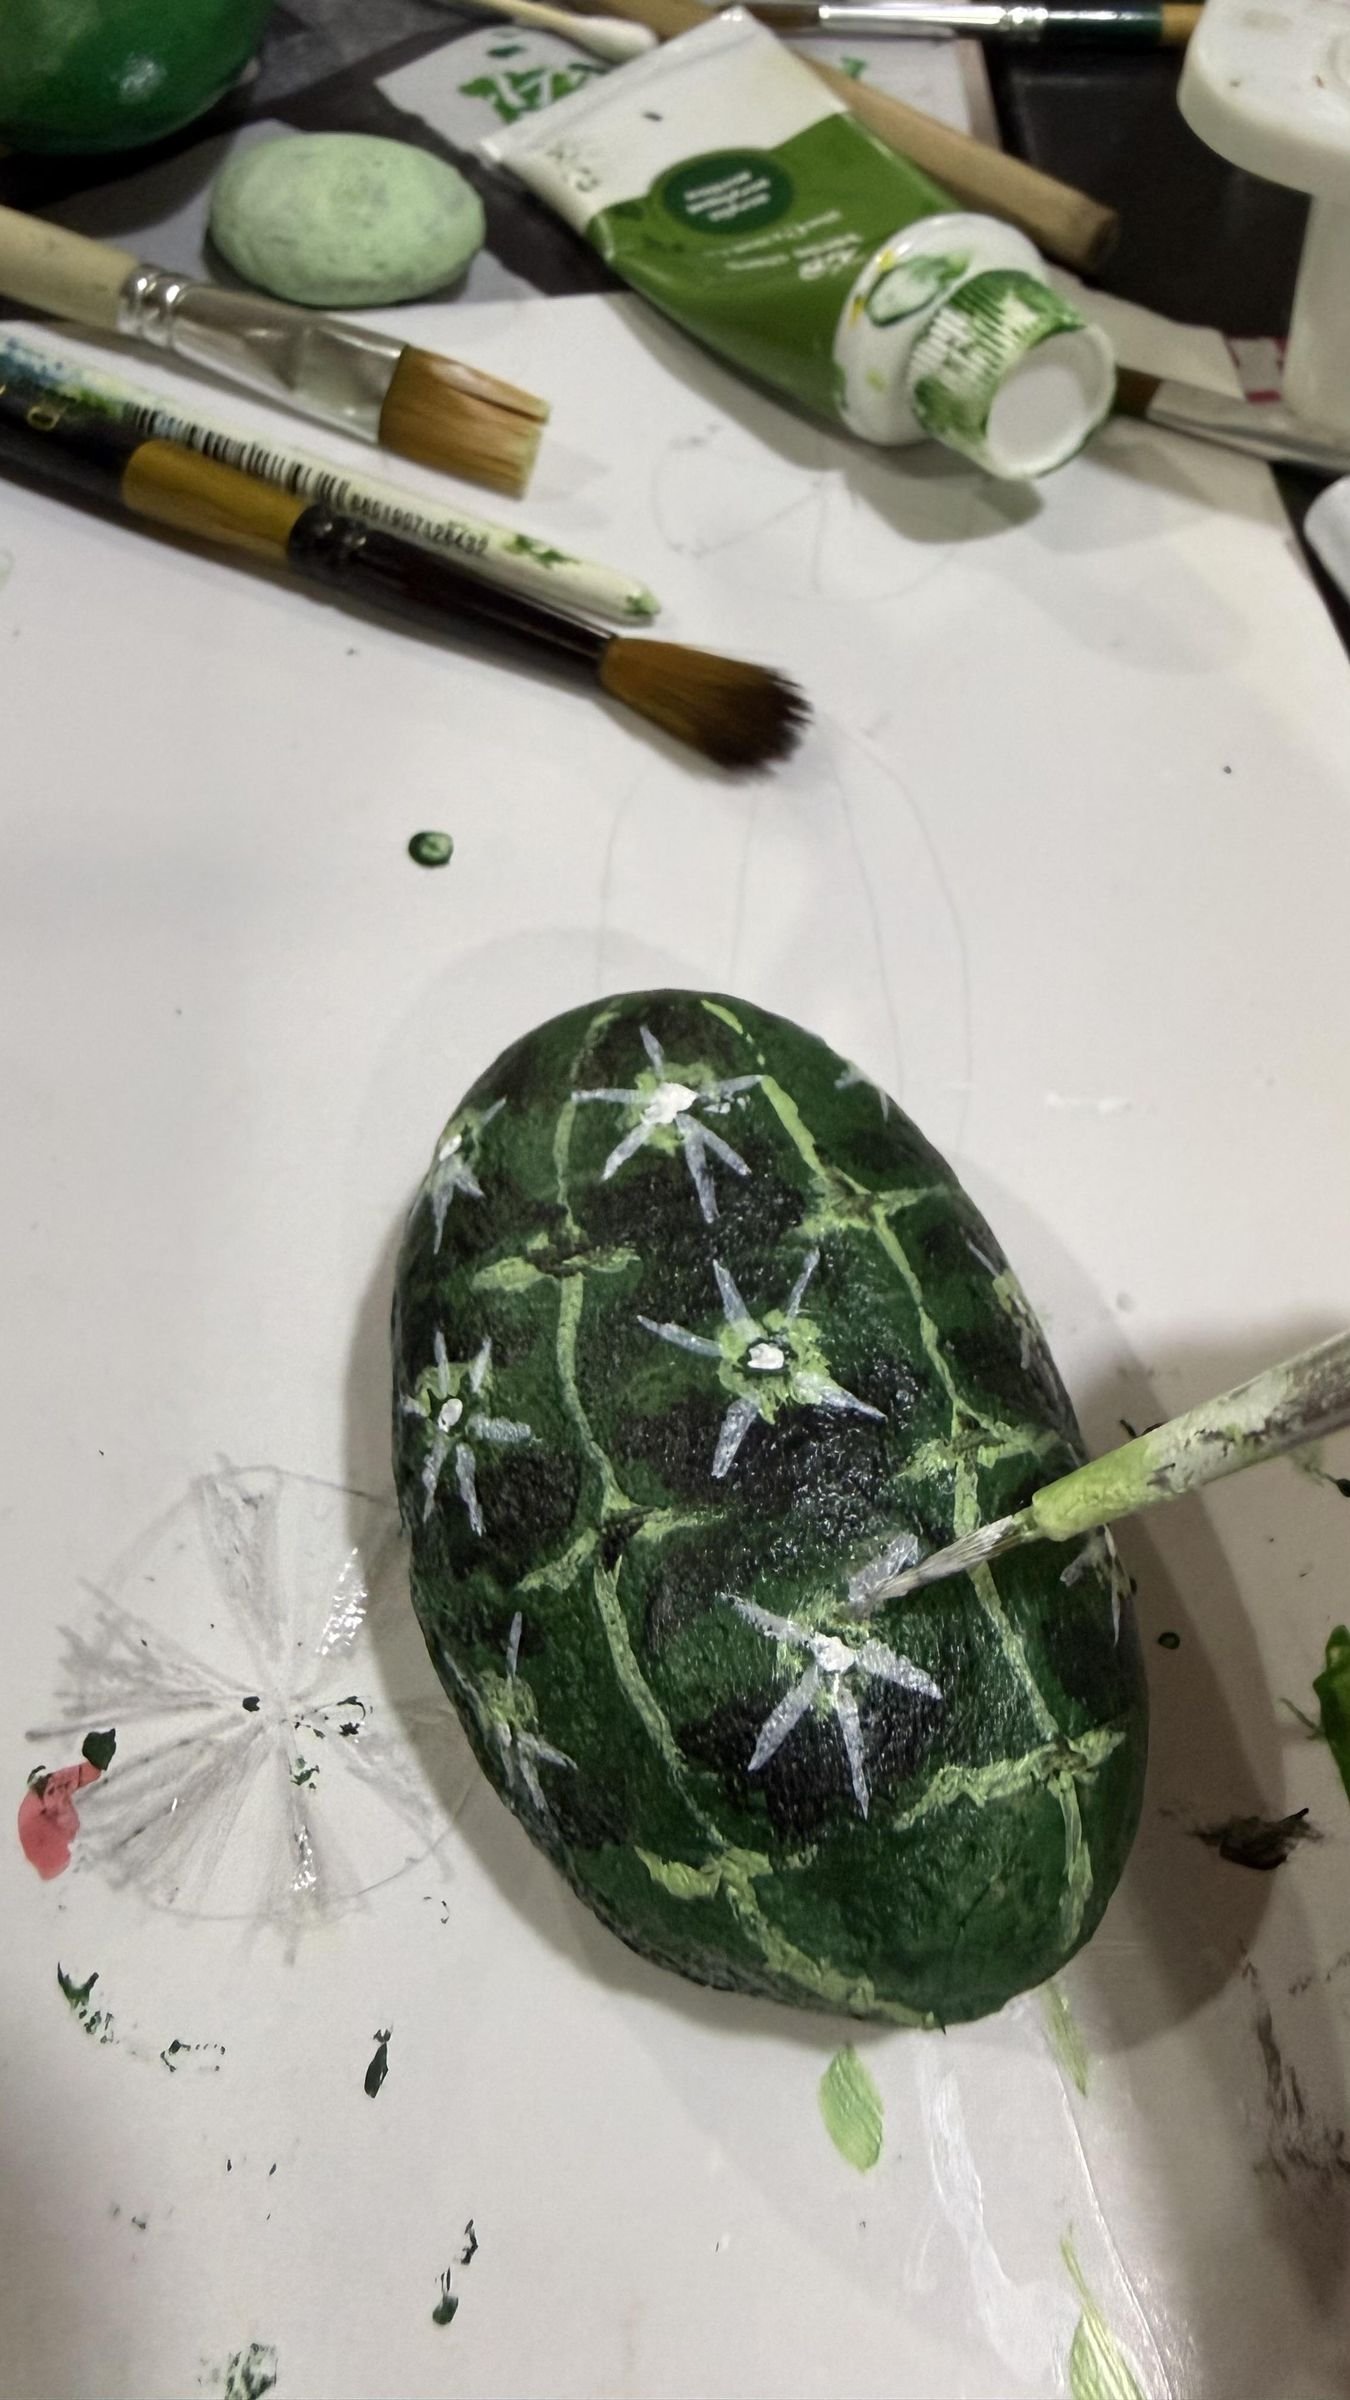
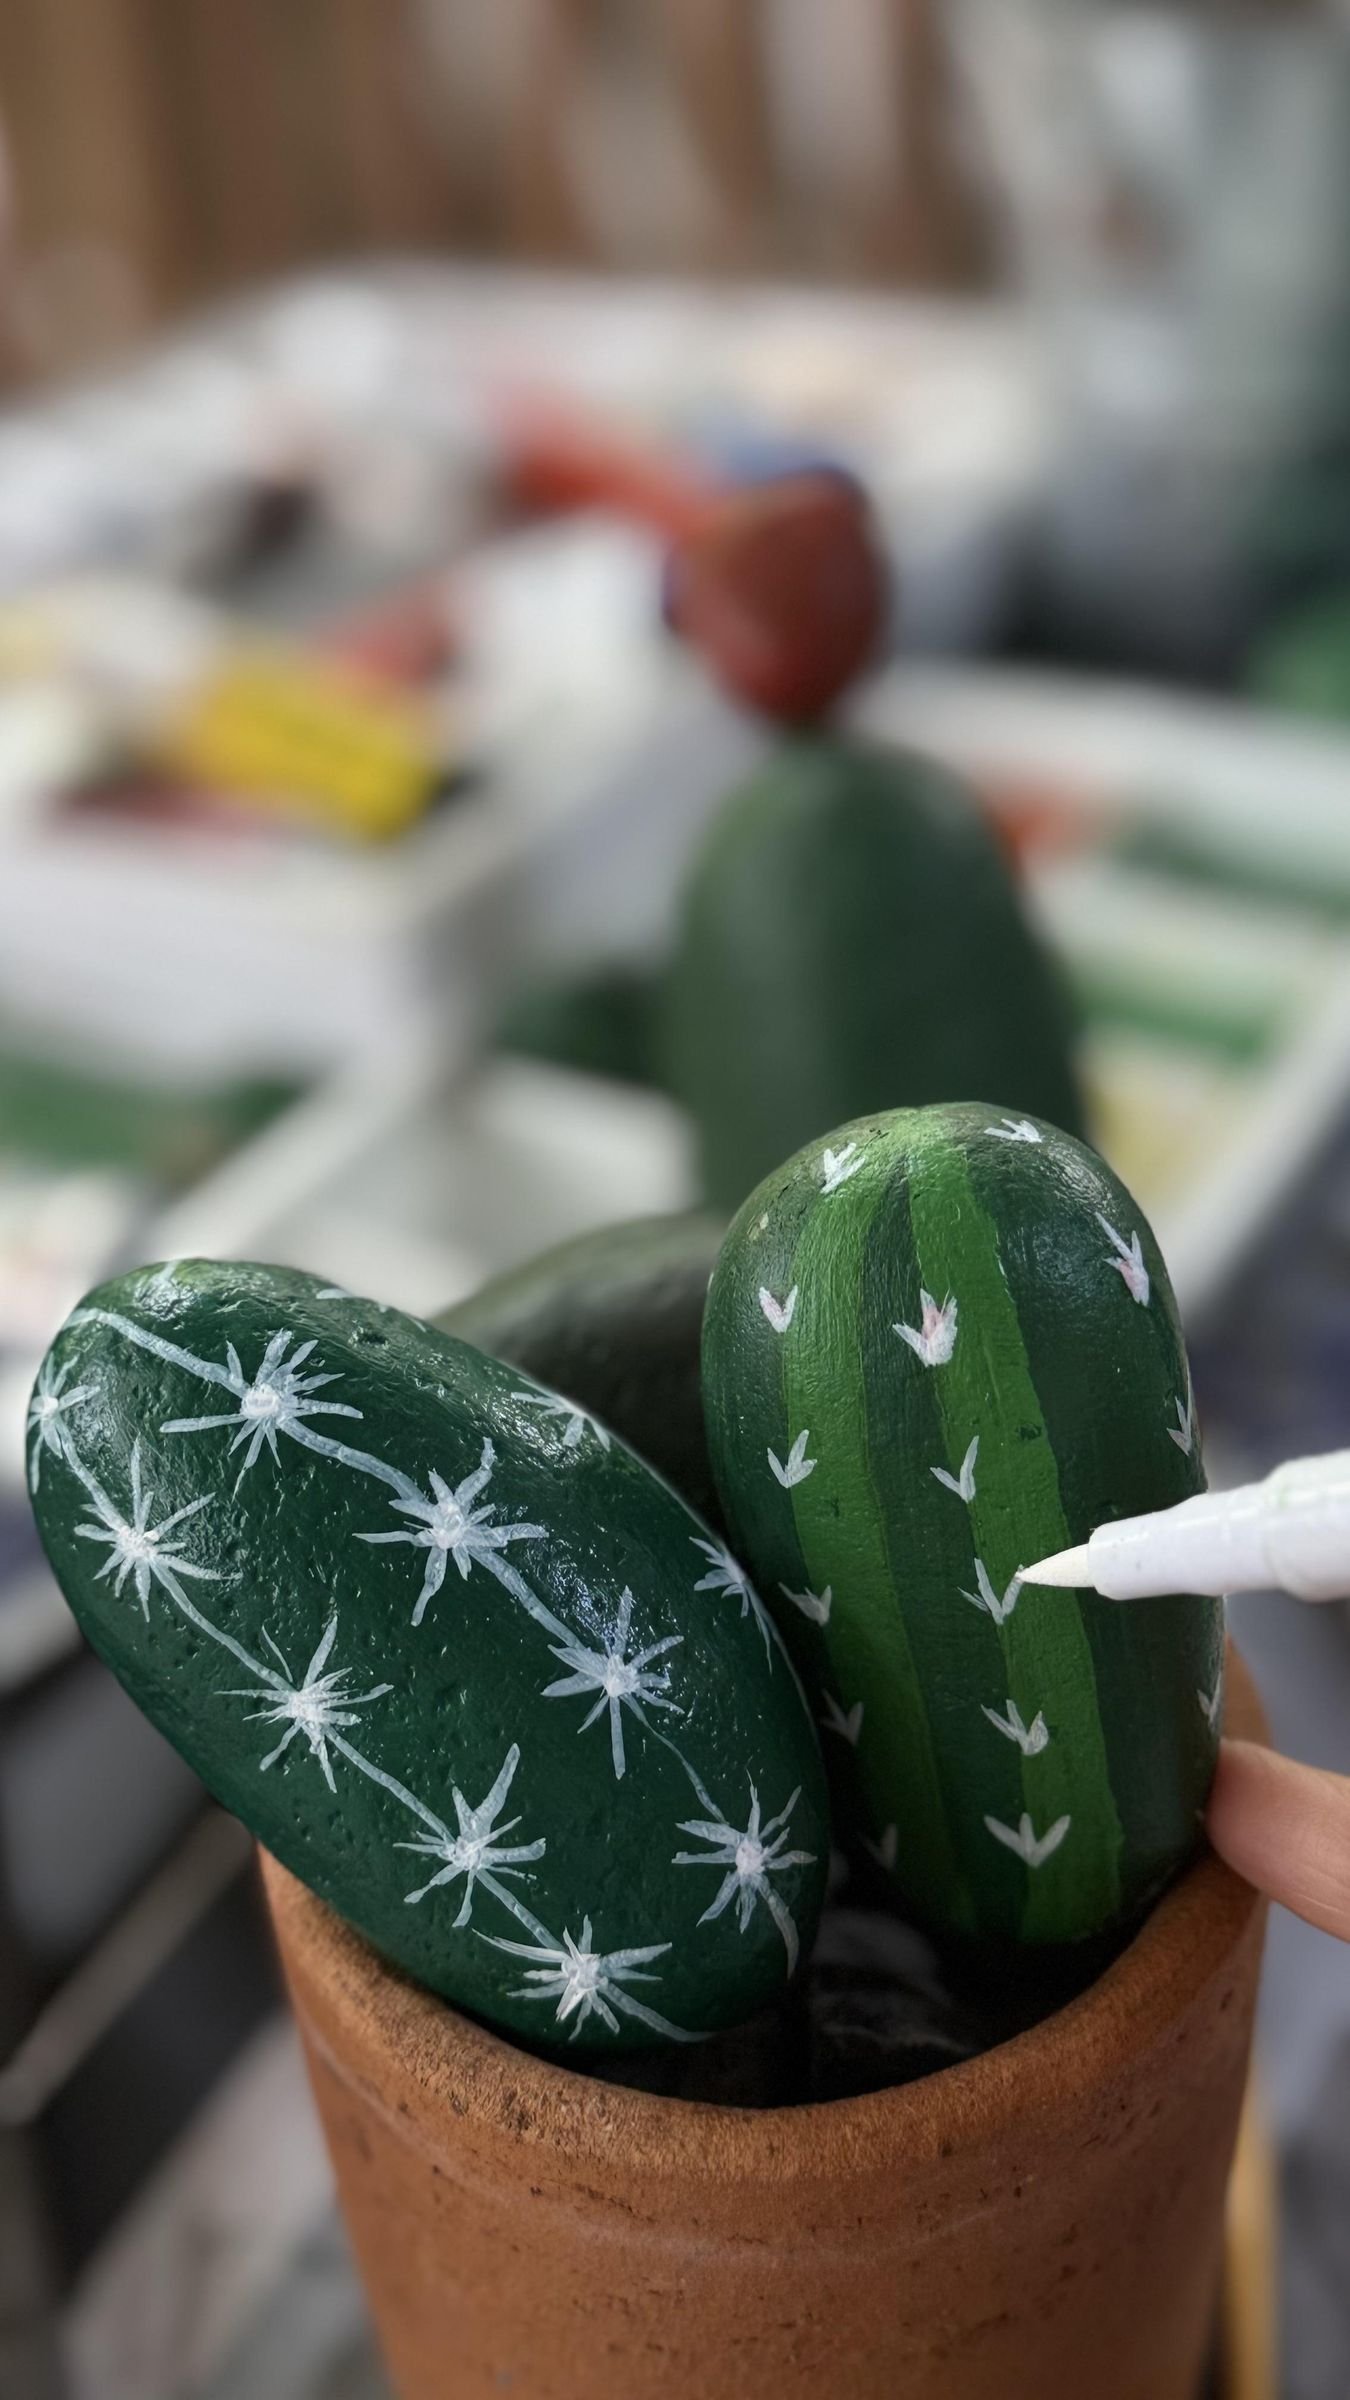
Use white acrylic paint, white-out, or a paint marker to create repeating cactus patterns. A tiny brush makes short lines and crossed spines; the reverse end of a paintbrush can stamp tidy dots.
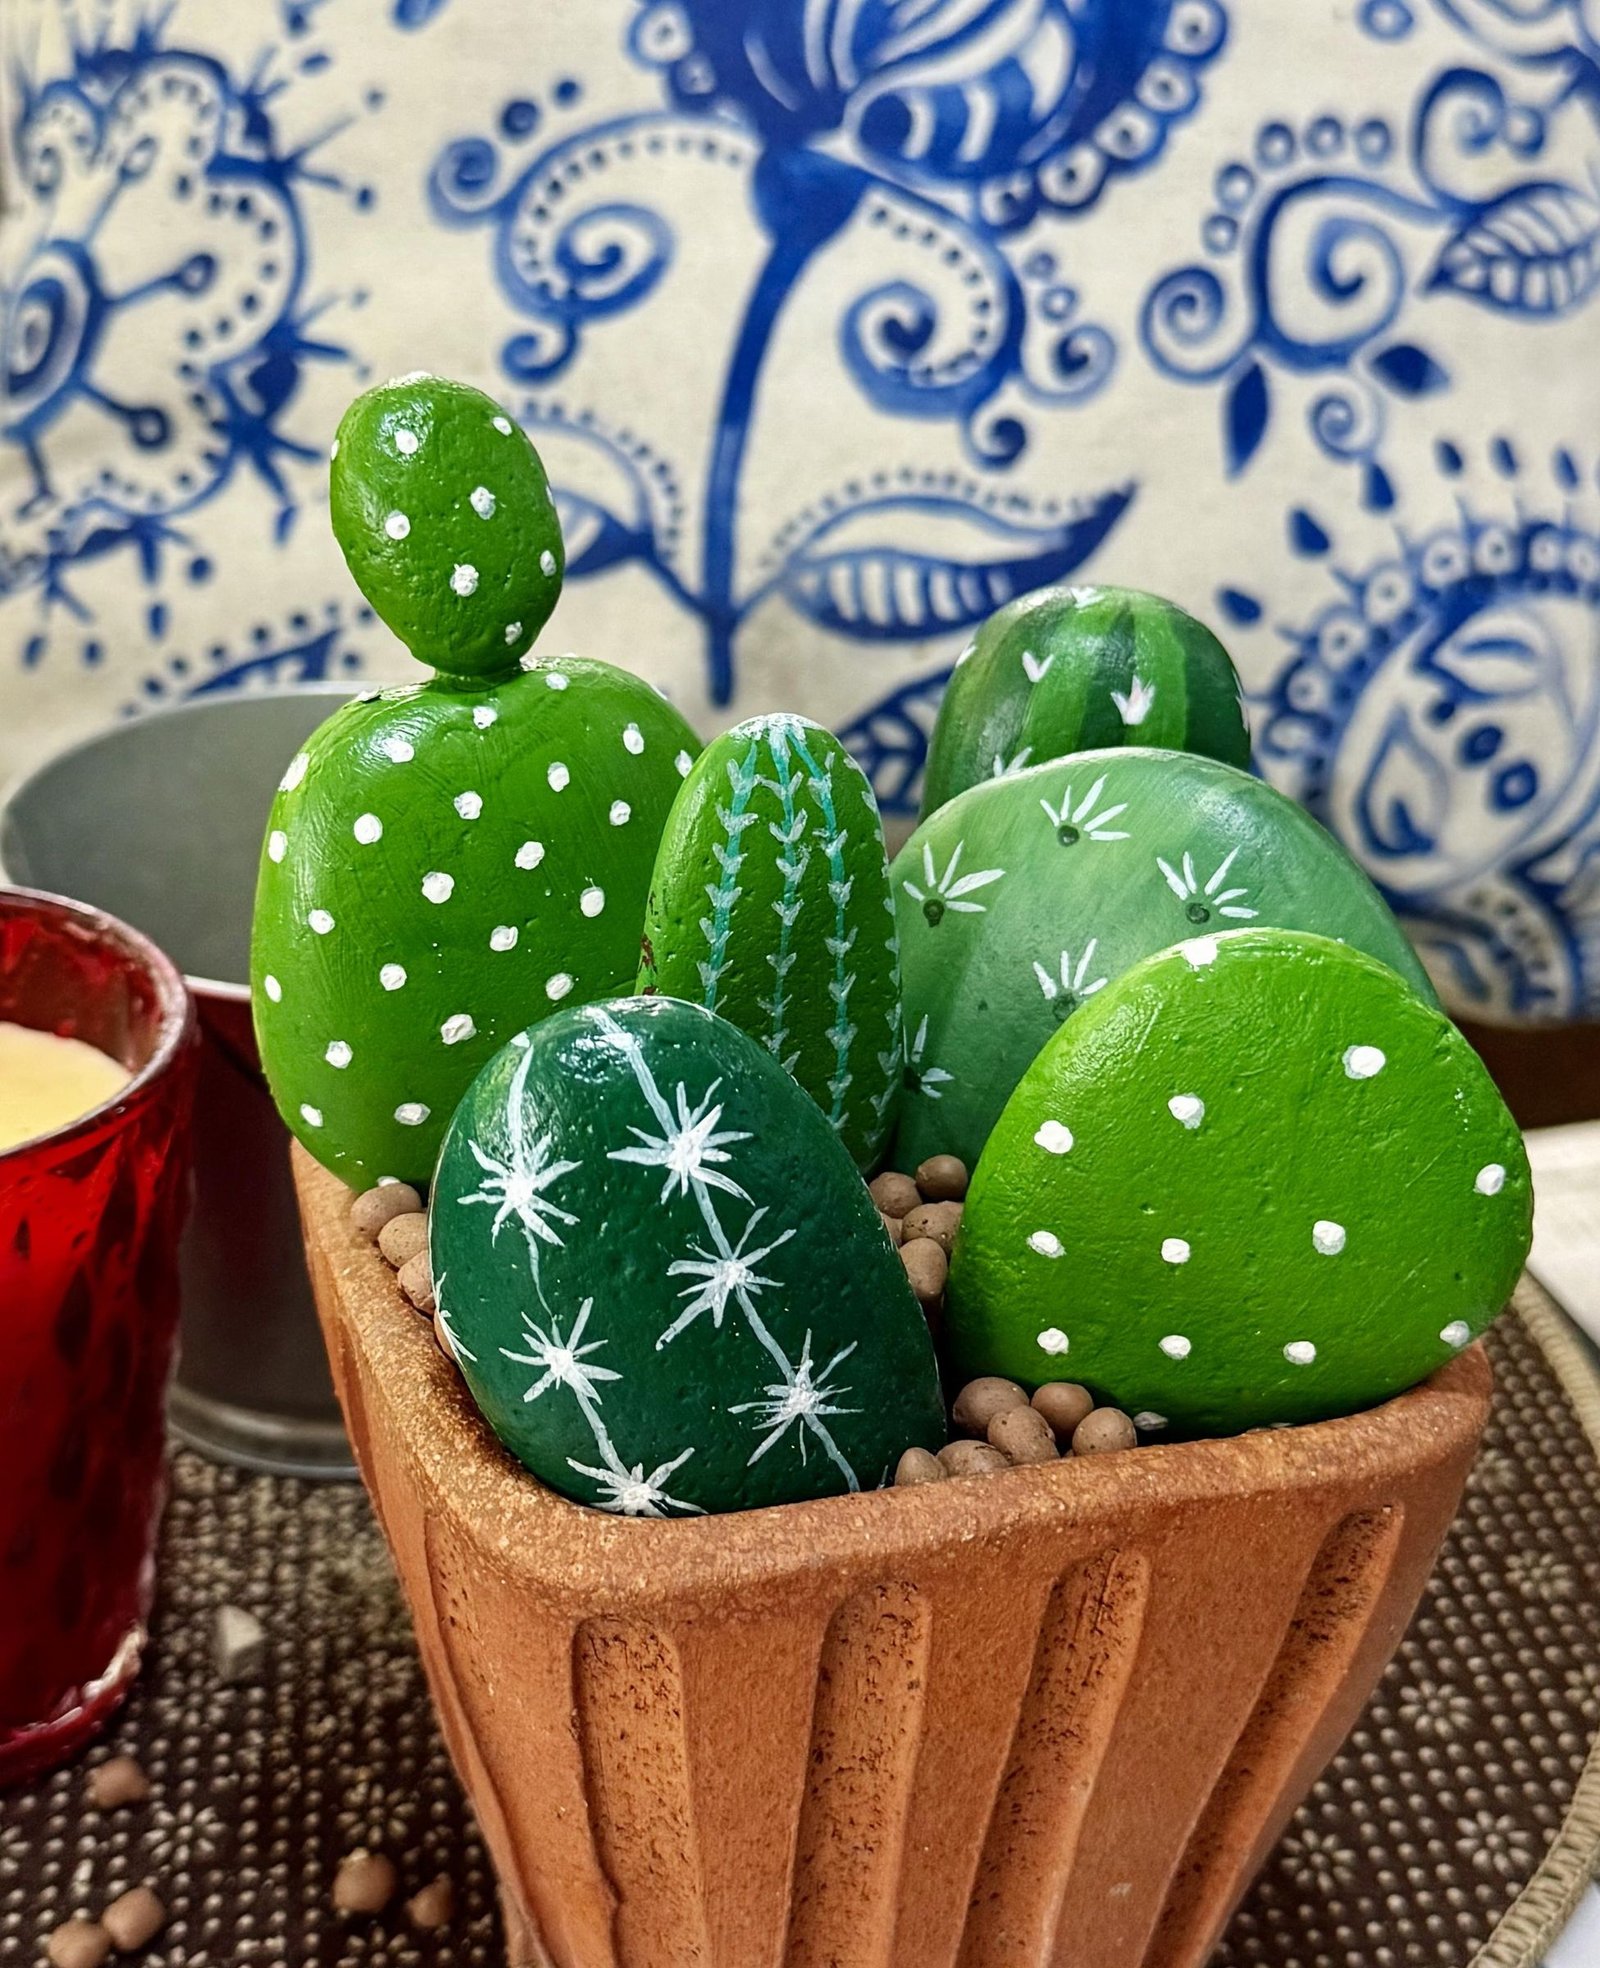
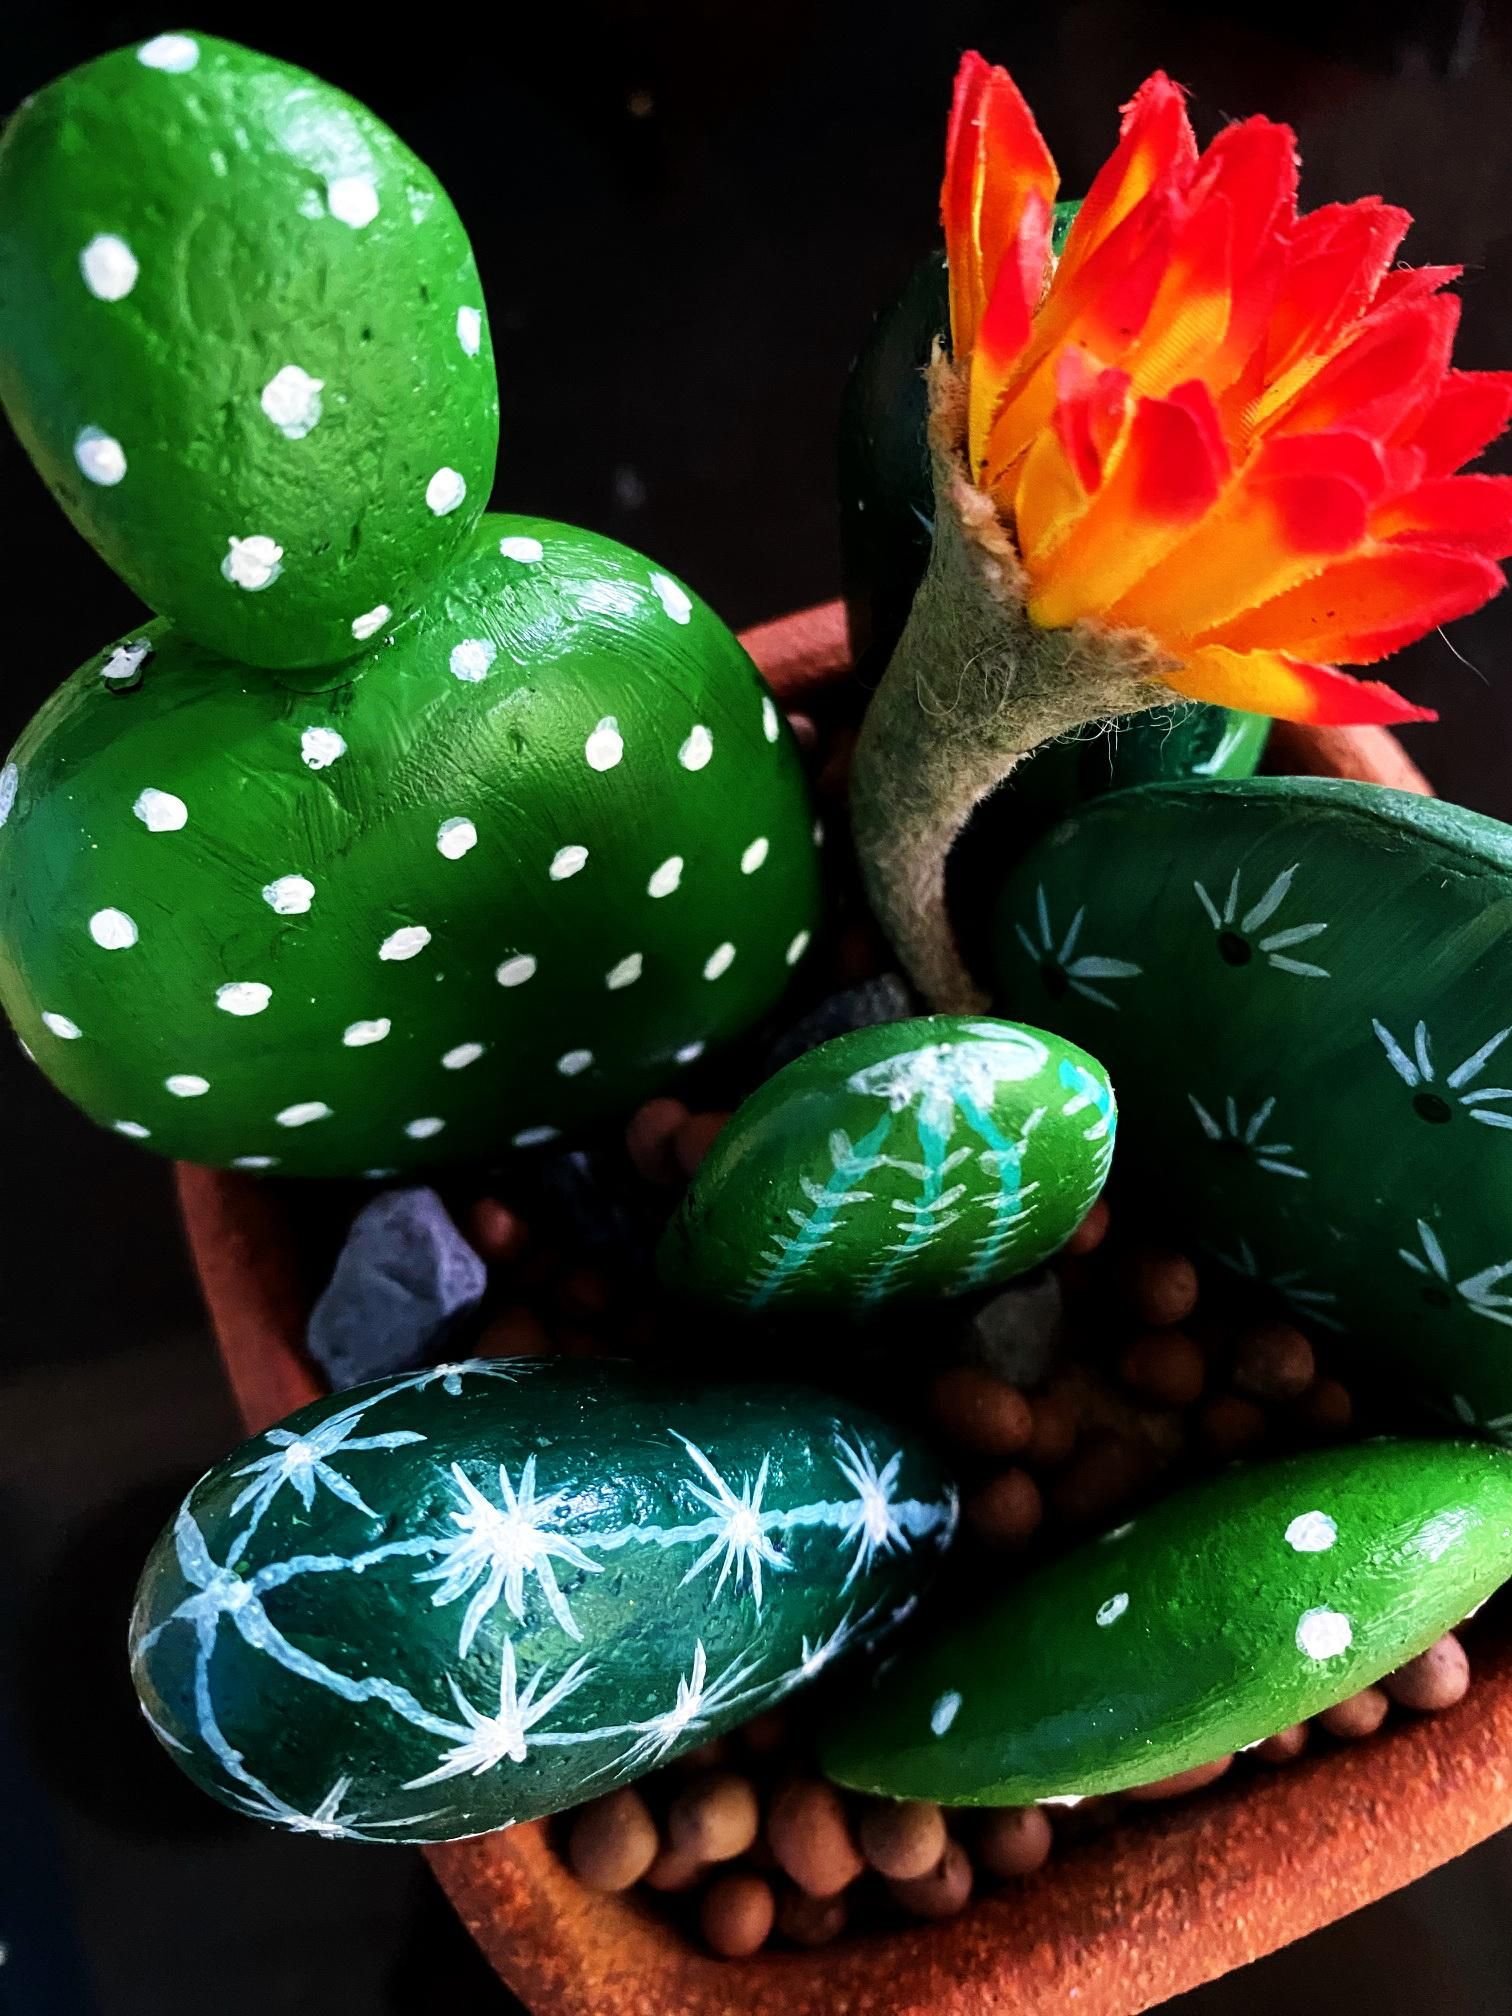
Vary the designs across the group. Give one cactus rows of dots, another vertical lines, and a third small crosses. Let each stone’s shape guide the marks, leaving enough green visible between them. Work in stages and rotate a rock only after the painted side has dried.
8. Add Optional Flowers
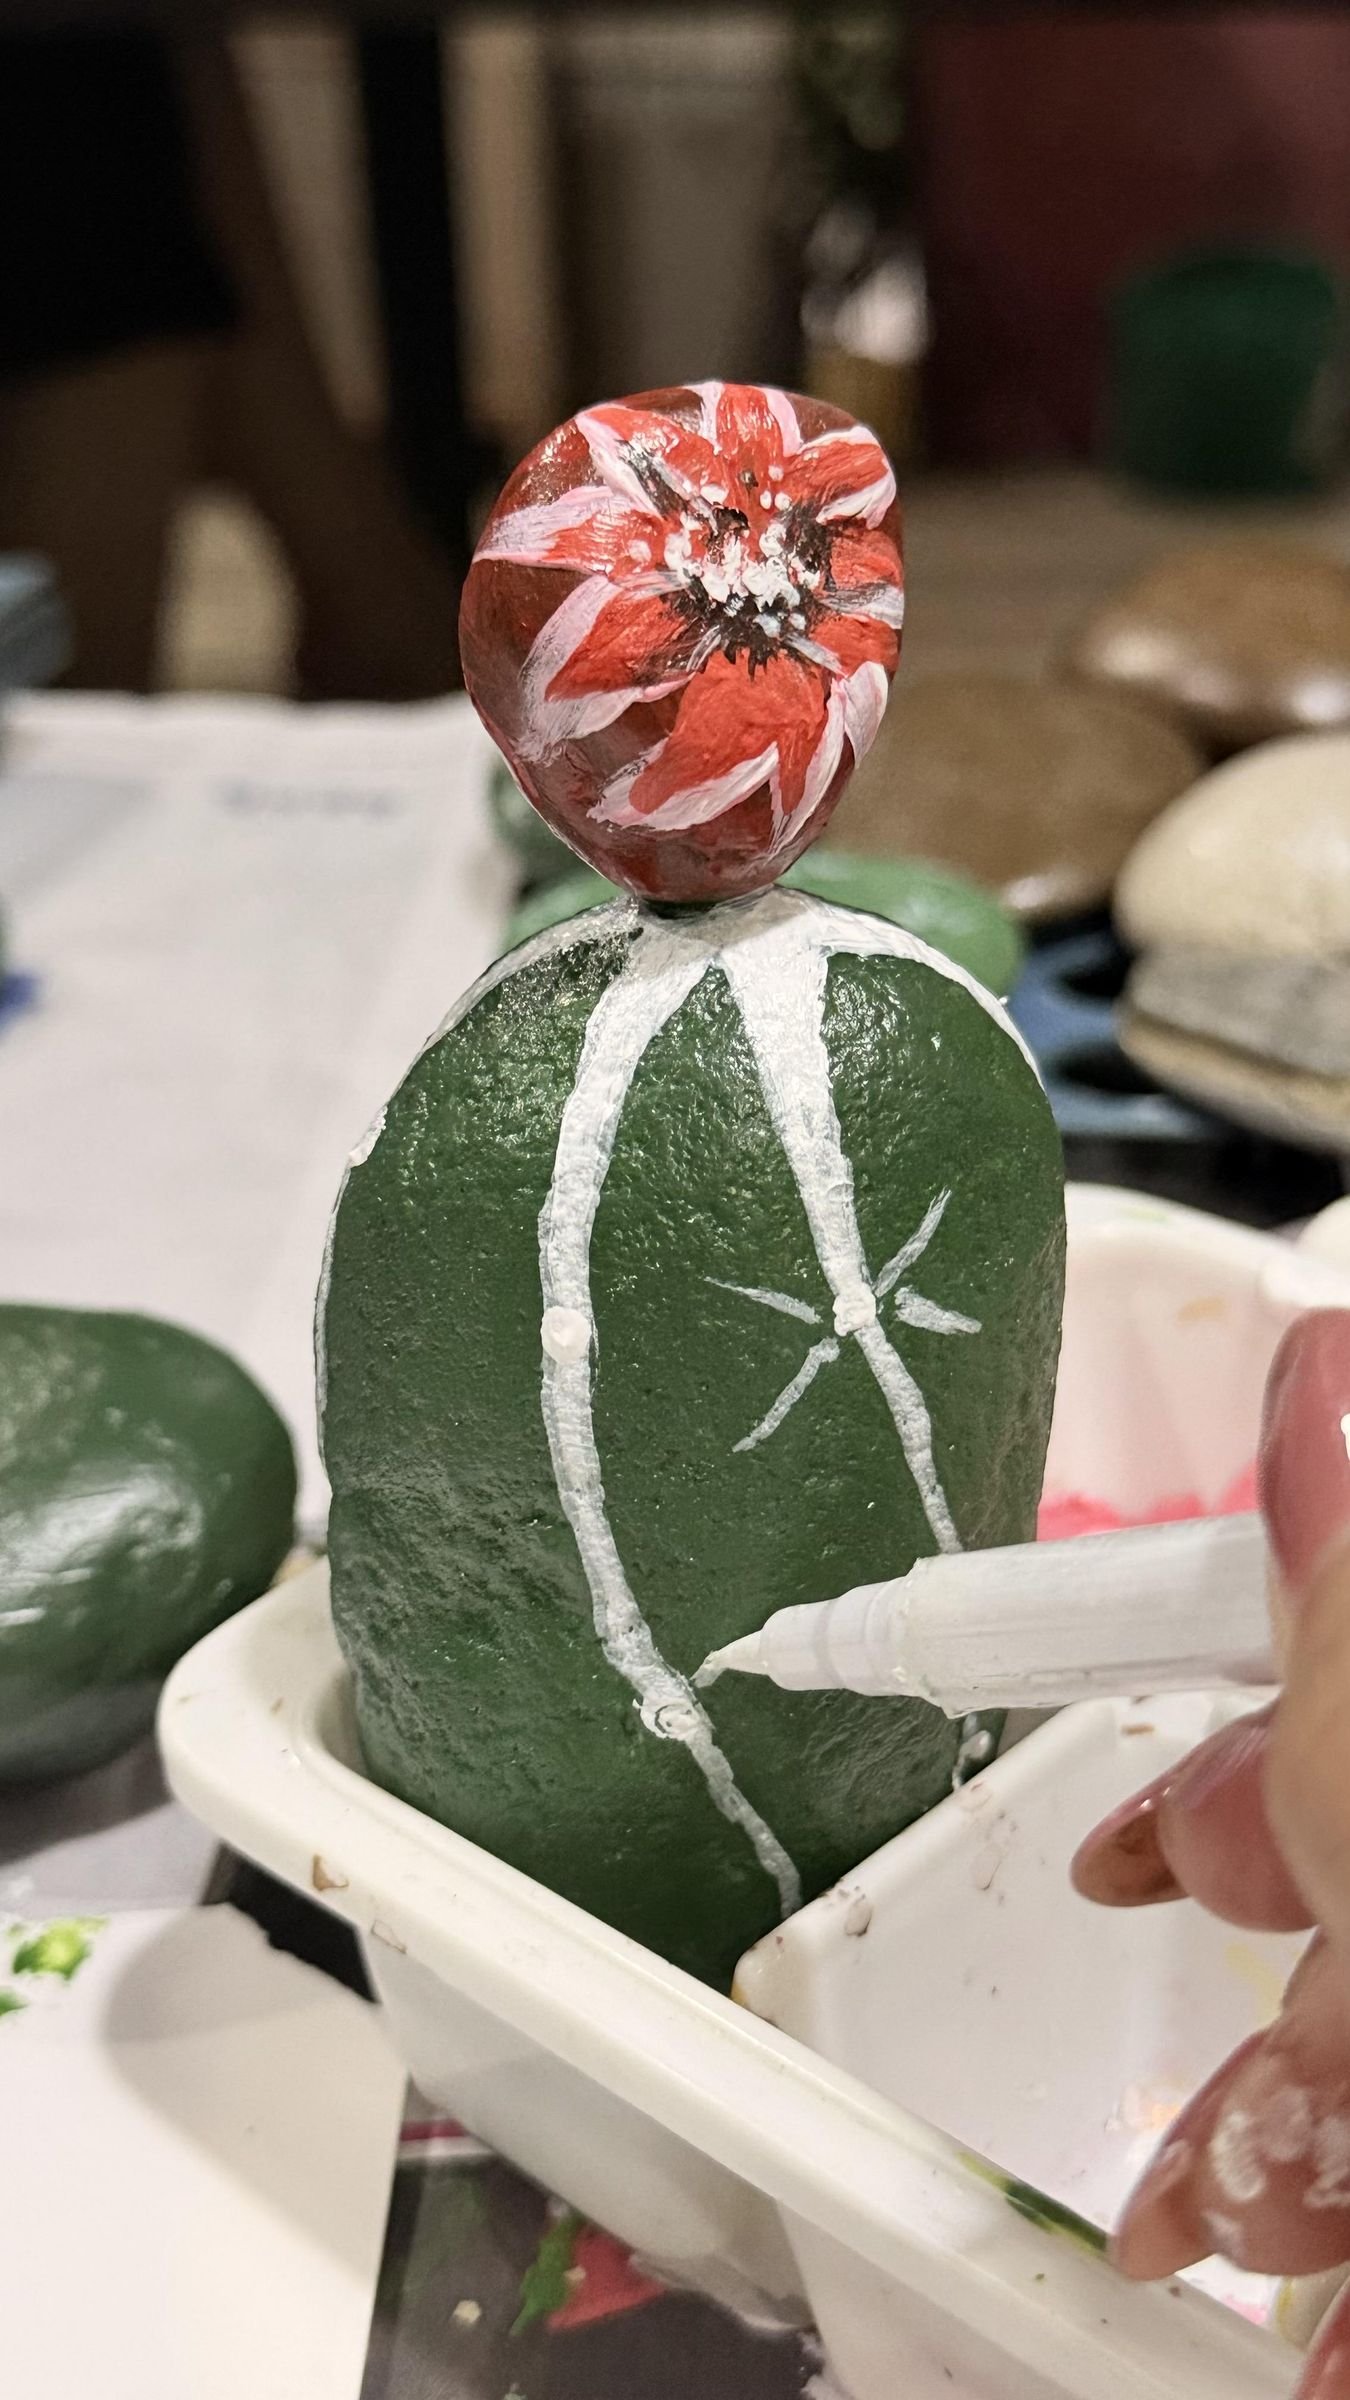
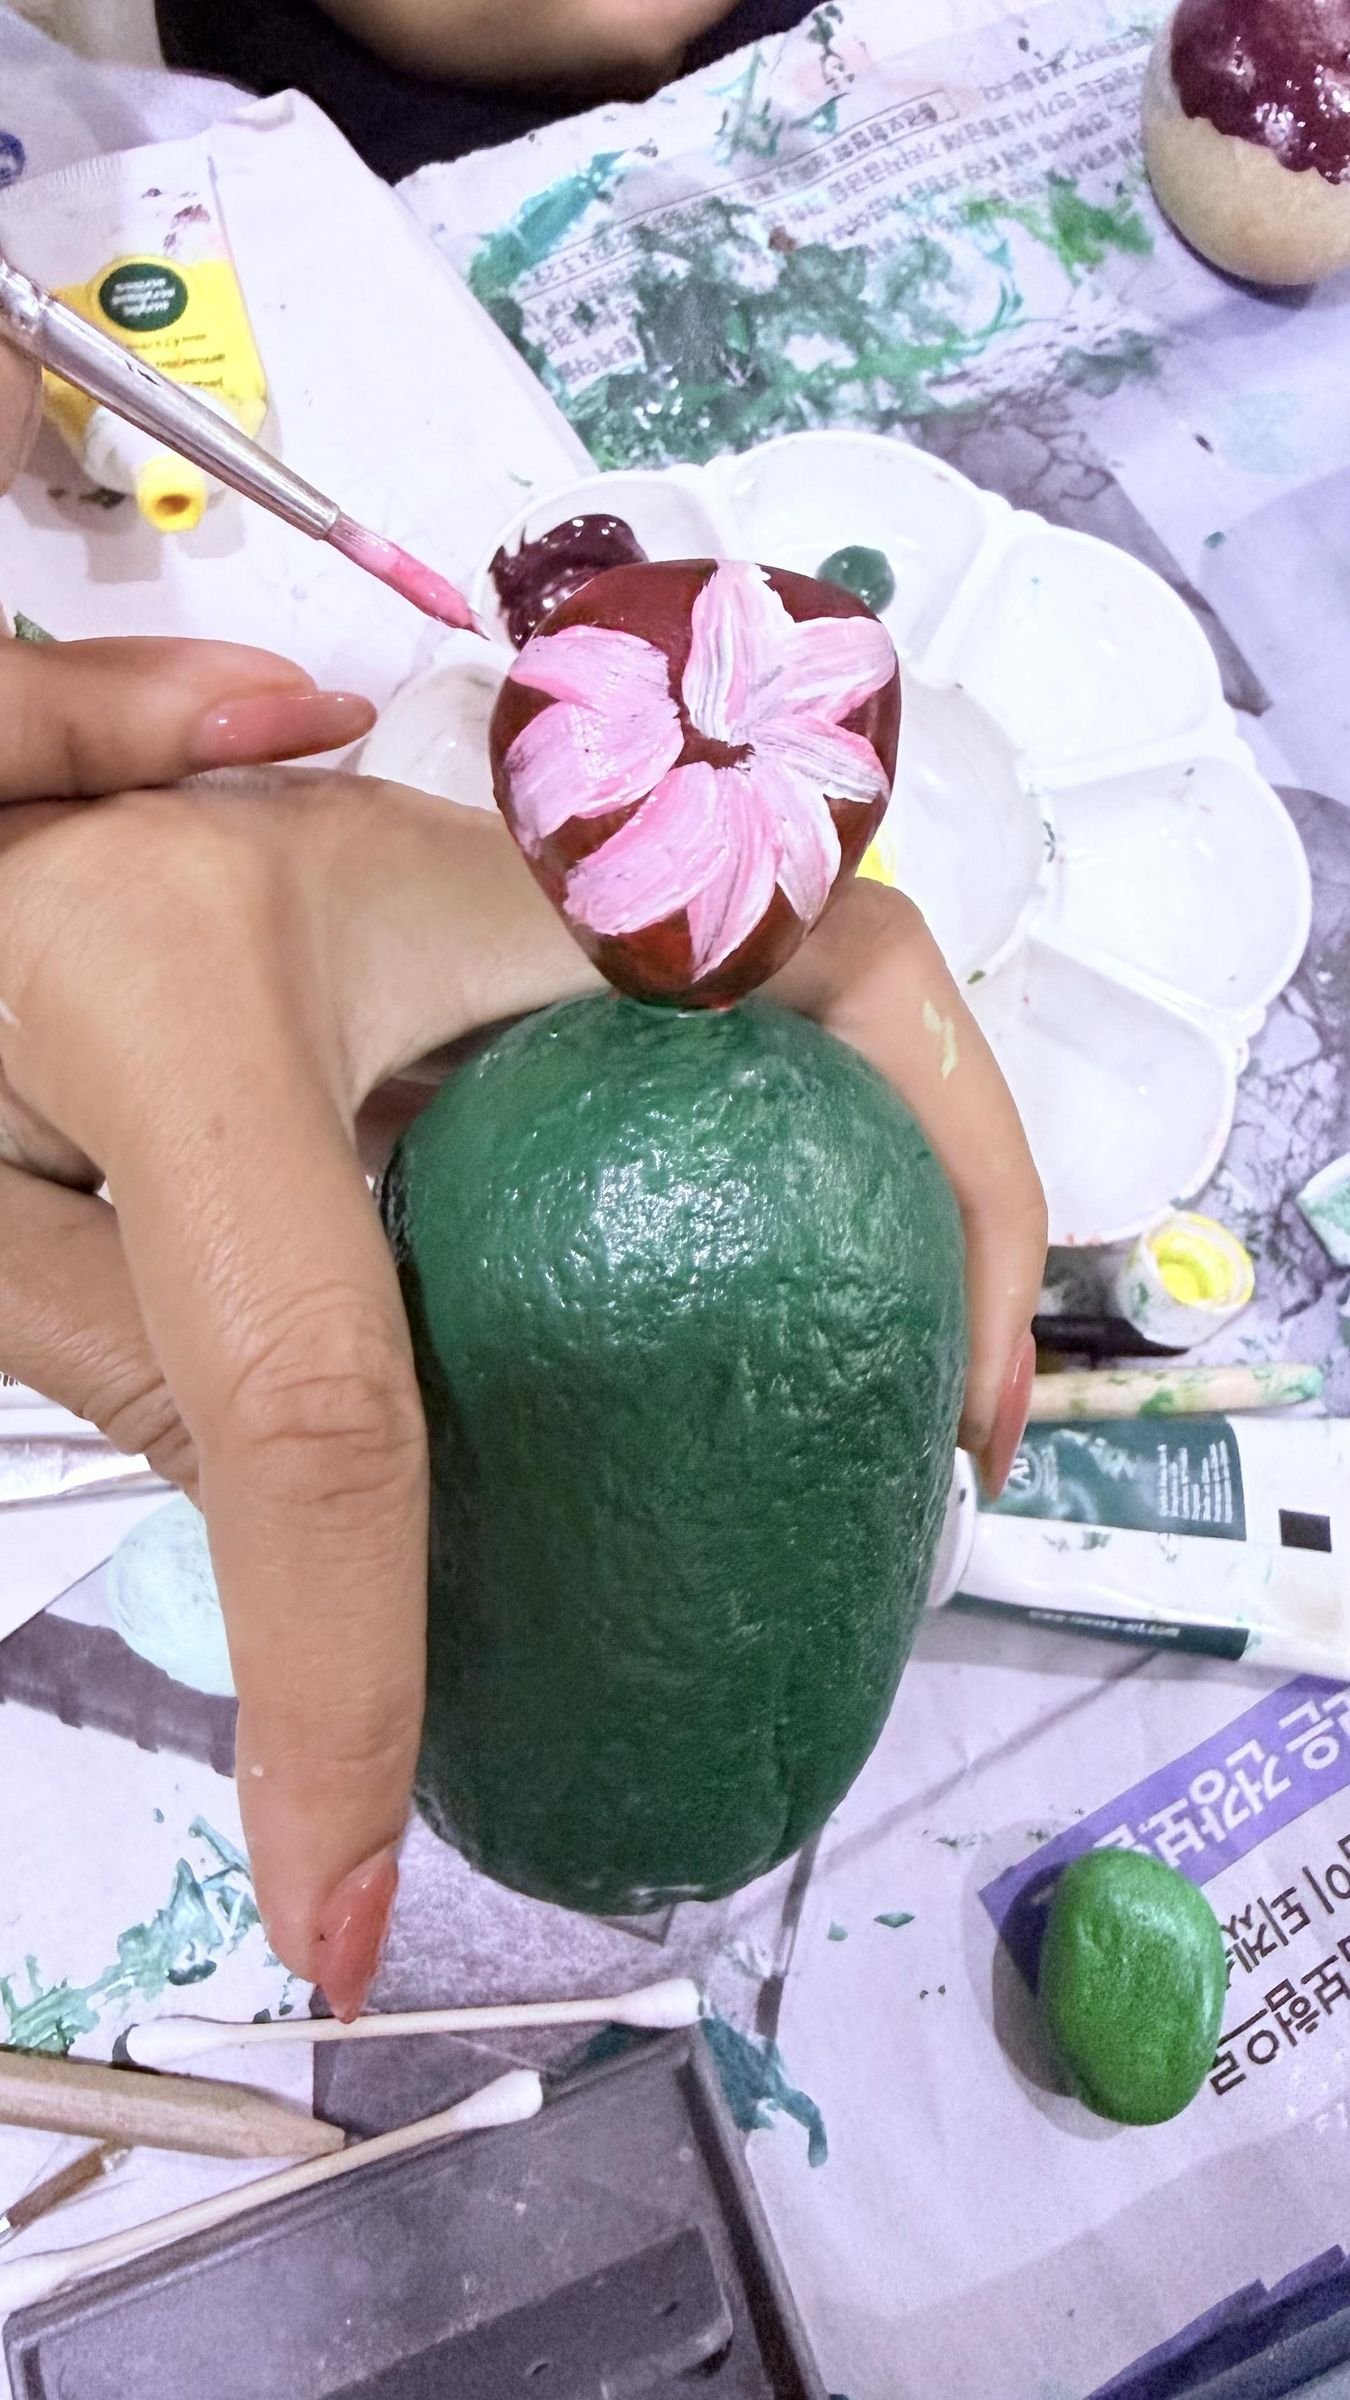
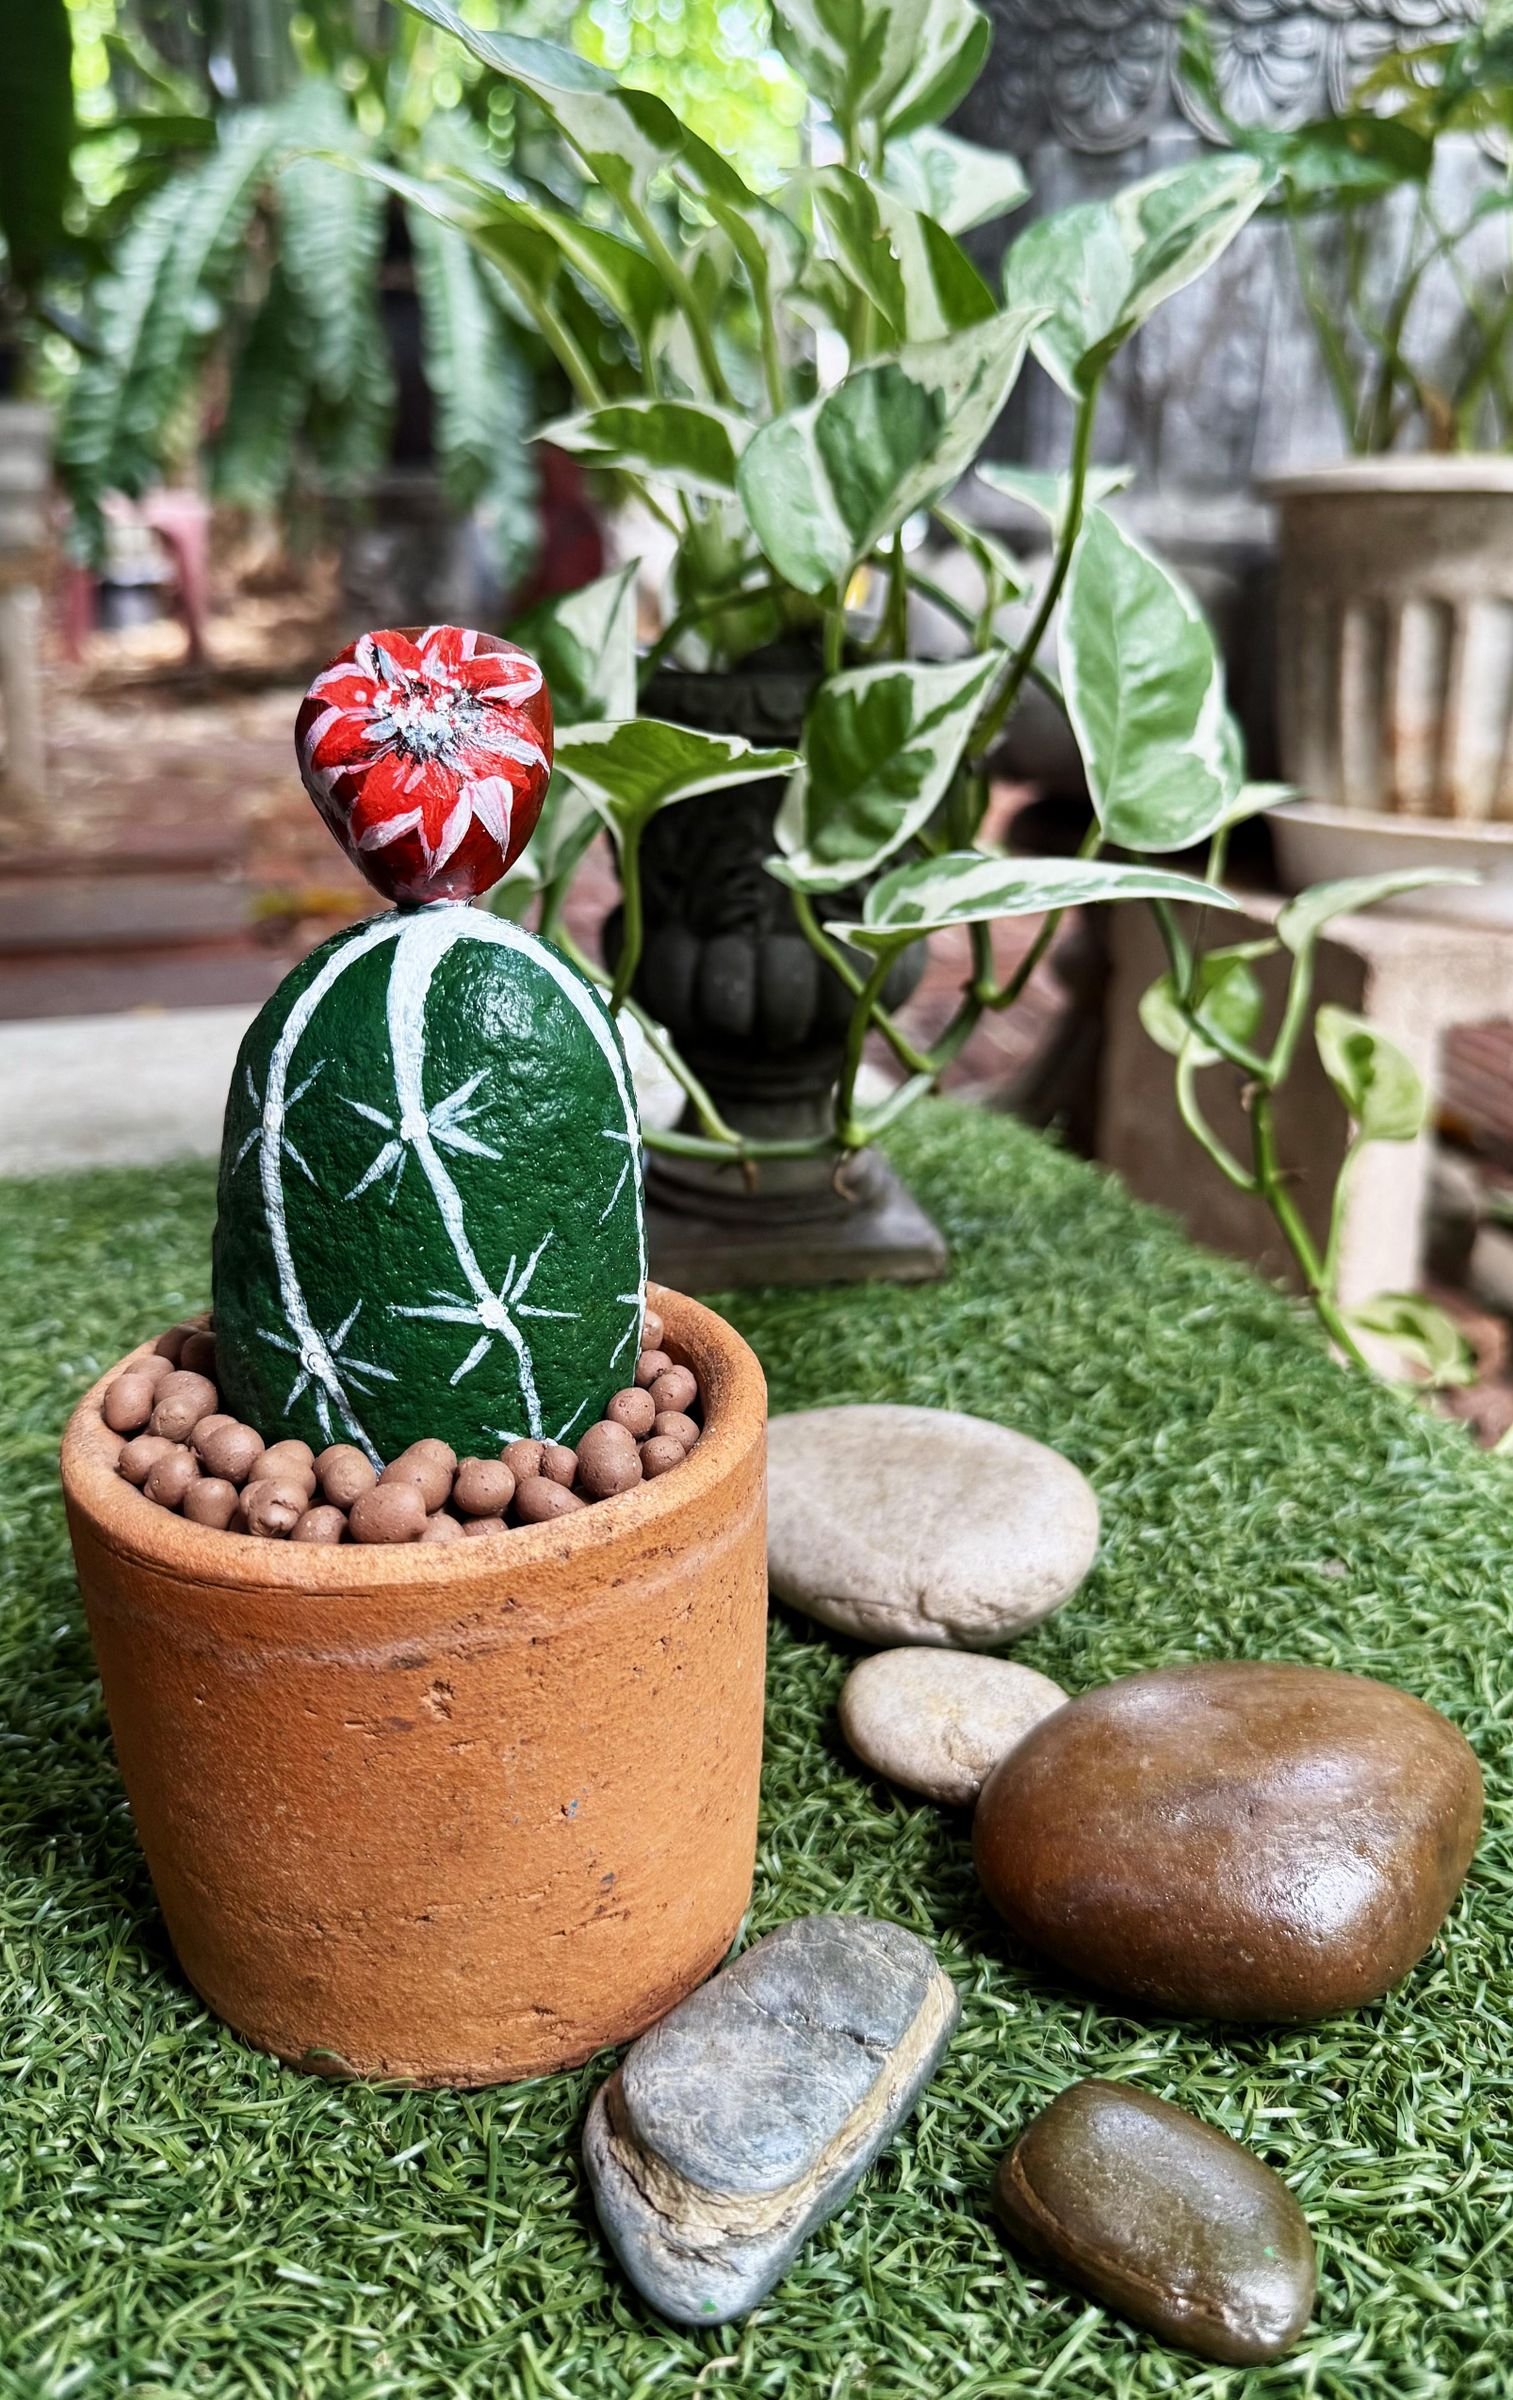
A small flower can supply one bright accent. Paint an attached bud red or pink to suggest a bloom, or add a paper or plastic flower to the top. Keep it small enough to preserve the stone silhouette, then let every painted or attached detail dry before final assembly.
9. Finish the Potted Display
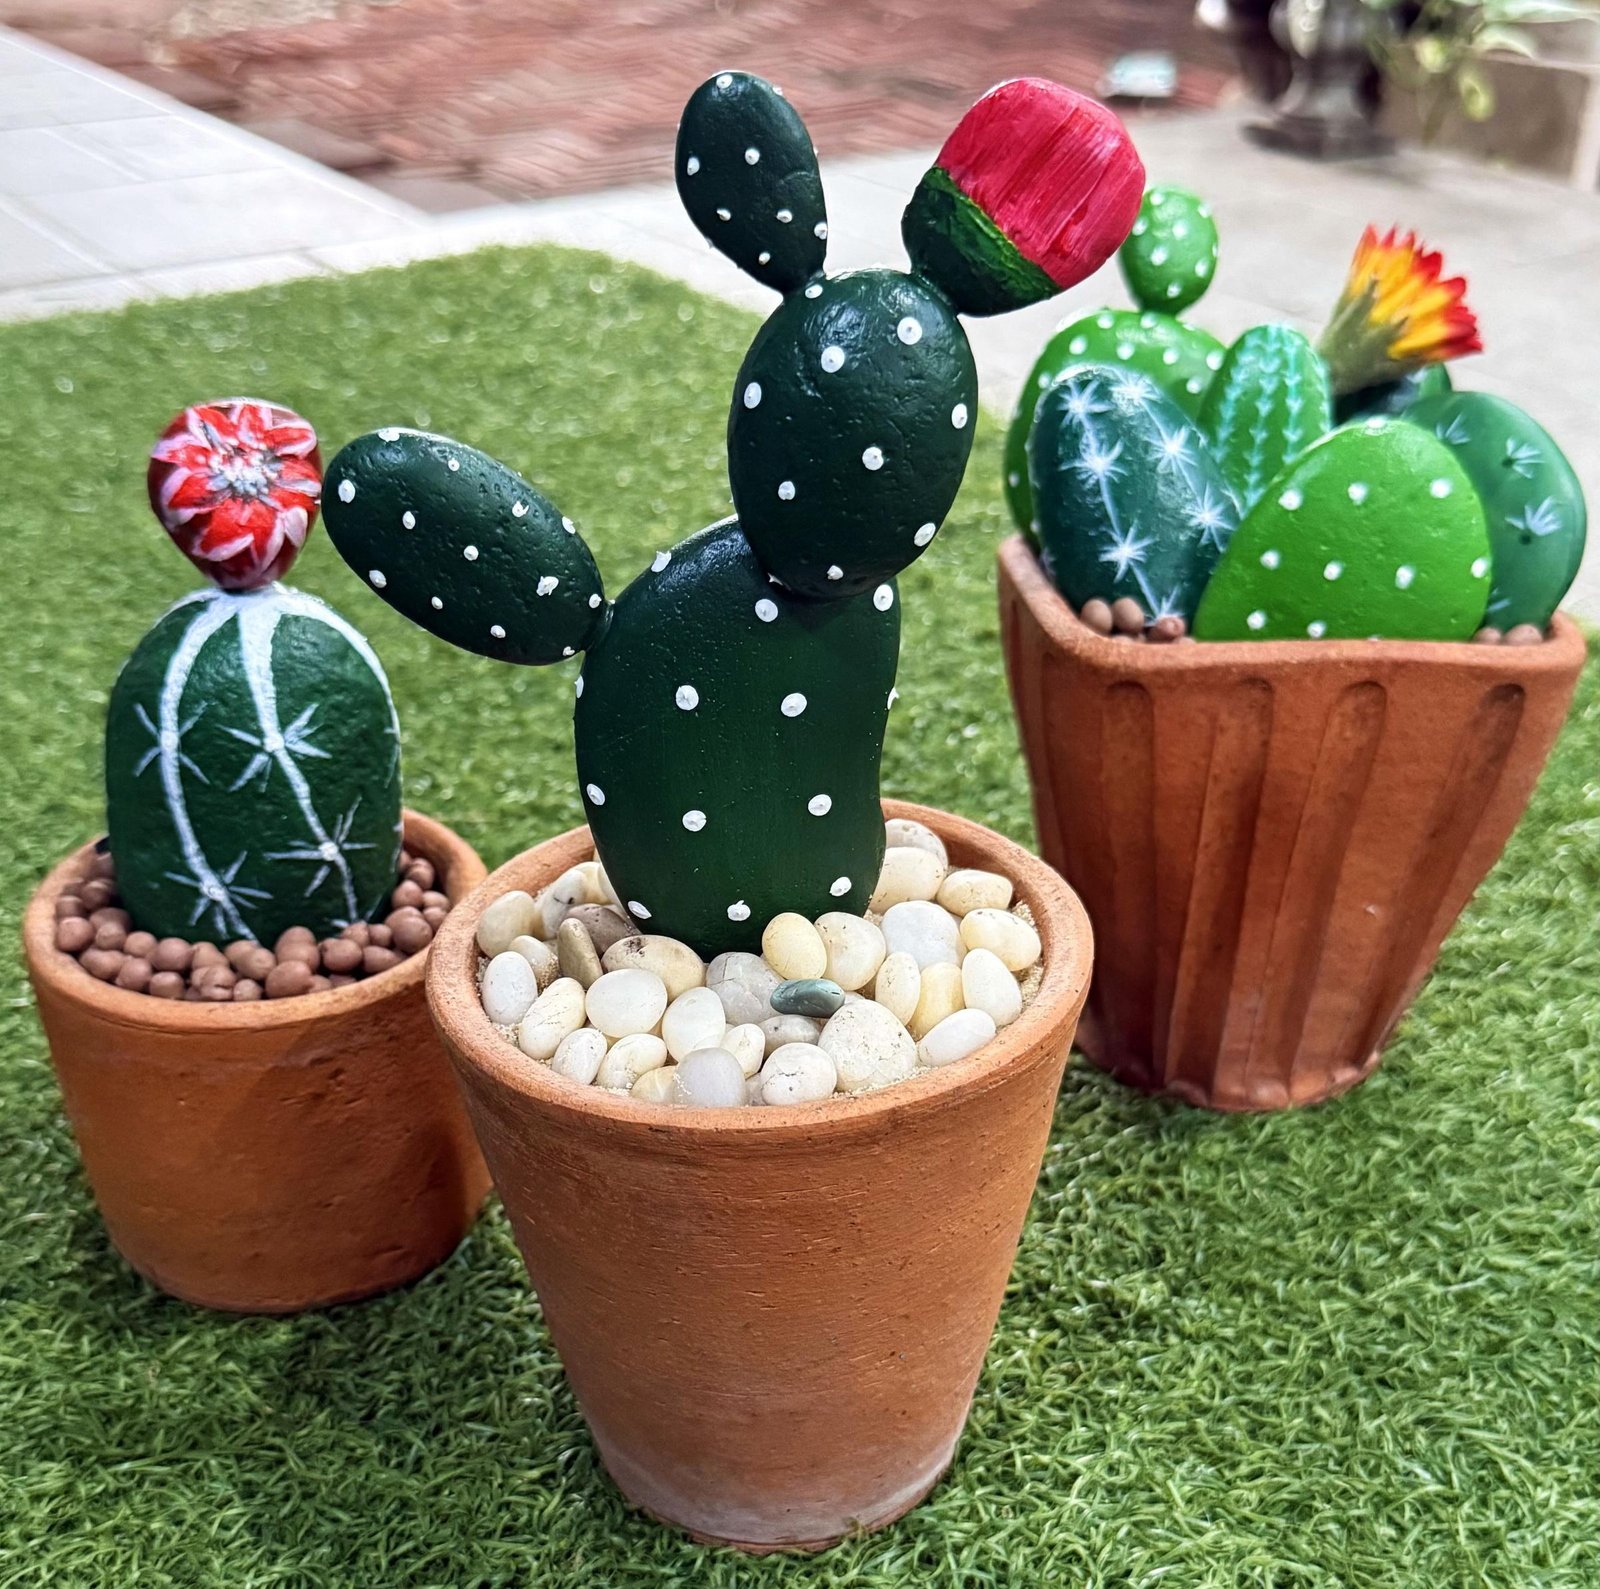
Finally, recreate the arrangement you tested earlier. Fill each pot with sand, press the painted stones into position, and add small pebbles around their bases where extra support is needed. Step back before packing the surface tightly; minor changes in angle can make the group feel more natural and can reveal a painted pattern that was hidden.
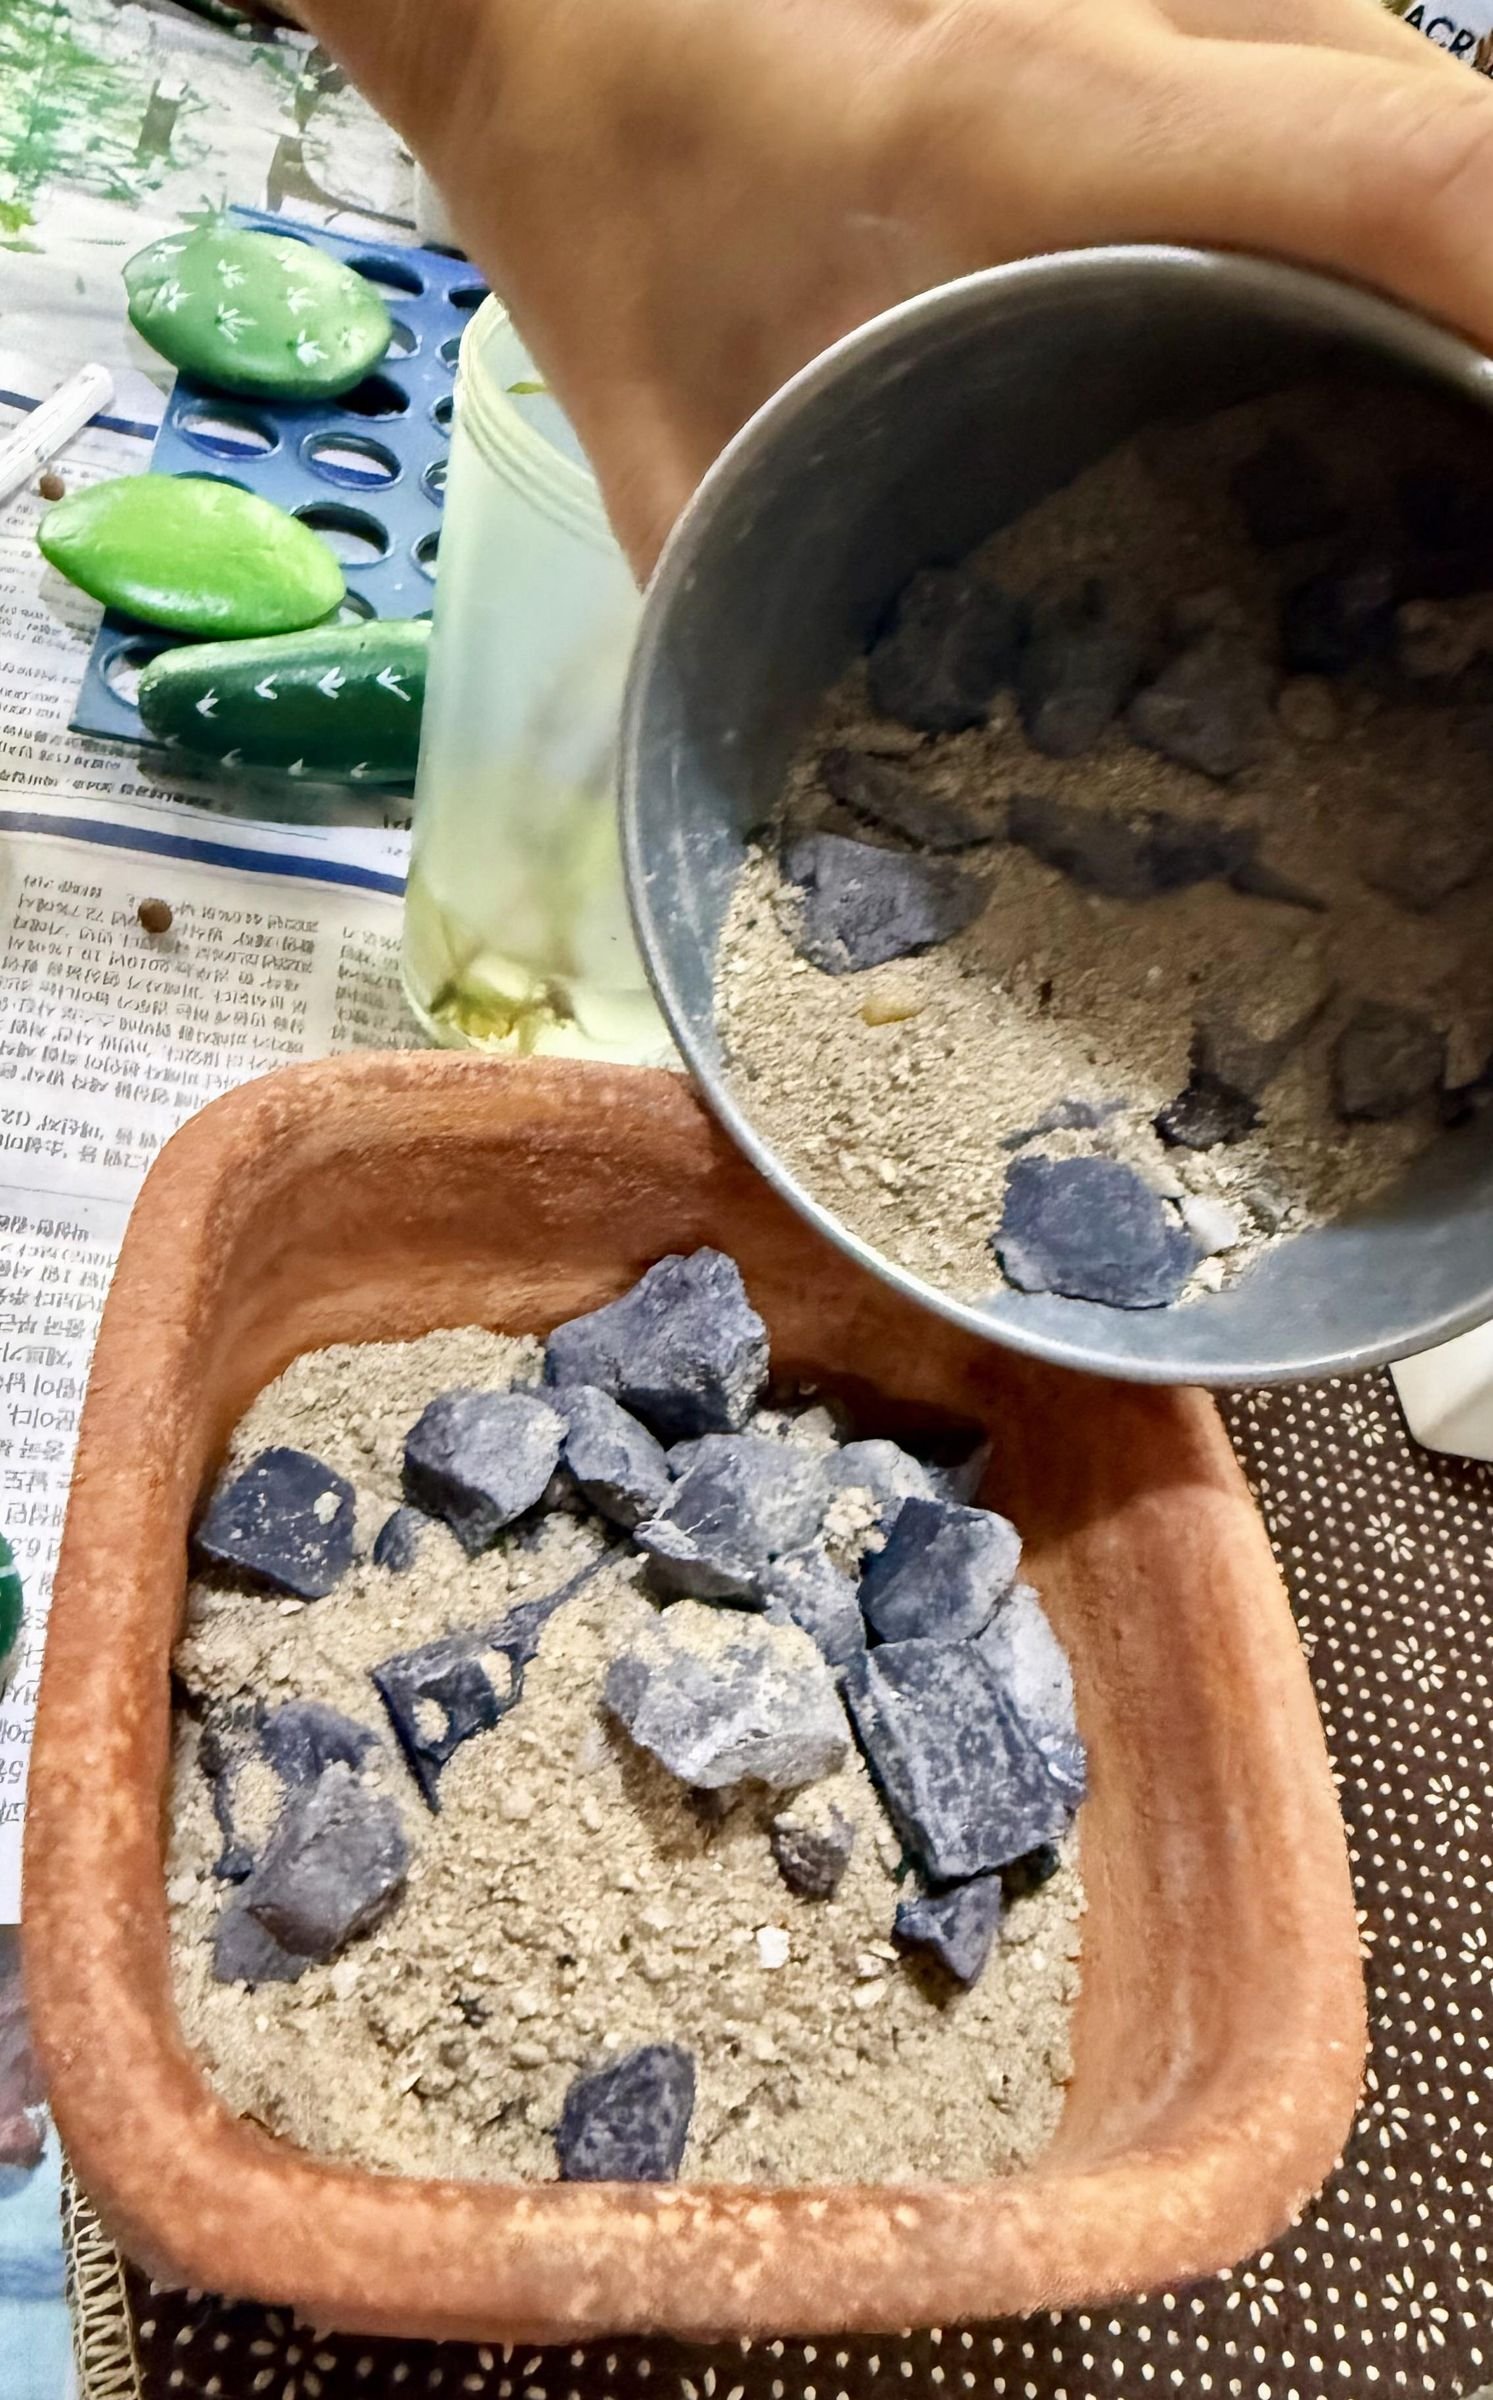
If you want a permanent assembly, the source suggests setting the stones into concrete rather than relying on loose sand. That is a separate commitment, so choose it only after the composition is final and follow the instructions for the concrete product you use.
Place the finished pots where their painted details can be seen. Mixed heights, varied greens, and a restrained flower or two give the collection the character of a tiny cactus garden—built entirely from stone.
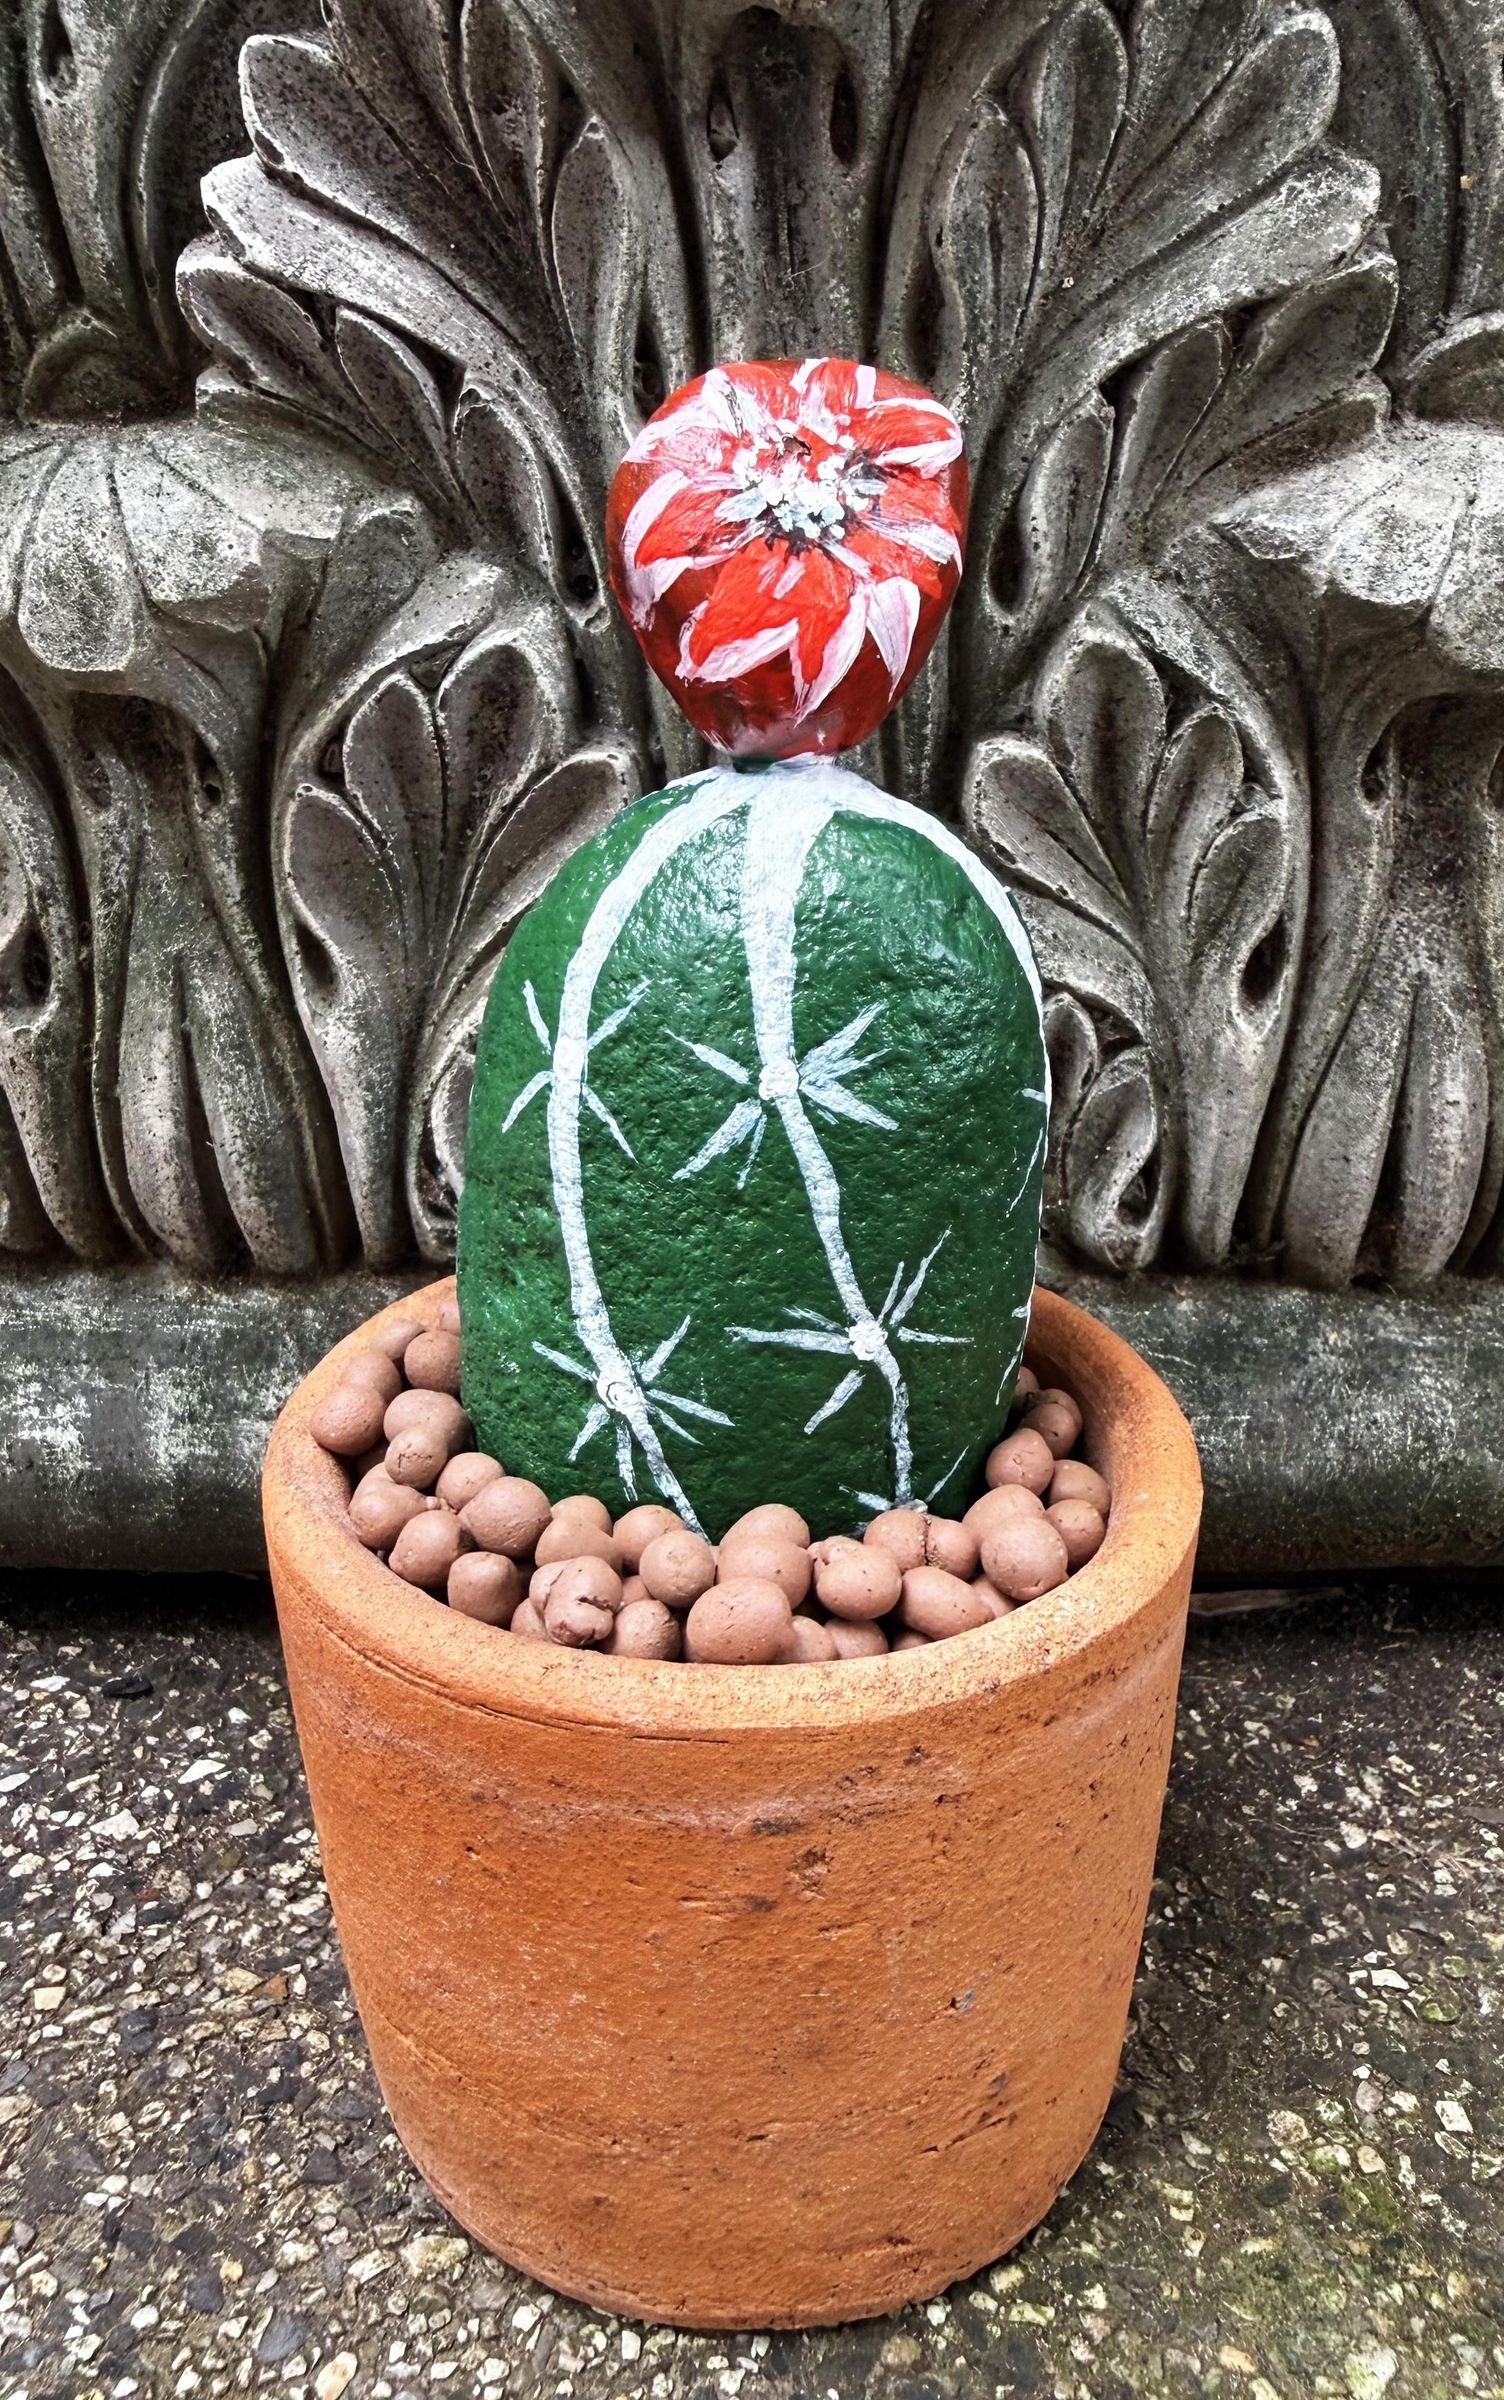
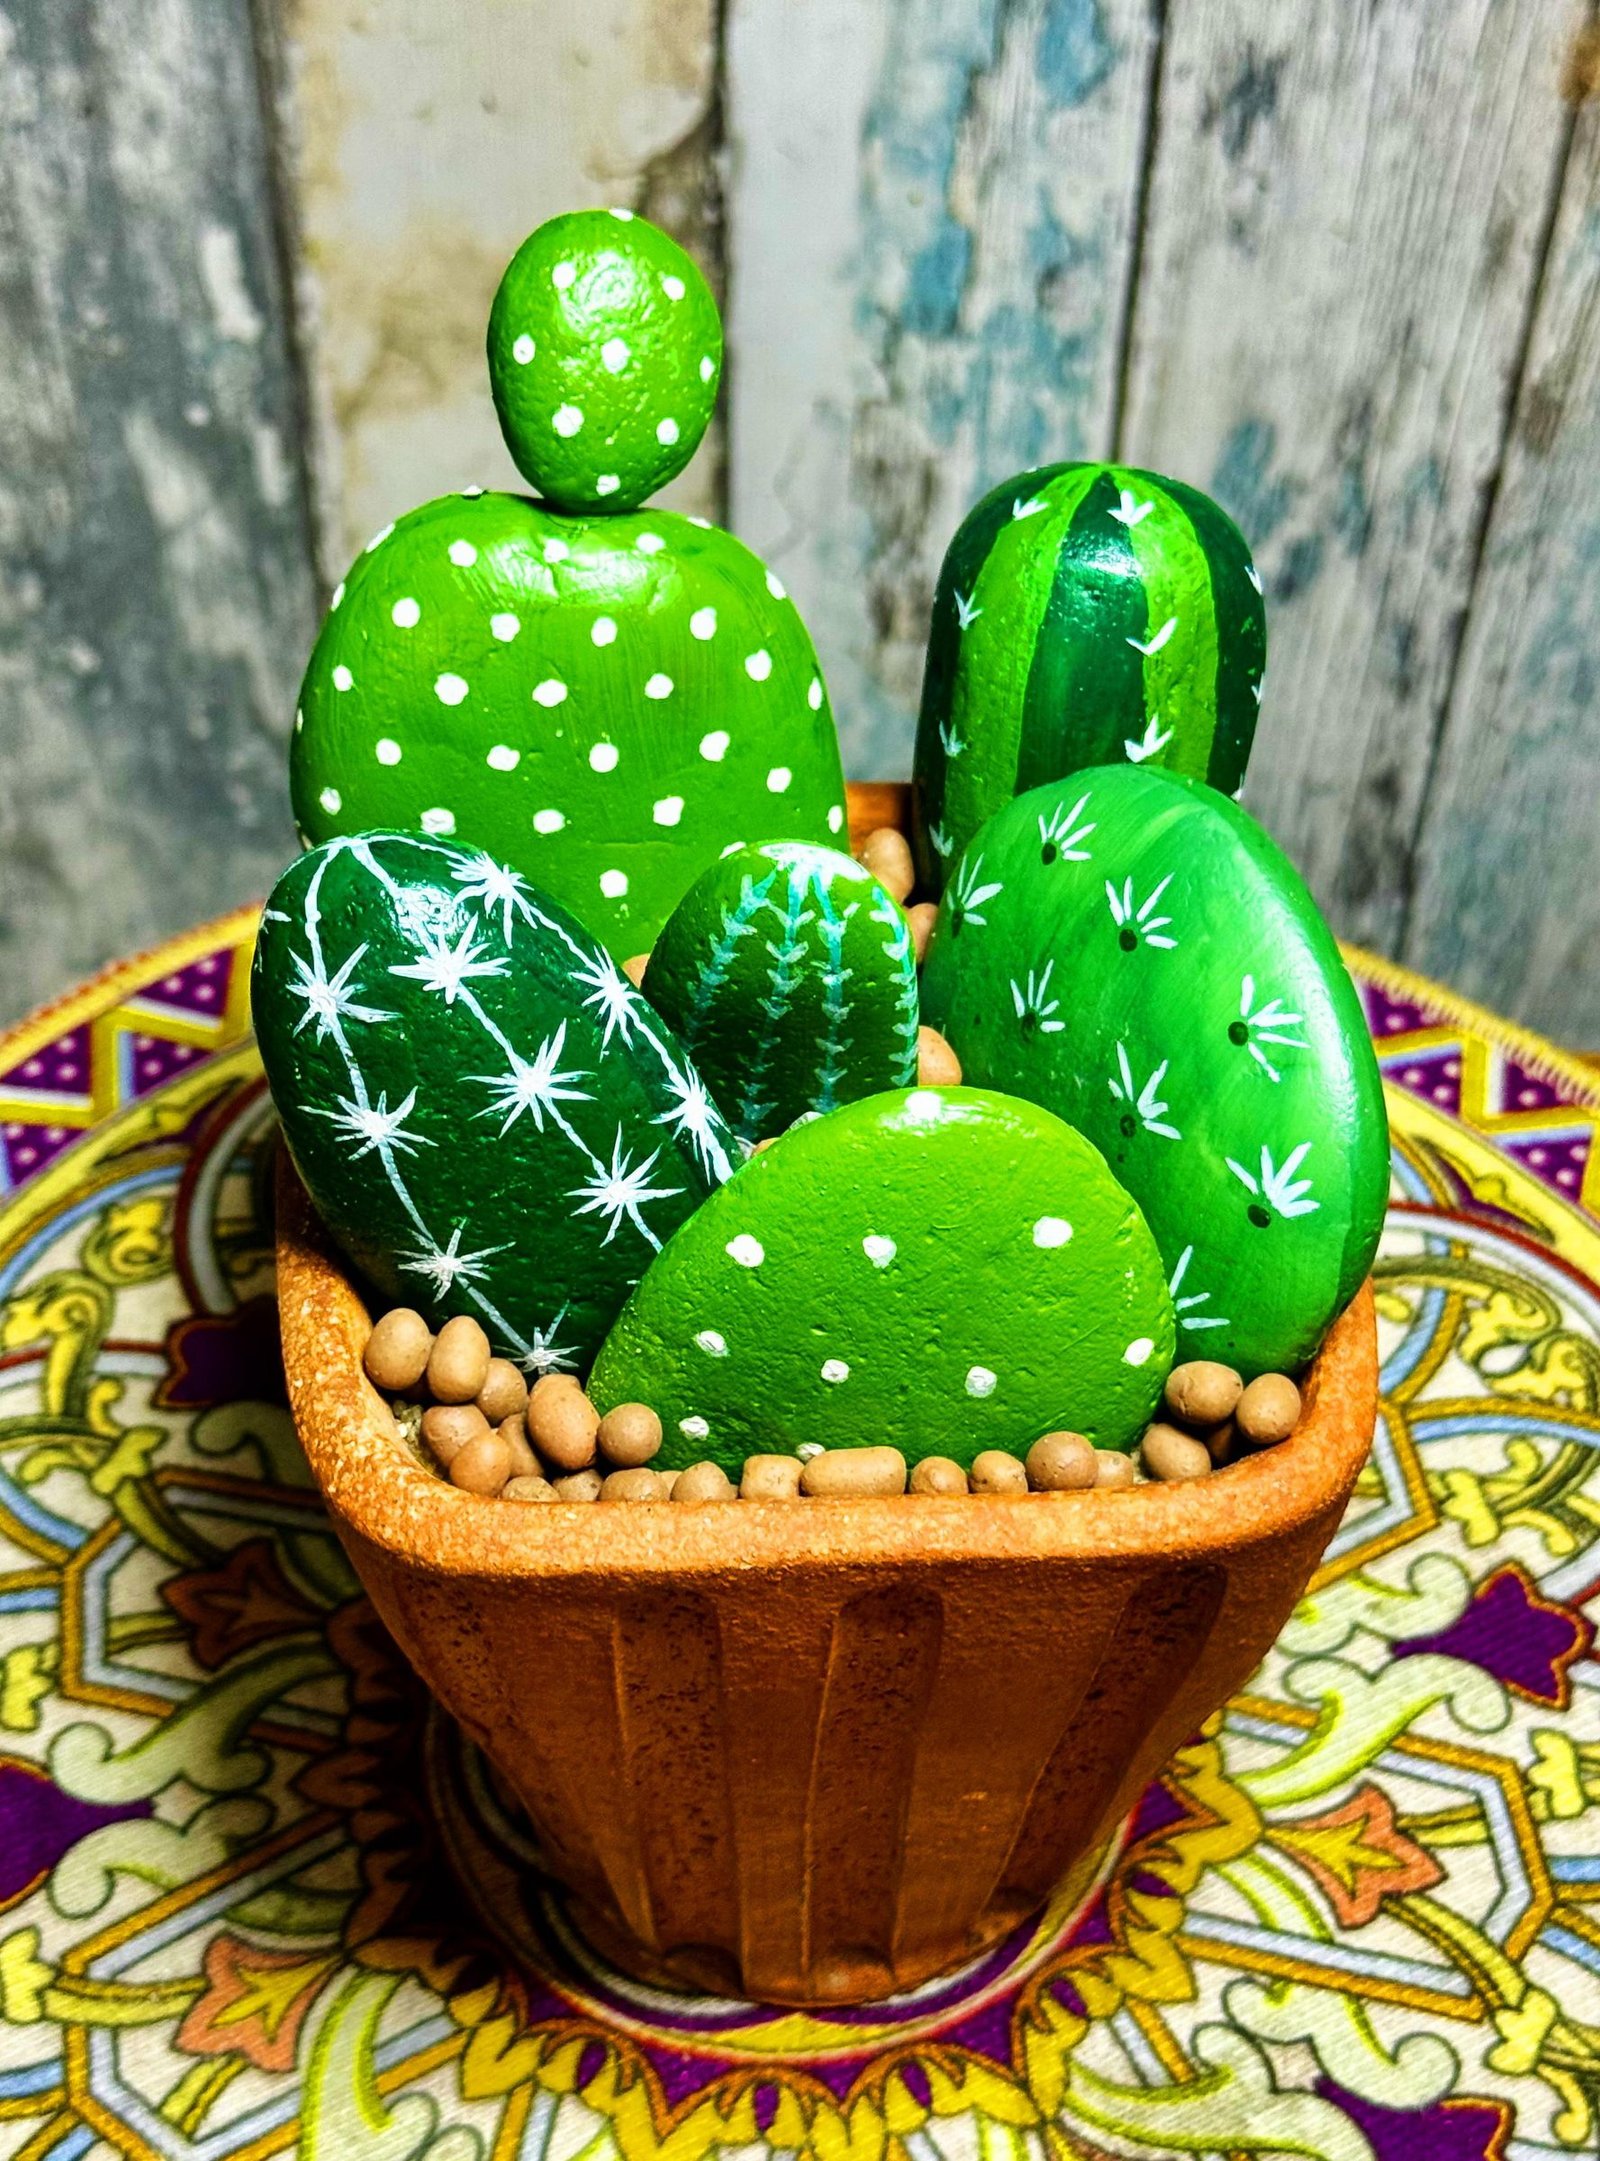
A handful of scrubbed stones and small pots can become an entire low-maintenance garden—one where every stripe, spine, and flower carries the maker’s hand.